
Hello everyone! Doreen here from Polkadotpaperprincess.blogspot.com. Hope you are having a spooktacular October!
I have made a Halloween mini for you from one folded piece of 12x12 paper!
Here is the front of the book.

The tag is made from Chic & Scary and the Rosette is made from Ribbons and Rosettes.
Here are the inside pages. The side without the embellishments were left plain to allow placement for pictures. I intentionally made it look rough to add the the "spookiness".


There is lots of glitter and washi tape applied to the album. I also love the ribbon flowers!!!

The image on this page would have been upside down. So to avoid that look, I painted it with white paint, then orange. The circle is a large rub-on to which I added a black ribbon flower. I also added a matt to the opposite page. The black "spot" is the flower. I couldn't get it to photo better. It looks a little spooky! See the cute little kitty bling in the corner!

This back page has a chipboard sticker added to it.
Here are the tags for the inside. They are made from Wrap it Up! The kitty on the fence is a stamp I added to the tag. I think it's a Technique Tuesday stamp.

Here's how the album was made:
If I have not made the directions clear enough, let me know. I can easily do a short video or answer questions!
Score at 3, 6 and 9 inches from the top to the bottom of the 12x12 piece of paper.

Rotate paper 90 degrees and score again at 3, 6 & 9 inches.

Now cut at the 3" score line starting at the top and going all the way down to the last score mark. (3" from the bottom - horizontal line.) Do the same at the 9" score line.

Flip the paper in the opposite direction (180degrees) and cut on the 6" score line from the top down to the 3" horizontal score line. You will note the paper is sideways. This is because the design I want to use is the "A" side which has a directional look. That is to say a "top" and a "bottom". If it doesn't matter to you which way the design faces, it doesn't matter what way you put the paper. If you want part of the paper to face upwards (like mine does) you must turn the paper so the design starts sideways!

You will end up with something that looks like a "W" or "M" depending on which way you look.
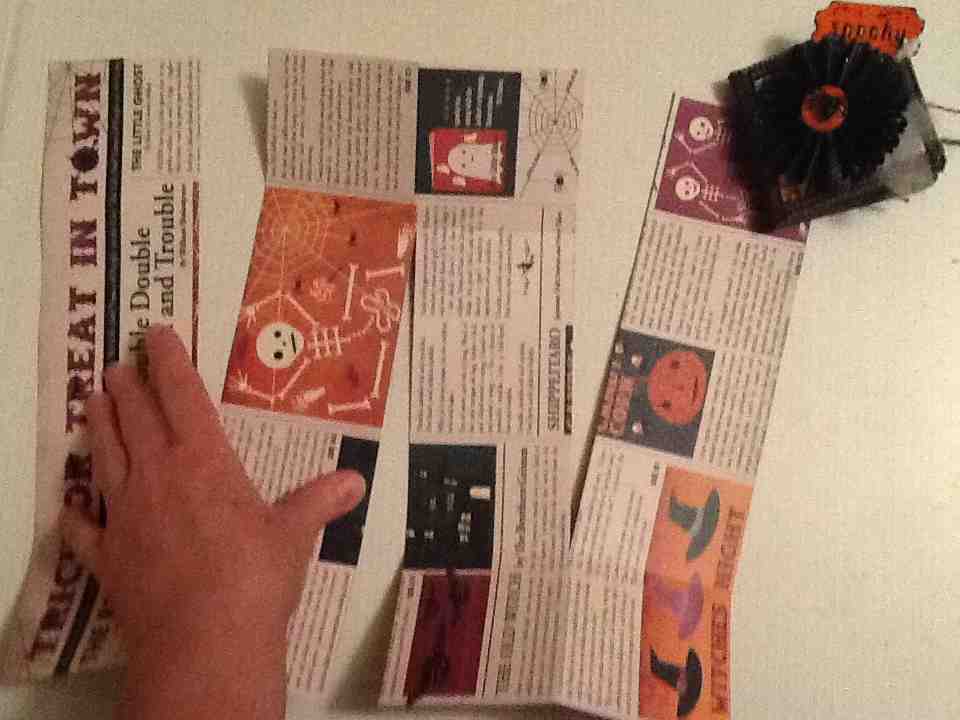
Fan fold the paper. You will then need to either tape, sew, bind or glue the edges. You will end up with pockets if you like. I alternated them so I had one pocket on the top followed by a side pocket. This can be achieved by where you put your adhesive. You can have no pockets if you choose, just tape all of the edges!

Practice folding the paper to see which direction you want your favorite image to show up. If you don't have any directional images (like card stock) it's even faster!

Enjoy!
Designed by: Doreen
Machines used: Expression & Gypsy
Project type: Mini Album
Cartridges used: Chic & Scary, Wrap it Up, Ribbons & Rosettes
Supplies: Ribbon flowers, washi tape, glue, glitter, ATG tape, rub-ons, twine, 7Gypsies tape, tulle, bling, scissors or cutting board

