While we are no longer making active post of Cricut projects on this blog as of 8/1/2013, we invite you to use it for continued die cut inspiration as we will leave the blog up for viewing. Happy Cricuting !

Showing posts with label Locker Talk. Show all posts

Saturday, September 29, 2012

Clever Paper Clip Holder

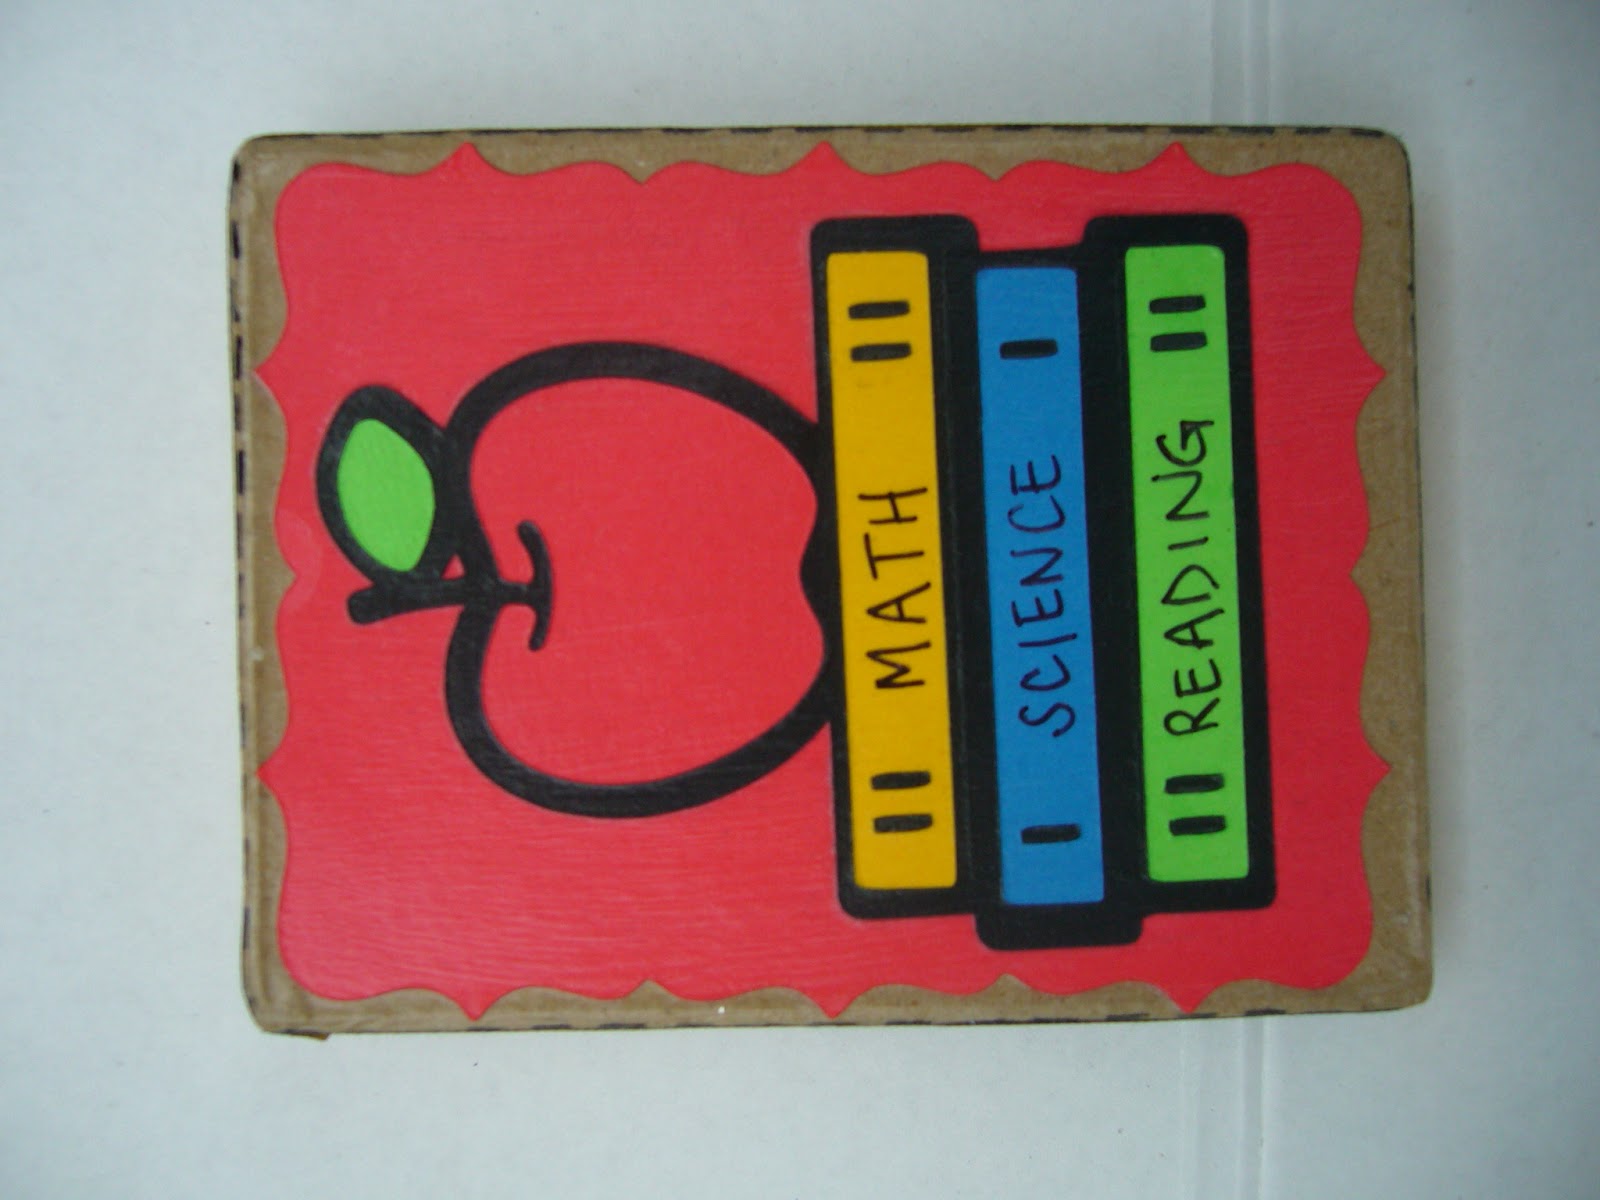
Hi Everyone, This is Stacey (StaceyM) with a back to school idea. I have been a middle school teacher for 20 years and love using my Cricut to make things for my classroom. Today, I embellished a paper mache box to make a paper clip holder. Teachers go through a lot of paper clips.


Lid Directions – I cut the apple with books (Hello Kitty Greetings) at 3.5 inches using red, green, blue and gold paper. I cut the shadow out in black. Next, I cut the oblong burst (Elegant Edges) at 4.5 inches out of the same red as the apple. I used 2-way glue to adhere the apple with books layers and then I used paper Mod Podge to adhere all pieces to the lid. I found ruler ribbon that I adhered to the outside of the lid.


Box Directions - I cut the oblong burst (Elegant Edges) four times at 4.5 inches out of the same blue as the science book. I cut eight paper clips (Locker Talk) out of silver holographic paper at 1 inch. I had some black glitter adhesive paper from DCWV that I used for the letters. I cut the word Paper Clips (Pooh Font Set) out twice at 1 inch. The blue oblong burst was trimmed to fit each side of the box. I used paper Mod Podge to adhere all pieces.


To finish the box, I put an extra coat of the paper Mod Podge over everything. I used a Sharpie black paint marker to write Math, Science, and Reading on the books and I also put stitching on the edges. I glued a piece of magnet paper to the bottom of the box to help the paper clips stay inside.
 

I hope you enjoyed today’s project and have enjoyed reading this blog everyday as much as I have.
 
Cricut Info & Supplies Used:
Designed by : Stacey M
Cricut Machine: Expression
Cricut Cartridges: Hello Kitty Greetings, Locker Talk, Elegant Edges, Pooh Font Set
Other Supplies Used: DCWV Glitter Adhesive Paper, Paper Mache Box, Various Colored Papers, Holographic Paper, Paper Mod Podge, 2-way Glue, Sharpie Black Paint Pen, Ruler Ribbon

Friday, September 14, 2012

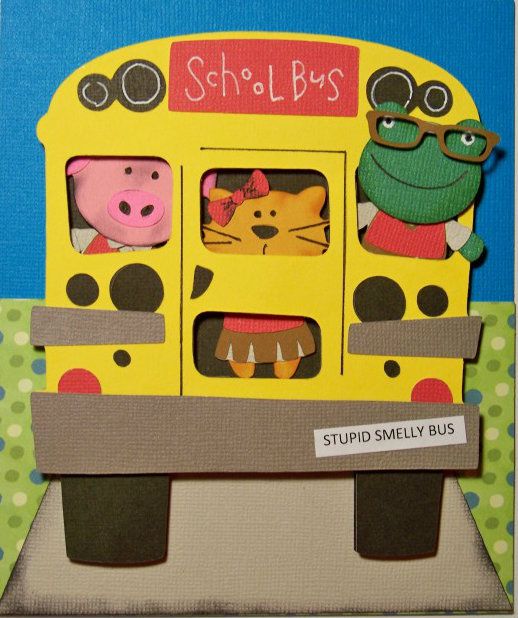
Back-to-School Card -- Stupid Smelly Bus

Hello!  It's Nadia from my blog, With Glittering Eyes, and I have a fun back-to-school project to share!  Later this month, I will be out-of-town for a few school days so I thought colorful cards for my daughter would be fun ways to remind her that I am thinking of her even though I will be far away!  I am sharing one here today!

For my card, I used animals that I morphed together with Teddy Bear Parade to create new and different critters that wear the little school uniforms!  You can see my initial post on that by clicking here to see a whole menagerie of characters!  Some of the critters from that post were used on this card.  

Stupid Smelly Bus card...


Here's a little background bit:
There are no buses at my daughter's school but we always get behind at least one heading to another school on our morning commute! In Kindergarten and First Grade, my daughter used to enjoy reading Junie B. Jones stories.  Once she read the Stupid Smelly Bus, we started referring to all school buses that way, in honor of Junie!  My daughter is always intrigued by what goes on in a school bus... always making up scenarios as we pass them or follow them.

For this card, I used three critters from a previous post on my blog, adding school uniforms.  I stuffed 'em in my favorite bus cut and added a little scenery to plant the bus on the road! 


Crafty Details for Stupid Smelly Bus:
  • This card finishes at 5" wide by 6" tall and is created by simply scoring a 6" x 10" rectangle of card stock in the middle.
  • Pig - body cut at 2" on the Expression from Teddy Bear Parade; head cut at 2" from County Fair. (Head was manually separated from the body).  School uniform cut from Teddy Bear Parade at 2".
  • Cat -  body cut at 2" on the Expression from Teddy Bear Parade; head cut at 1" from Doodlecharms.  School uniform cut from Teddy Bear Parade at 2".  
  • Frog -  body cut at 2" on the Expression from Teddy Bear Parade; head cut at 1-1/2" (real dial size) from New Arrival.  School uniform and glasses cut from Teddy Bear Parade at 2".  His glasses are popped up 1/8".

  • School bus - cut at 5" on the Expression from Locker Talk (page 34).  Rear bumper was popped up 1/8".  Two black bases were cut and 1/8" pop dots were used between the two bases to create a little space for the critters to exist in.  I adhered one black base to the the yellow bus, removing the windows.  (After the critters were placed, I connected the two bases with the pop dots.)   The bumper sticker was trimmer-cut after printing with Microsoft font.

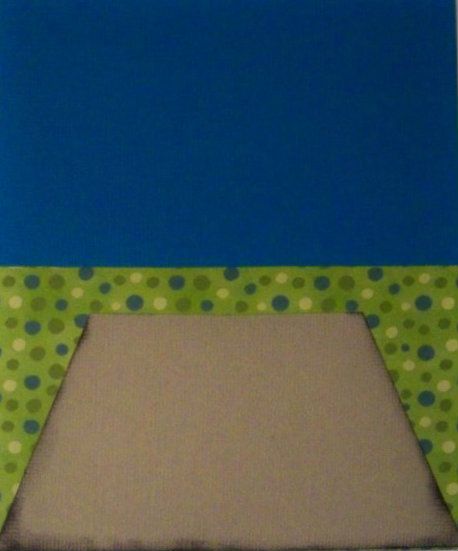
  • Blue base - trimmer-cut at 5" x 6"
  • Green mat - trimmer-cut at 5" x 3"
  • Gray mat - trimmer-cut at 2-1/2" high with top cut at 2-7/8" and bottom cut at 5"


If you enjoyed this card, check out my new project on my blog.  It is a whole classroom vignette in a shadowbox, called Ms. Elephant's Third Grade!  There are lots of fun details, pictures, tips, and lots of new morphed animals!  Additionally, later in the month on my blog, I will be posting the whole set of back-to-school kids cards like the one I have shared here.  Hope to see you over there! 


Here's a sneak peek of Ms. Elephant's Third Grade:


Cricut Info & Supplies Used:
Designed By: Nadia Herbst-McConnell
Cricut Machines Used: Expression
Project Type: card
Project Theme: Kids
Cricut Cartridges Used: Teddy Bear Parade, Locker Talk, County Fair, Doodlecharms, New Arrival
Suppies Used: Card stock from my scrap bin, ATG tape, Scotch Scrapbookers glue, 1/8" foam squares (pop dots), white and black gel pens, black ink and sponge applicator
DON'T FORGET TO LEAVE A COMMENT TO BE ENTERED TO WIN OUR WEEKLY DRAWING IN SEPTEMBER.