Hello everyone! This is Michele, aka dancingarden on the Cricut Message Board. You can visit my blog at
Scrap - N - Dance! I have created a layout for you with the Cricut Stencil material!
I wanted to go along with the "back to school" theme for the month but we will be homeschooling our son... however, I just started this year working part-time driving a school bus! My son gets to ride with me so we don't have to do any sort of day-care - what a great job perk! So I decided I would do a page about me driving the bus (and my son riding along!).
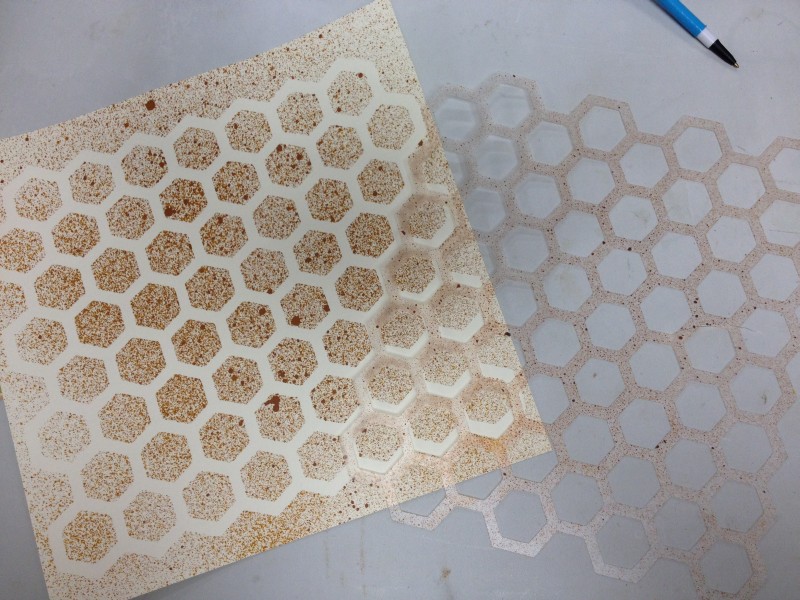
Some of us Circle members got to use the Cricut Craft Room Exclusives for free during August! So I spent most of the past month and a half cutting things from those CCR exclusives, using my gypsy. In this case, I used the CCR exclusive Teresa Collins Basics, the honeycomb background, which I used to cut the Cricut Stencil material. I set it up on my gypsy to cut as large as it could on the mat, which you can also do on CCR.
Have you ever used the stencil material? It's SO EASY! I followed the settings instructions on the box: Speed 3, Pressure 5, Blade Depth 6 and multicut 2.
The stencil cut perfectly! I actually cut two of these since the stencil sheet is 12x24, and gave one to a friend. :)
I used some spray mist (in this case, Ranger's Butterscotch) to spray the stencil and cardstock. Do you know the stencil has a sticky back? You just remove the backing and stick it to the cardstock (or other surface). It came right off the cardstock after I'd let it dry. However, after I used this color, I realized it didn't "go" with my photos!
So I tried a different color, Glimmermist Jazz Blue. :) This color was perfect for my project! I love that my stencil is re-usable!
I finished up my layout with Jillibean papers and stickers from my stash (I've been trying to use up my stash!), the title is cut from the Street Sign cartridge.
I hope you try out the stencil material! I loved working with it and I'm glad I have another package of it! :) Happy crafting!
Cricut Info & Supplies Used:
Designed by: Michele Donner-Ramsey
Cricut Machines used: Gypsy, Expression
Cricut Cartridges used: CCR Exclusive Teresa Collins Basics, Street Sign
Other supplies: Jillibean papers, stickers; Glimmermist Jazz Blue, EK Circles Scallop border punch, mini alpha stickers, cardstock, Cricut Cutables Adhesive-backed Stencil Material
.JPG)




.JPG)