While we are no longer making active post of Cricut projects on this blog as of 8/1/2013, we invite you to use it for continued die cut inspiration as we will leave the blog up for viewing. Happy Cricuting !

Showing posts with label Wall Decor and More. Show all posts

Friday, March 29, 2013

Spring Break and "Fancy Nancy's" Tea Party!

Hello! This is Chris from www.scrappin-nanapuddin.blogspot.com. I can't believe Spring Break is gone and it's Easter already!! We are a little chilly right now, only in the upper 60's, but 70's are coming back tomorrow and hopefully Easter!! Gotta be nice for the Easter Egg hunt!! So I have an Easter Card and a layout for you today!


Our awesome library has programs for the children during spring break and summer reading program. This year during spring break they had a "Fancy Nancy's Tea Party" and it was awesome! They had a professional ballerina come in and teach the girls some ballet steps for about 20 minutes and the girls were "Ecstatic"!!! to say the least! One of Fancy Nancy's favorite words I'm told. I never read the books, did you? But my granddaughter will be reading them now!! These are the first 2 pages my DGD and I worked on this weekend. And my DGD being the wonderful drama queen she is, and thats DRAMA with a capital D!, said "Nana, I can feel it!" and she had been complaining about a sore ankle from a fall at school so I asked it her ankle hurt. She places hands on chest and says "No, I can feel the love in those pages"! OMG! I about fell out of my chair! 

The pages are 8x8 and they are from a scrapbook I bought years ago on clearance because the pages were already decorated and I was just started to get into scrapbooking. Now they are perfect for this occasion. The title and the Ecstatic card were from the party. The top pic title as well as the teaparty die cut and tea set was cut using my own font and an SVG with an older version of SCAL. The white doily mat was cut using one of the new WRMK mini 8 and matching border punch.The tea set looked kinda plain even though it was cut using DCWV shimmer paper. So I "stickled" them! The tea cup border was cut using Wall Decor at 1". The Tea party invite and balloons and princess was cut using "Best Friends" Imagine cart.

The Easter card is an A2 size card cut using CTMH Art Philosophy cart. The cross is from "Wedding" and they were embossed using Swiss Dots and a new AG Pirouette folder. Butterflies were cut using DCWV glitter paper and MS punch. And was glimmer misted with Dazzling Diamonds, of course!

Hope you enjoyed both! Happy Easter! Visit my blog and tell me what you think! I'd love to hear your comments! 

Monday, January 14, 2013

It's Not Too Late for This Resolution!


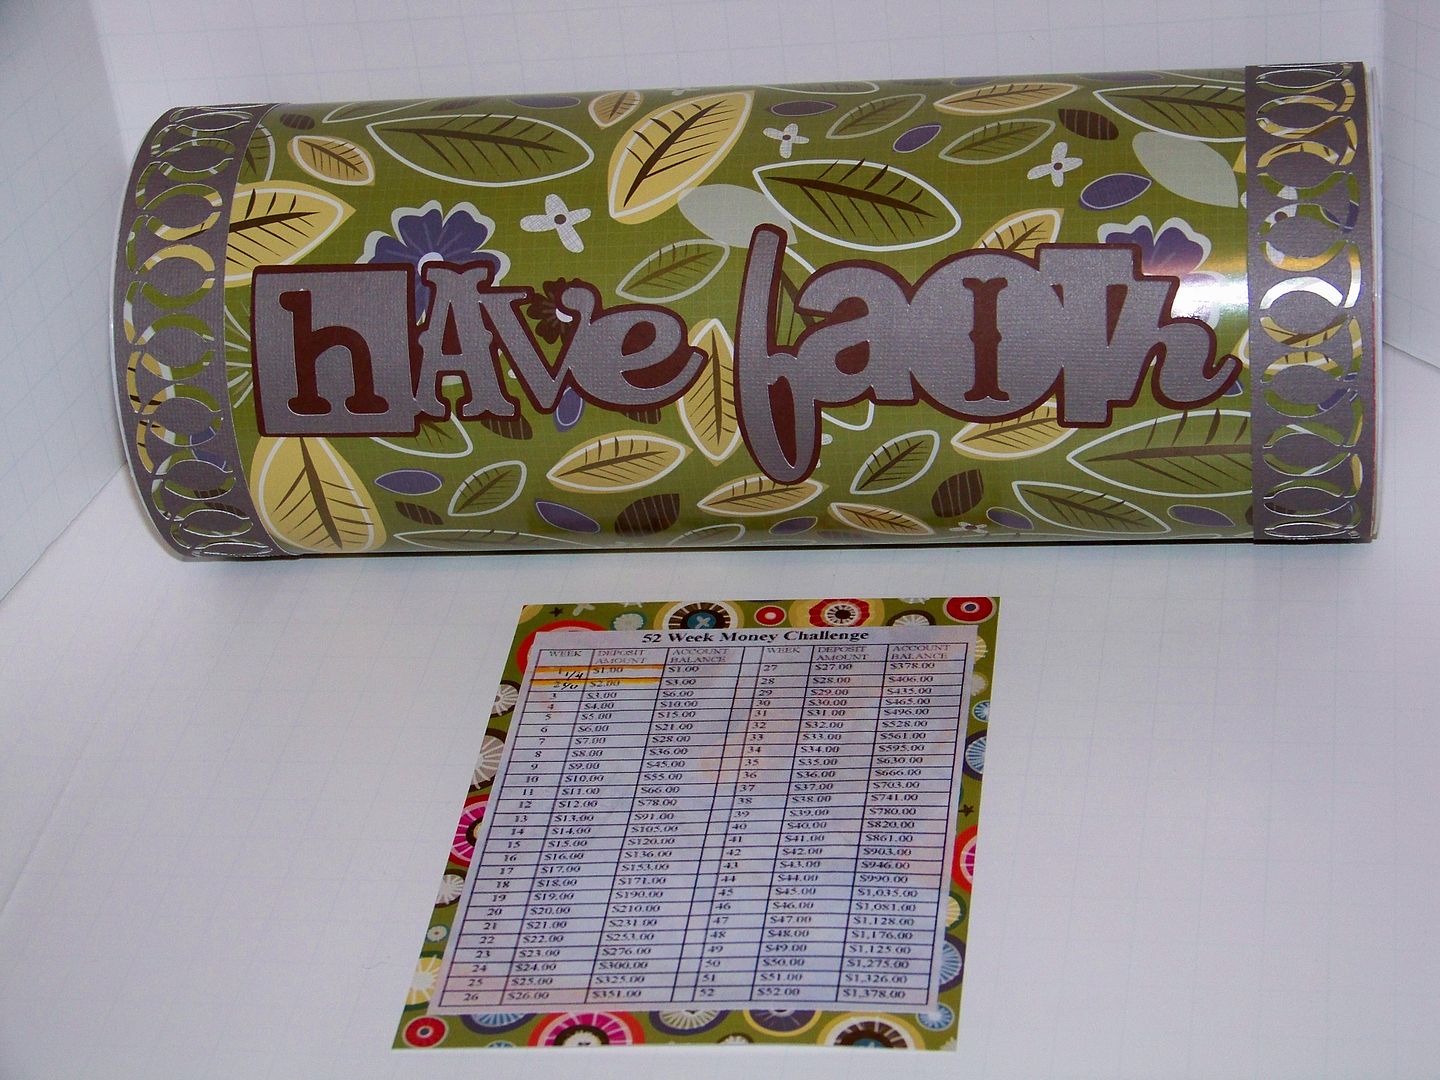
Hello!  This is Nadia from my blog, With Glittering Eyes.  By now, many people have already dumped their New Year's Resolutions, but I have one that you might just want to adopt-- and even though we are halfway through January, it is easy to catch up!  This year, my family is doing a super-easy, extra savings plan that I found on Pinterest.  For each week, one through fifty-two, we put that amount of money aside.  So, for week one, we put in $1.  Week two was $2.  This is week three, so we will put in $3... this will continue until the last week of the year (week 52) when we will put in $52. You get the idea.  At the end of 2013, without doing any extra work and without even noticing the weekly shortage, we will have saved $1378.  Click here to see the pin- and the mini spreadsheet.  (There's no reason that you have to deposit in order so you might prefer to make the biggest deposits earlier in the year and smaller ones during the month of December since the goal is to make this extra saving unnoticed).

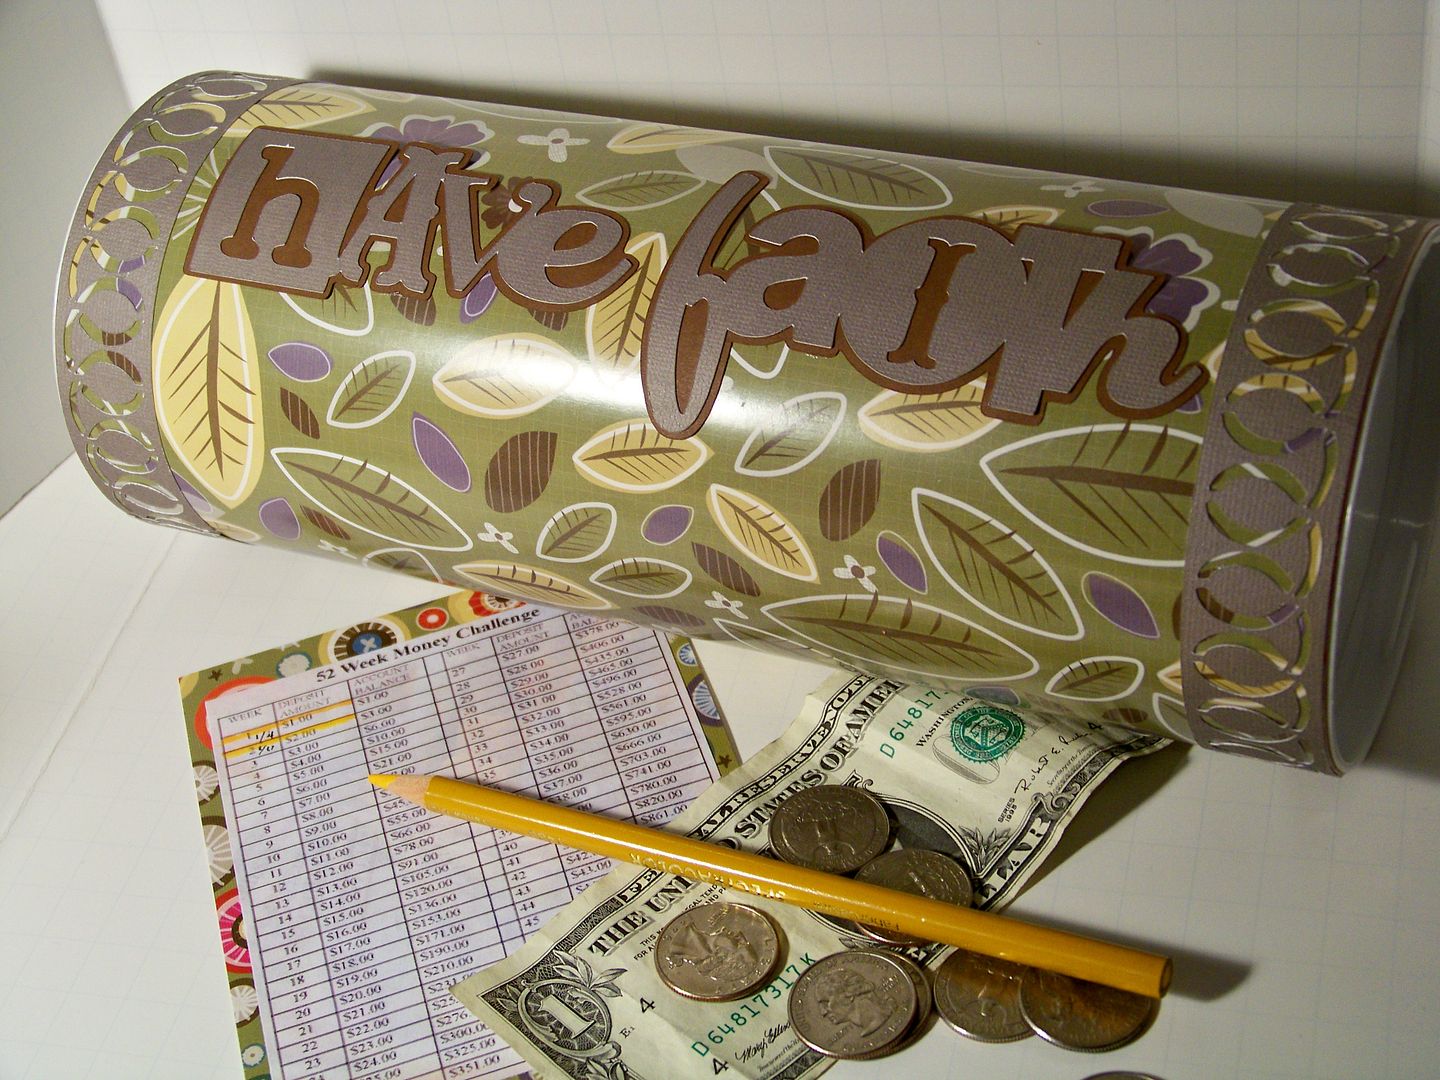
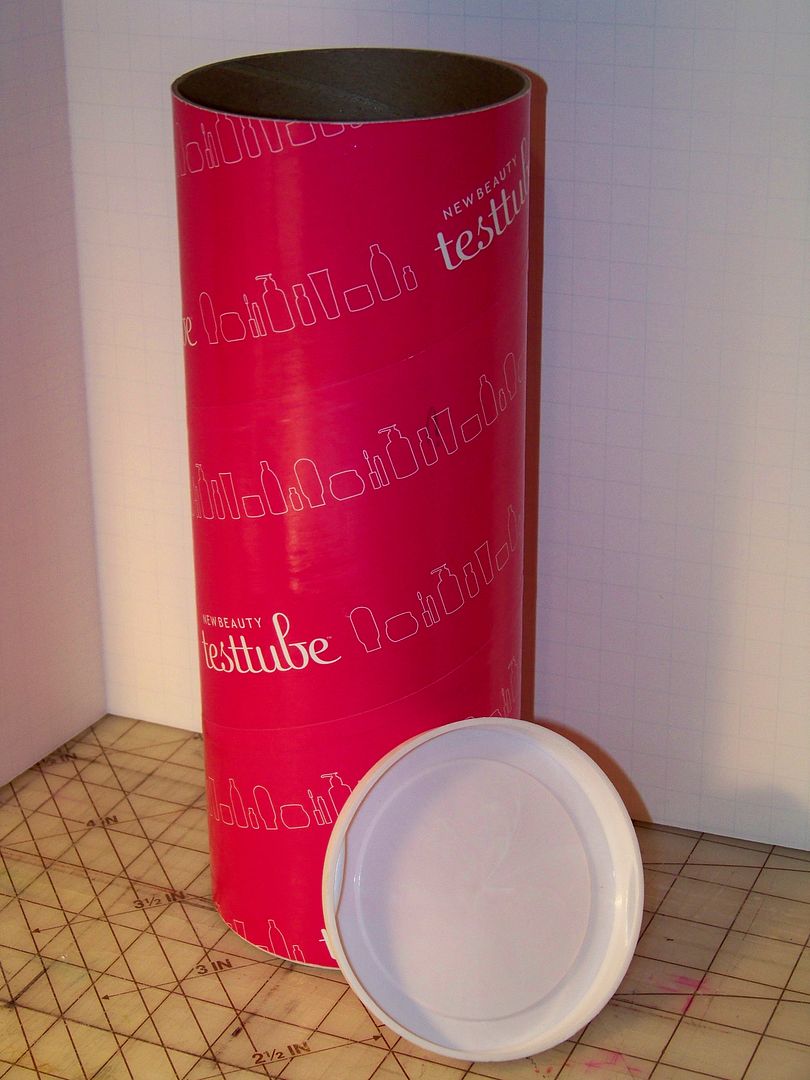
My daughter was concerned that we needed a little bank to hold weekly deposits.  For our little bank, I used a recycled bit of packaging from one of my Christmas gifts and covered it with decorative paper.  She thought this shape looked like a deposit tube from the drive-thru at the bank.


I used Paper Trimmings for borders (page 69, border cut at 1") and Wall Decor and More for the phrase (page 45, cut at 2-1/4").  I picked this text because my OLW for the year is 'faith' so I am trying to work it into some of my projects this year.

I printed off the spreadsheet from the pin-- my daughter particularly likes crossing off the weeks.  We keep it inside with the money.


That's all there is to it-- easy peasy-- and to catch up, it will only cost you three bucks.  This is a great way to make an extra, end-of-year offering at church or to have a little stash to buy a gift for the family to share after the holidays.  ...And it's a LOT easier than keeping that weight loss resolution!

Thank you for checking my post today!


Cricut Info & Supplies Used:
Designed By: Nadia Herbst-McConnell
Cricut Machines Used: Expression
Project Type: Uncategorized
Project Theme: New Years
Cricut Cartridges Used:  Paper Trimmings, Wall Decor and More
Suppies Used: Recycled tube with ends, paper


Tuesday, October 30, 2012

Halloween Charger Plate

Hi There,

Yvonne here from Ink-spirations. Great to be back again and this time I want to share my Halloween Charger Plate. I love making these. They are quick, easy and you can make them for every occasion. After the season has passed storage is easy.

I used several cartridges on this project.

Bats - Happy Hauntings cut at 1"
Happy Halloween - Celebrate With Flourish cut at 2"
Flourishes - Gypsy Font (monogram feature) 1", 1.4" & 1.6"
Border Skulls - Wall Decor & More (border feature) 1.5"
Fence - Wall Decor & More (border feature) 2"
Tree - Happy Hauntings 4.5"
Small Skull beside tree - Indie Art  1"
Bird on Fence -  Animal Kingdom - 1"

All images were sized and cut using CCR. Welded two flourishes together on right side of plate.
The fence had a rooster sitting on it and I cut that off and used a more suitable bird from Animal Kingdom.

There are different ways to work with vinyl. I set my machine to cut the image out through both the vinyl and the backing. I do not use a transfer tape. When I'm lining up to layer my vinyl I peel just a small portion of the backing away and make sure I have the image exactly where I want it and then adhere the vinyl layers together. I then proceed to peel back a little more of the backing and adhere that down. By doing it this way I'm not trying to work with a piece of vinyl that is trying to stick to everything it comes in contact with.

Thanks for stopping by today!
Happy Halloween
Yvonne

Cricut Info & Supplies Used:
Designed By: Yvonne Balmer
Cricut Machine Used: Imagine
Project Type: Home Decore
Project Theme: Halloween
Cricut Cartridges Used: Happy Hauntings, Celecrate with Flourish, Wall Decor & More, Indie Art, Animal Kingdom, Gypsy Font
Other Supplies Used: Vinyl, Black Charger Plate