Hello again! This is Angela from Angies Paper Passion with my October post here at Cricut FANatics. I want to share a Halloween treat box that I designed in the Cricut Design Studio some time ago. This was before the CraftRoom and all of the wonderful cartridges that we have now with the boxes and bags. I used square, rectangle, and tag shapes from Plantin School cartridge to create this treat box that you can use for many, many more occasions other than Halloween. These would be cute for other holidays, birthdays, showers, and wedding favors just by changing the colors and adding an different topper. Oh, and of course, changing the treats inside! I will post the CDS file on my blog for anyone who’d like it.

 (Don’t you just LOVE the purple M&M’s?)
 This is the box after it is cut with the Cricut.
 Now just score! Starting from the left (the side with the window) score at 1”, 3”, 4”, 6”, 7” and 9”. Turn 90 degrees and score at 1” and 3”. (This cut was embossed with the Big Shot)
 Place Scor-Tape on the ends on the 4 tabs.
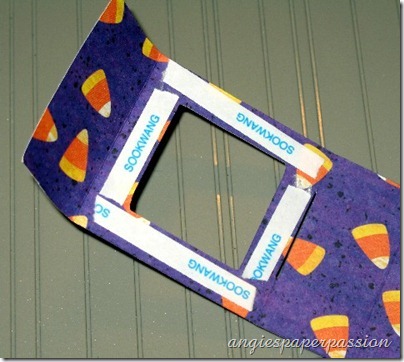 Cut or punch out a square piece of transparency paper that is slightly larger than the window opening. I used a 1 3/4” punch. Use the Scor-Tape to adhere the transparency to the underside of the window opening.
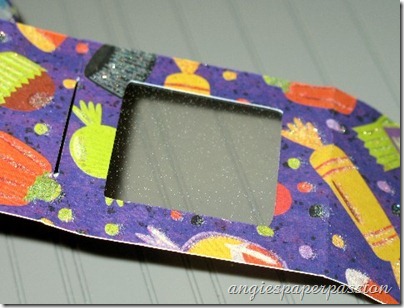 (I tried to take a photo of the top to get the transparency but I can’t tell if you can see it or not)
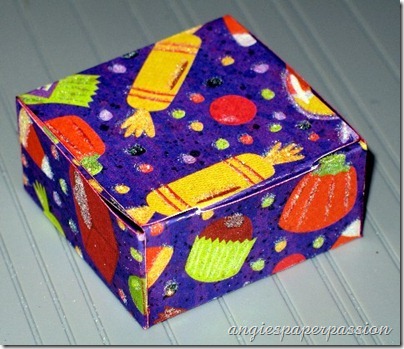 Put it all together and you have a treat box!
 Do not adhere the back flap. This is where you will add your treats!
 Decorate the top….
 and the inside and you’re done! I used Chic & Scary for the spider web on this one and I used Happy Hauntings for the tombstones in the first photo. Remember, I’ll have the CDS cut file on my blog at Angie's Paper Passion.
Thank you visiting and I hope that you enjoyed today’s Treat Box! Have a safe and Happy Halloween!
Until next month, Angela
Cricut Info & Supplies Used:
Designed by: Angela Cromwell
Cartridges Used: Plantin SchoolBook, Happy Hauntings, Chic & Scary
Cricut Machines Used: Cricut Expression, Cricut Design Studio
Other Supplies Used: K&Co. cardstock, Sixxiz Big Shot, Tim Holtz Tattered Banners Die, gemstones, Scor-Tape, pop dots, transparency sheet, square punch, ink, stamp by Stampin’ Up, PC embossing folder, Scor-Pal


