While we are no longer making active post of Cricut projects on this blog as of 8/1/2013, we invite you to use it for continued die cut inspiration as we will leave the blog up for viewing. Happy Cricuting !

Showing posts with label Fabulous Finds. Show all posts

Wednesday, July 3, 2013

A Tiny Treasures Birthday Card


Hello, crafters!  This is Lori from the Singing Shell and today I have for you a child's birthday card.  When I looked through the Tiny Treasures booklet, this happy little bird grabbed my attention for some reason.  Maybe because it was so chubby and cuddly with big round eyes :-)

First, I wrapped some chevon pattern washi tape onto a white sheet of paper. Next, I dry embossed the paper  with Baby's Breath embossing folder to give background some texture without taking the focus away from the fun little bird.  I have wrapped the washi first because it would be hard for the washi tape to adhere to the paper otherwise.

I cut my bird  pieces at 2.5 on the Cricut and assembled them.  I added a little white highlight on the eye so it didn't look so flat. 


I inked the edges with a little Tea Dye Distress Ink because it has a peachy undertone for depth.  I also added Glossy Accents onto the round cut out pieces on the tail to help them pop out.  Without the Glossy Accents the little circles might not pop out enough because of the patterns and colors on the bird.


I used pop dots to adhere the bird to the card.


Lastly, I worked with the heart.  I cut out the heart from Fabulous Findings at .75 inches.  I stamped "wish" with Staz-On ink because I knew I wanted to spritz the heart with some Gilmmer Mist. I used two different types of mists.  When it dried, I threaded the baker's twine through the hole, tied it and added a rhinestone.


So there it is!  A birthday card for a baby or a girl!


Designed by: Lori Sjogren
Cricut Cartridges Used: Tiny Treasures, Fabulous Finds
Cricut Machines Used: Cricut Expression
Project type: Birthday Card
Other Materials: Paper - Stampin' Up (pattern), Bazille (olive), Recollections (white & cream).  Tattered Angels Glimmer Mist: Iridescent Gold, Creme de Cocoa.  Sentiment - Papertrey Ink Mega Messages.  Ink Pads - Tim Holtz Distress Ink in Tea Dye, Staz-On Timber Brown.Embossing Folder - Provocraft Baby's Breath. Twine, washi tape from my stash.

Sunday, October 14, 2012

Boxed Birthday Card

Hello!  This is Nadia from the my blog, With Glittering Eyes.  Today, I have a boxed birthday card to share!

Sometimes the card we make is the gift we give.  To make it more gift-like, I have been thinking about creating boxes for cards that are part of the design, where the card peeks through a window.  With this idea in mind, I decided to make a boxed birthday card for my message board friend, Sherry (Octoberbeauty), who is having a milestone birthday this year (yesterday actually).  We share a day as designers on this blog!  


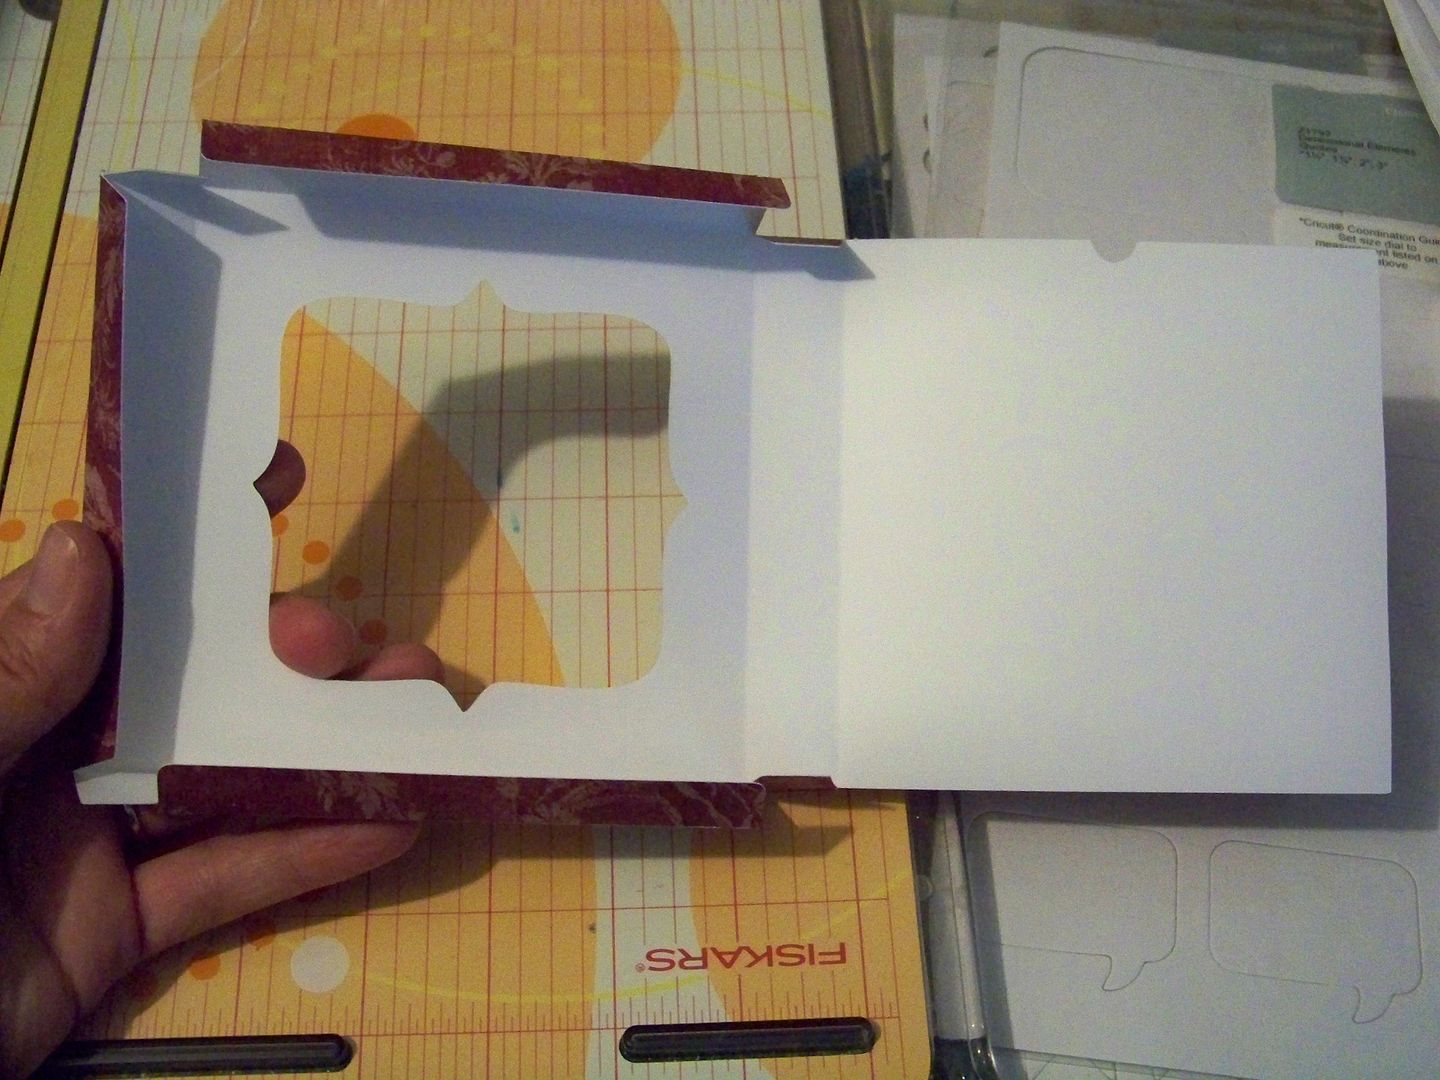
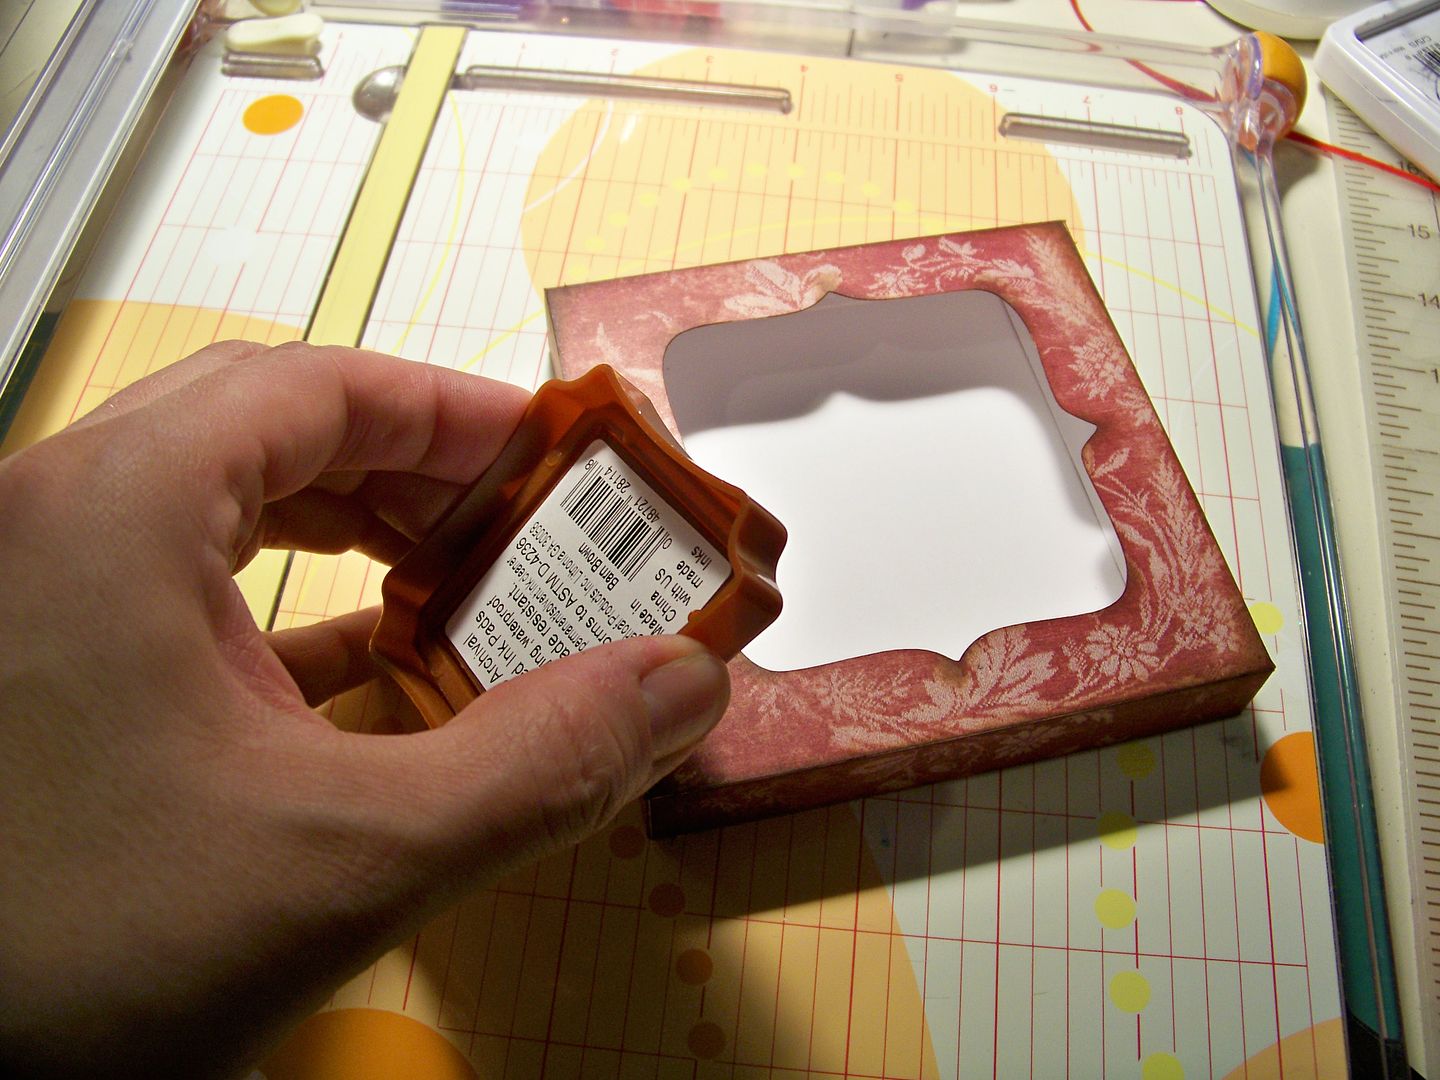
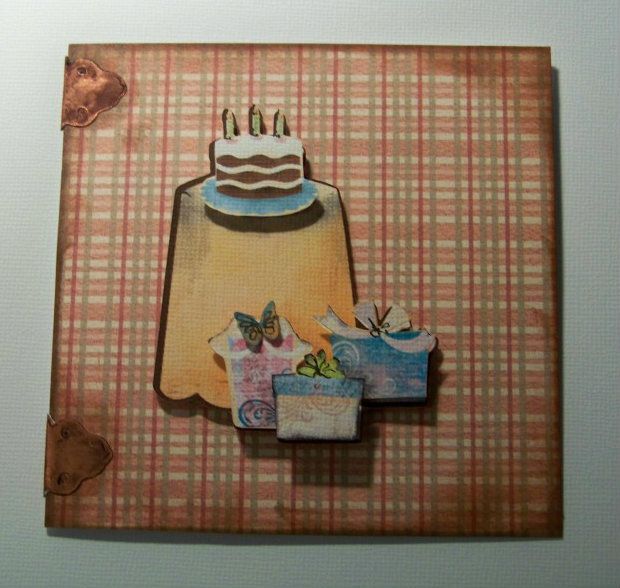
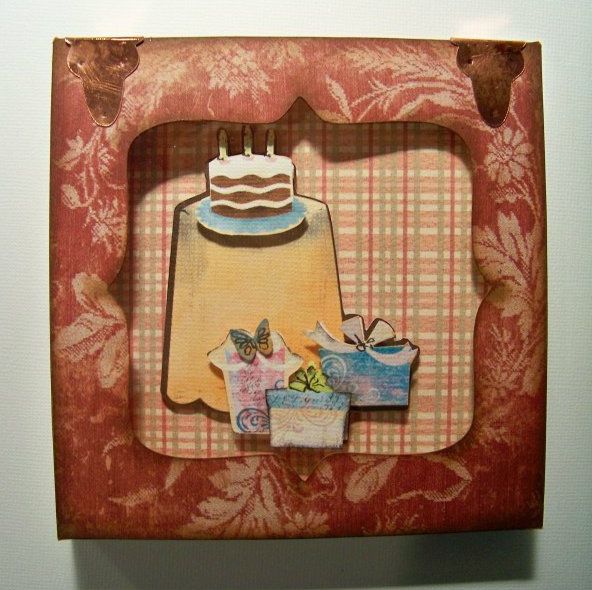
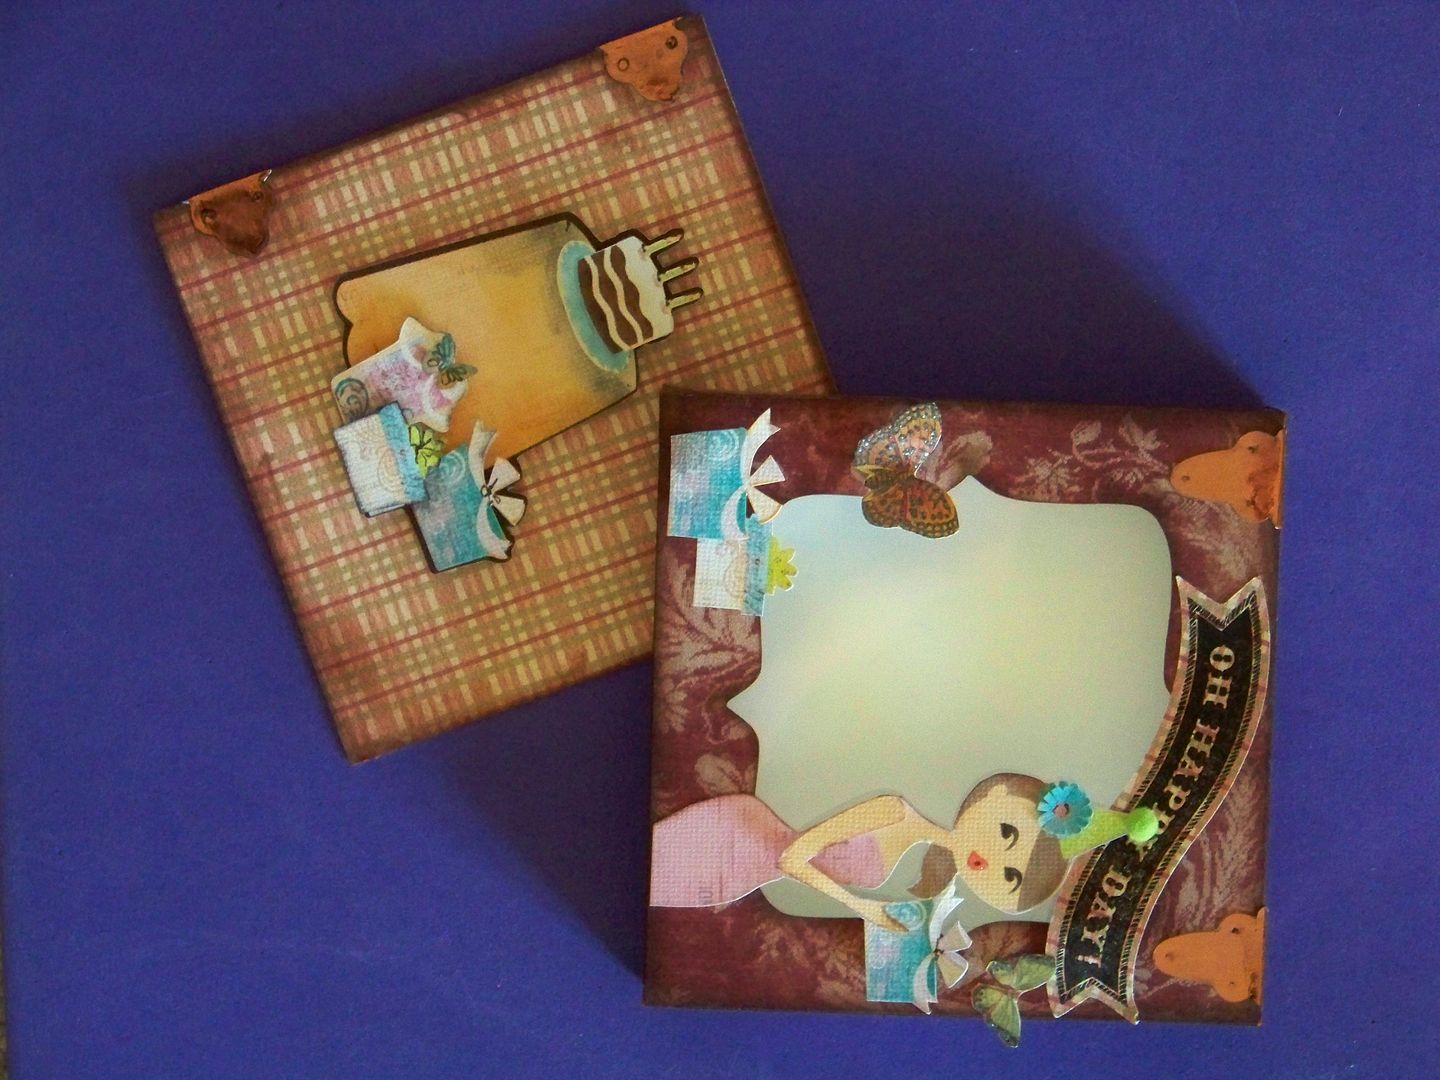
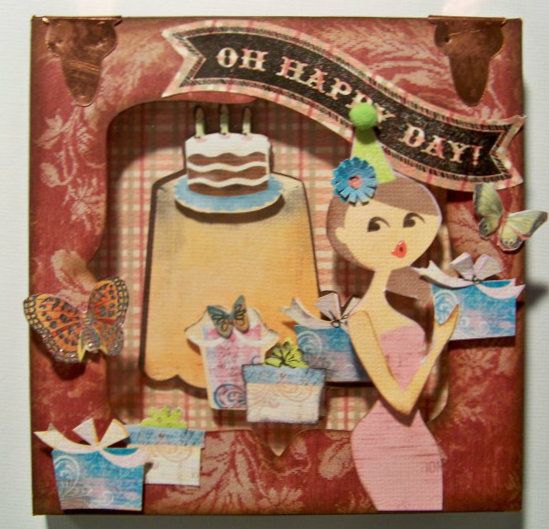
First, I created a box using Cricut Wild Card (page 80), cut at 7".  I used a print and positioned the paper on my mat for cutting with the Expression by placing the top of the print on the right of the mat. I later cut a piece of recycled clamshell for a window at 4-7/16" square.  (Packaging from Cuttlebug folders works great for this!)


Next, I cut a card to insert by cutting an 8-7/8" x 4-7/16" rectangle on the paper trimmer.  I scored at the middle with an Xacto knife to have a card that finishes at 4-7/16" square.  I cut a decorative paper at 4-7/16" and applied to the top.  


I used a brown ink pad and rubbed it over the edges of the box and card to give it a little character... you know, the way aging gives character.  (Get used to the aging jabs, you whippersnapper, you!  Just another service I provide as a person who is older than you, Sherry.)


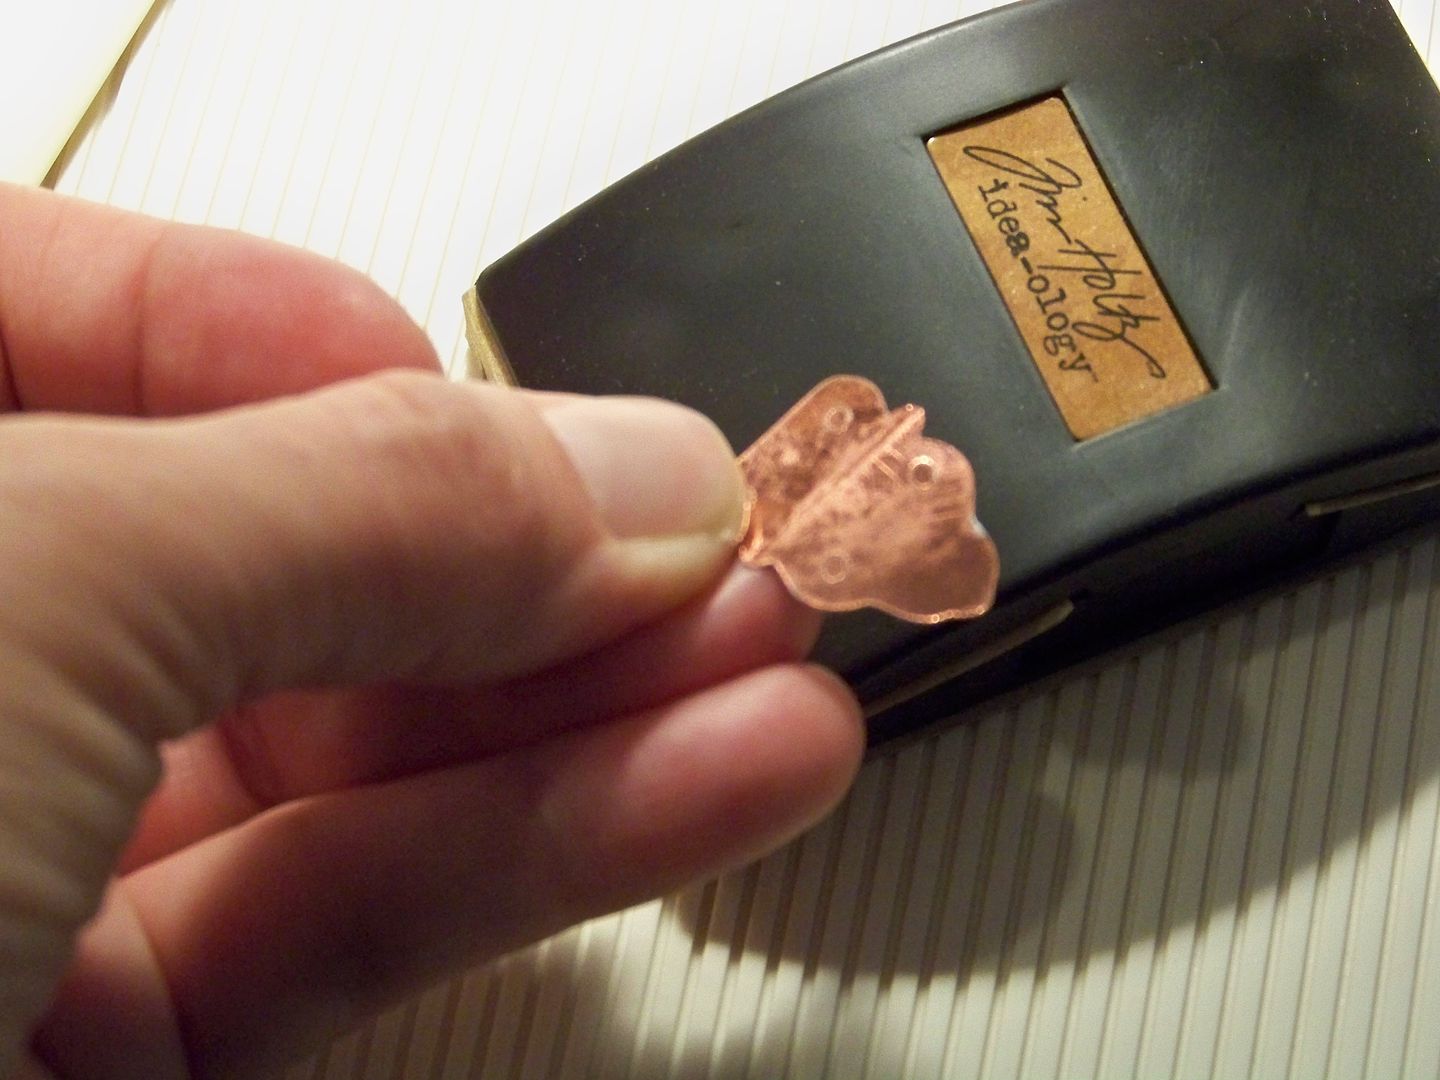
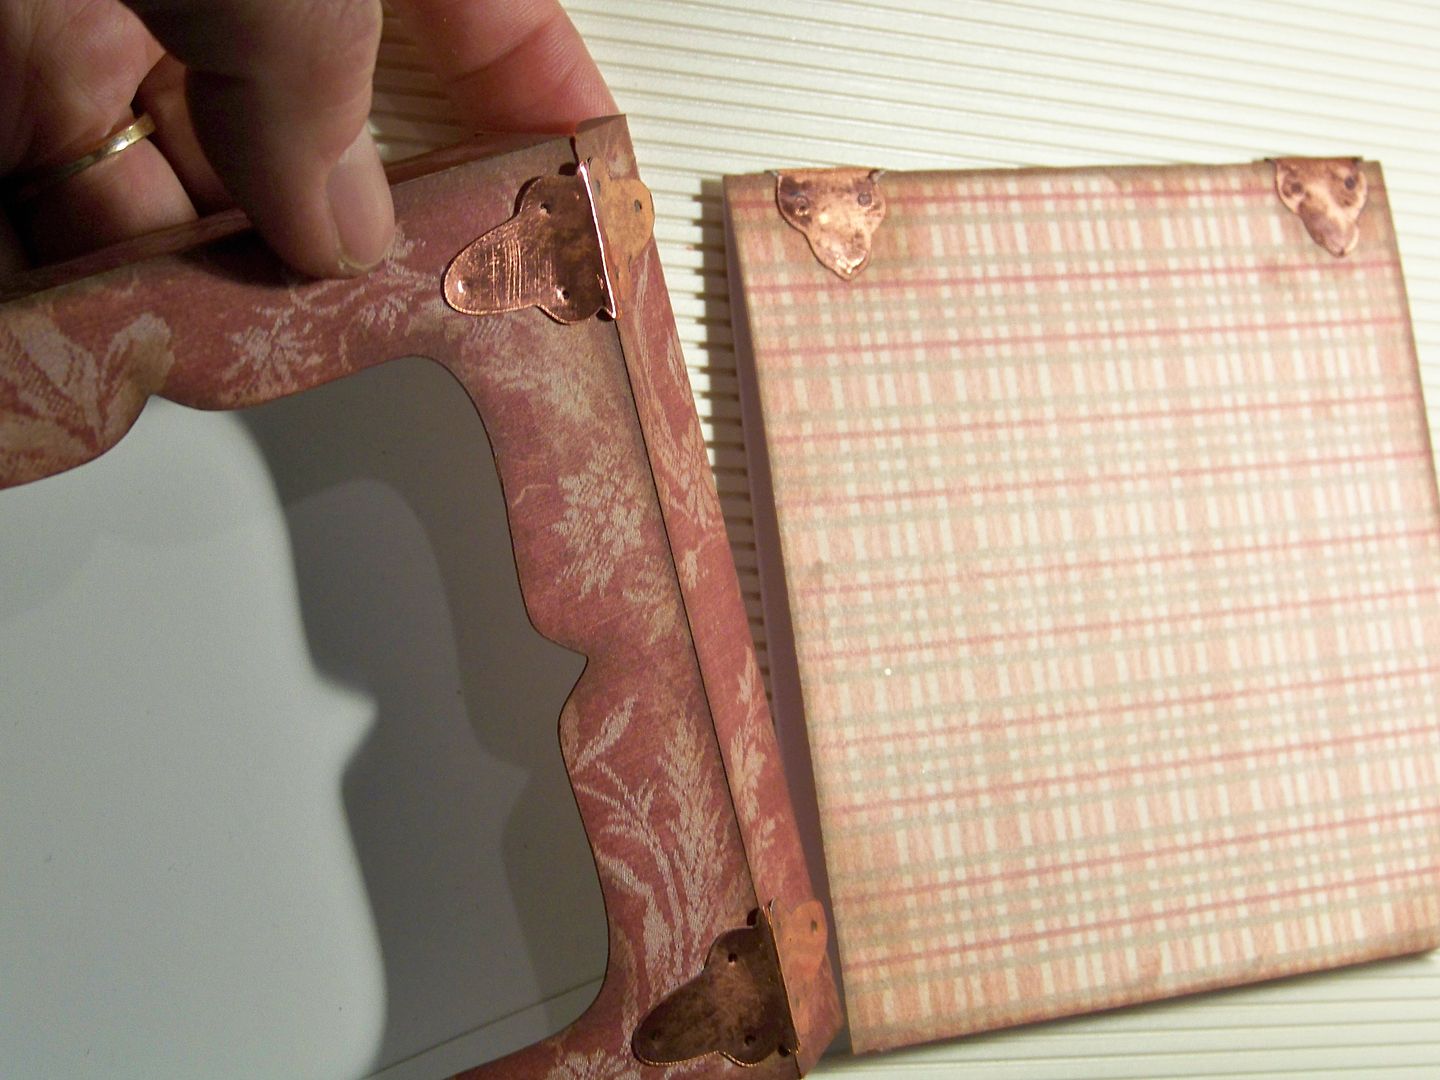
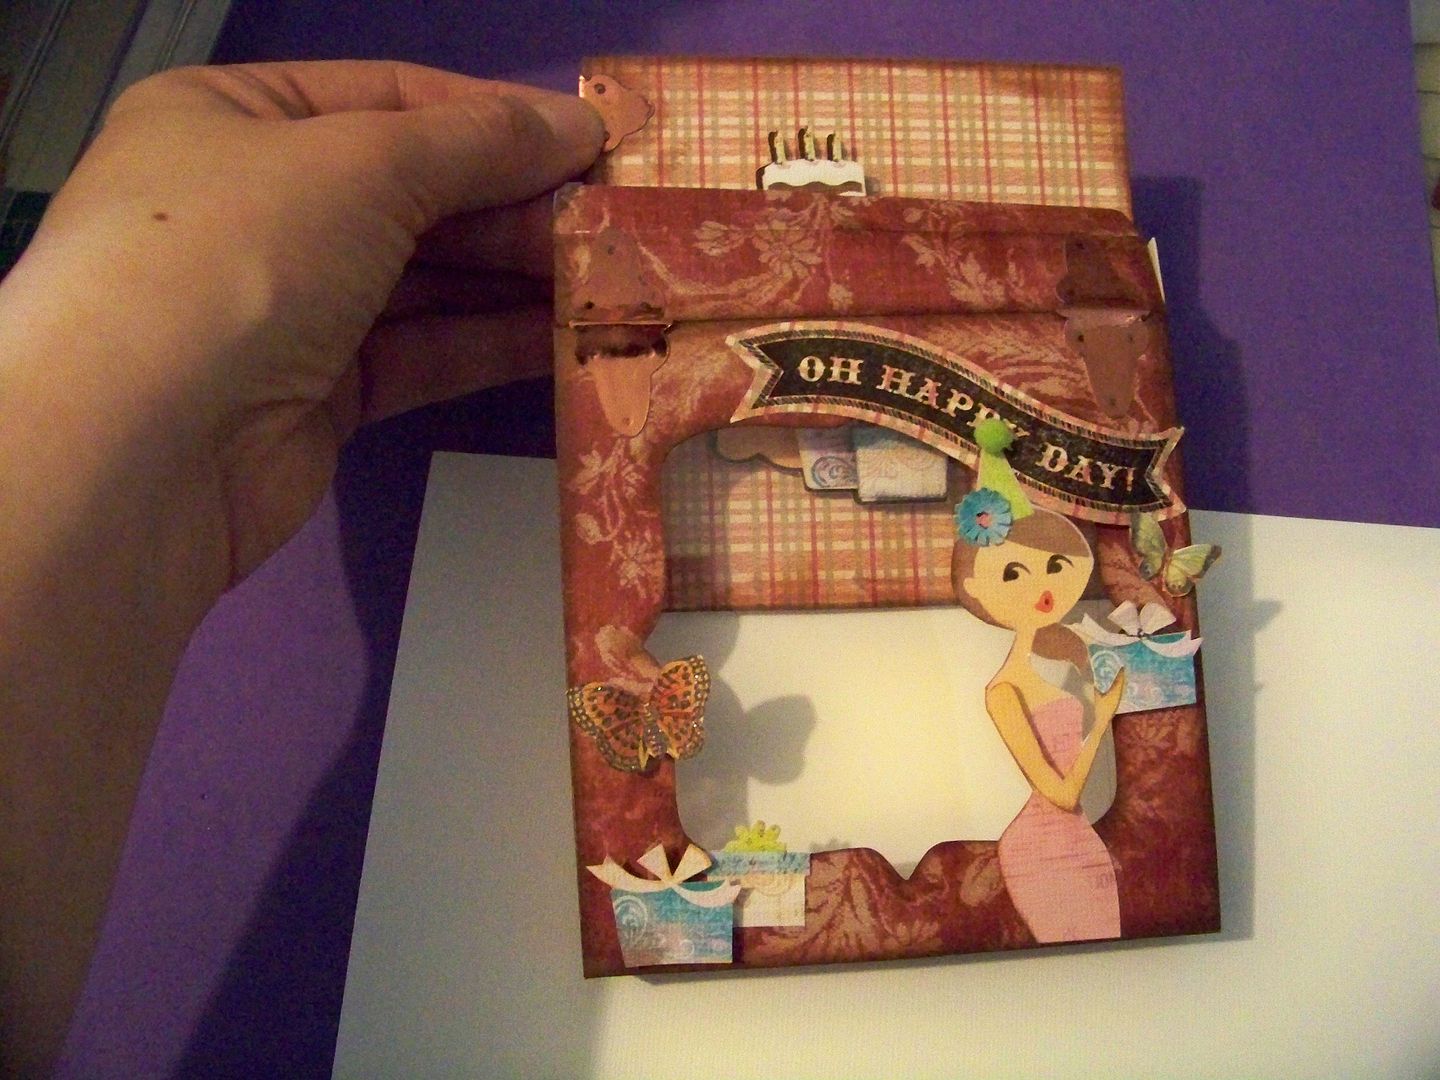
I created hinges-- more character-- by cutting them from Fabulous Finds (page 118) at 3/4".  I sanded the metallic paper to scuff it up and make it more authentic-looking. I scored the centers with a bone folder to help them bend smoothly.  I attached the hinges to the fold of the card and the top of the box at the opening with Scotch Quick Dry Glue and used a burnishing tool to indent them where screws would be inserted on a real hinge.


For the card insert, I added artwork from the Imagine Yummy cartridge, cutting extra layers to pop up for dimension.  I kept it simple because the box design elements had to work with it. I added a tiny hand-colored butterfly.  These elements were popped up 1/8" to 3/8".


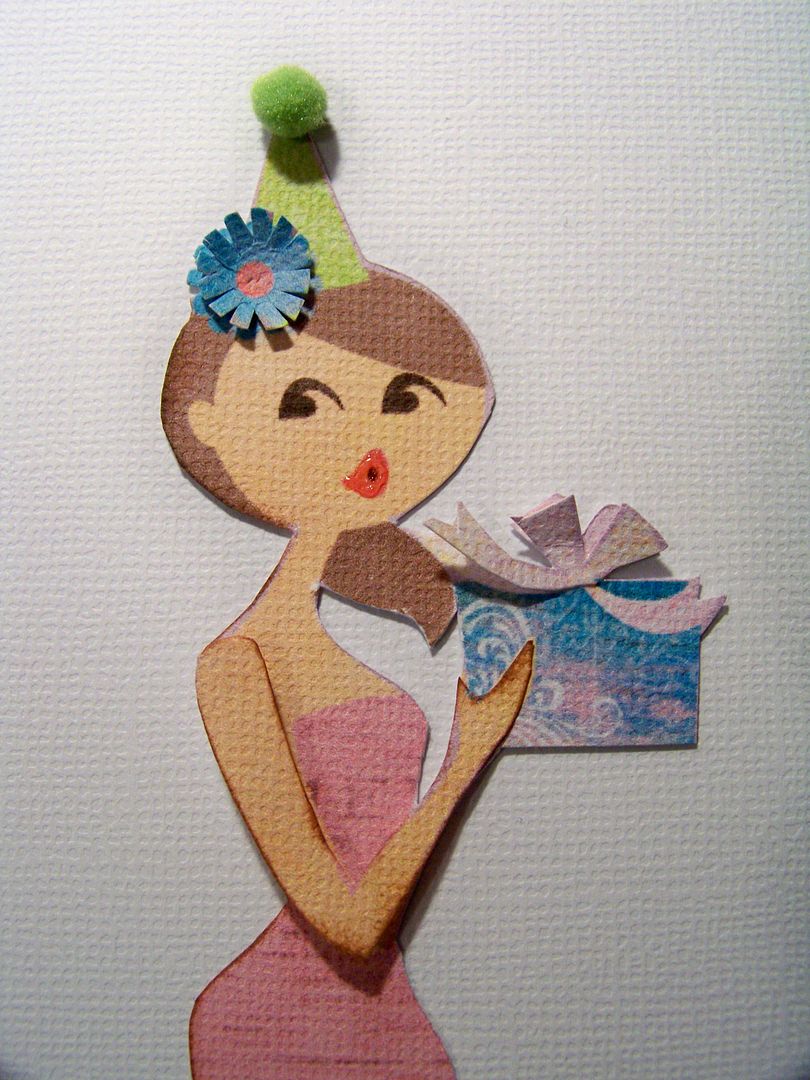
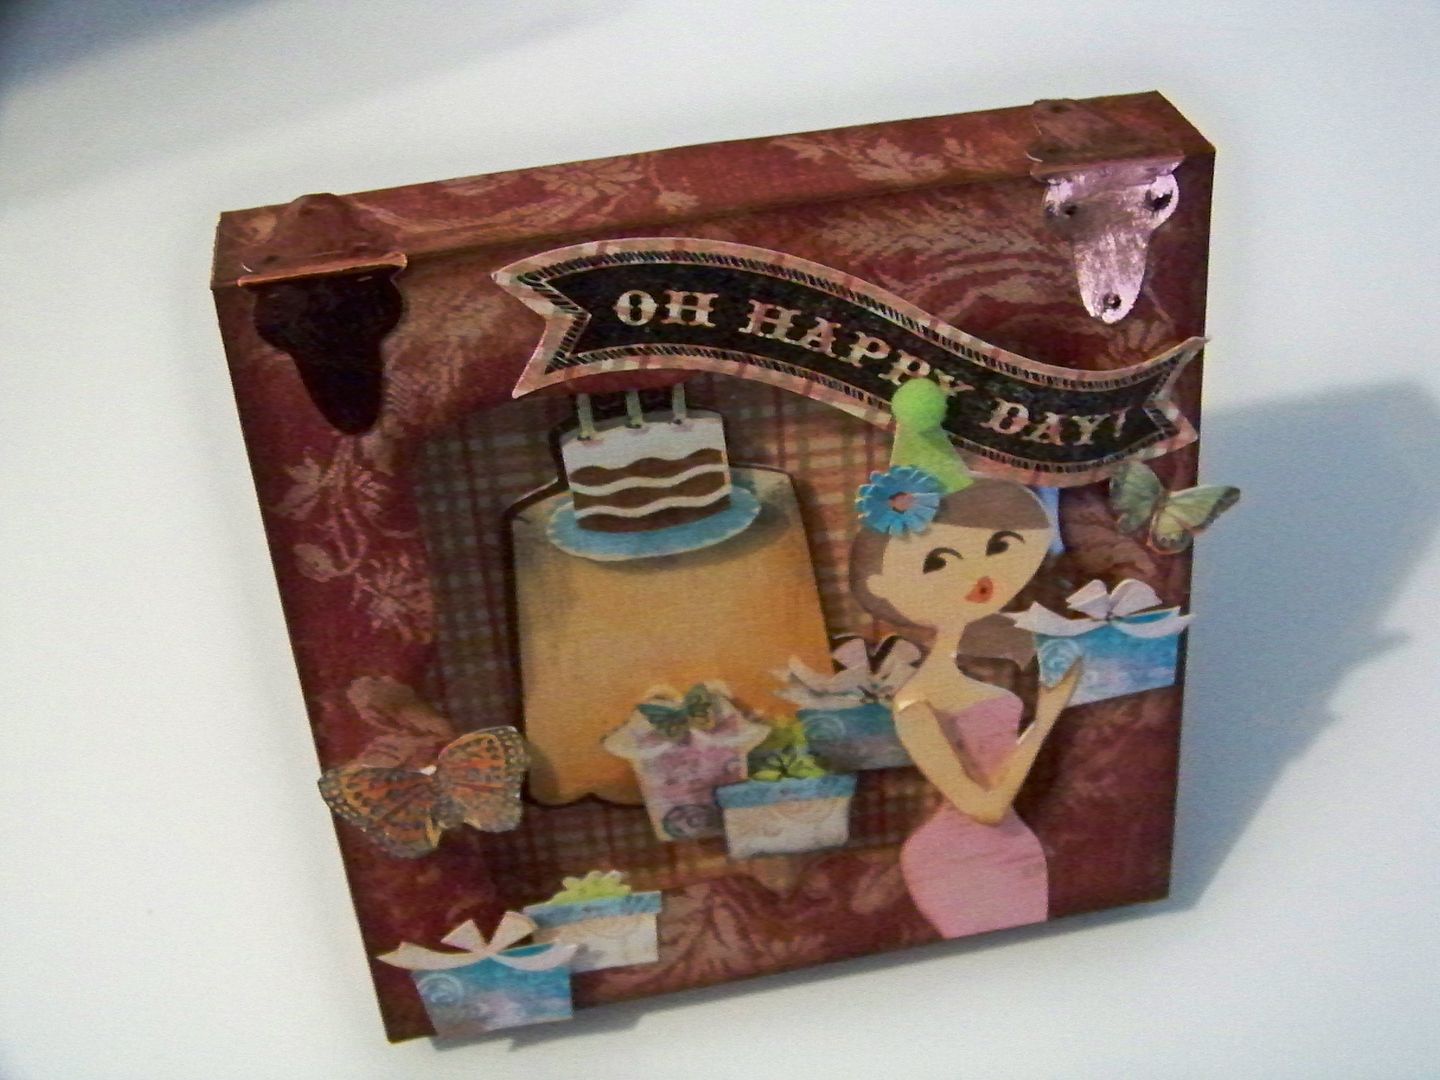
For the front of the box, I printed and cut a 6" figure from the Yummy cartridge twice.  I cropped off her legs, hand-cut off one arm from the second figure and popped it up and inked it for dimension.  I added an extra popped up bow and flower on her hat.  I added a pompom for her party hat and Glossy Accents to her lips.


I applied her to the box with 1/8" pop dots on her upper body and box, but adhered her flush at the bottom.

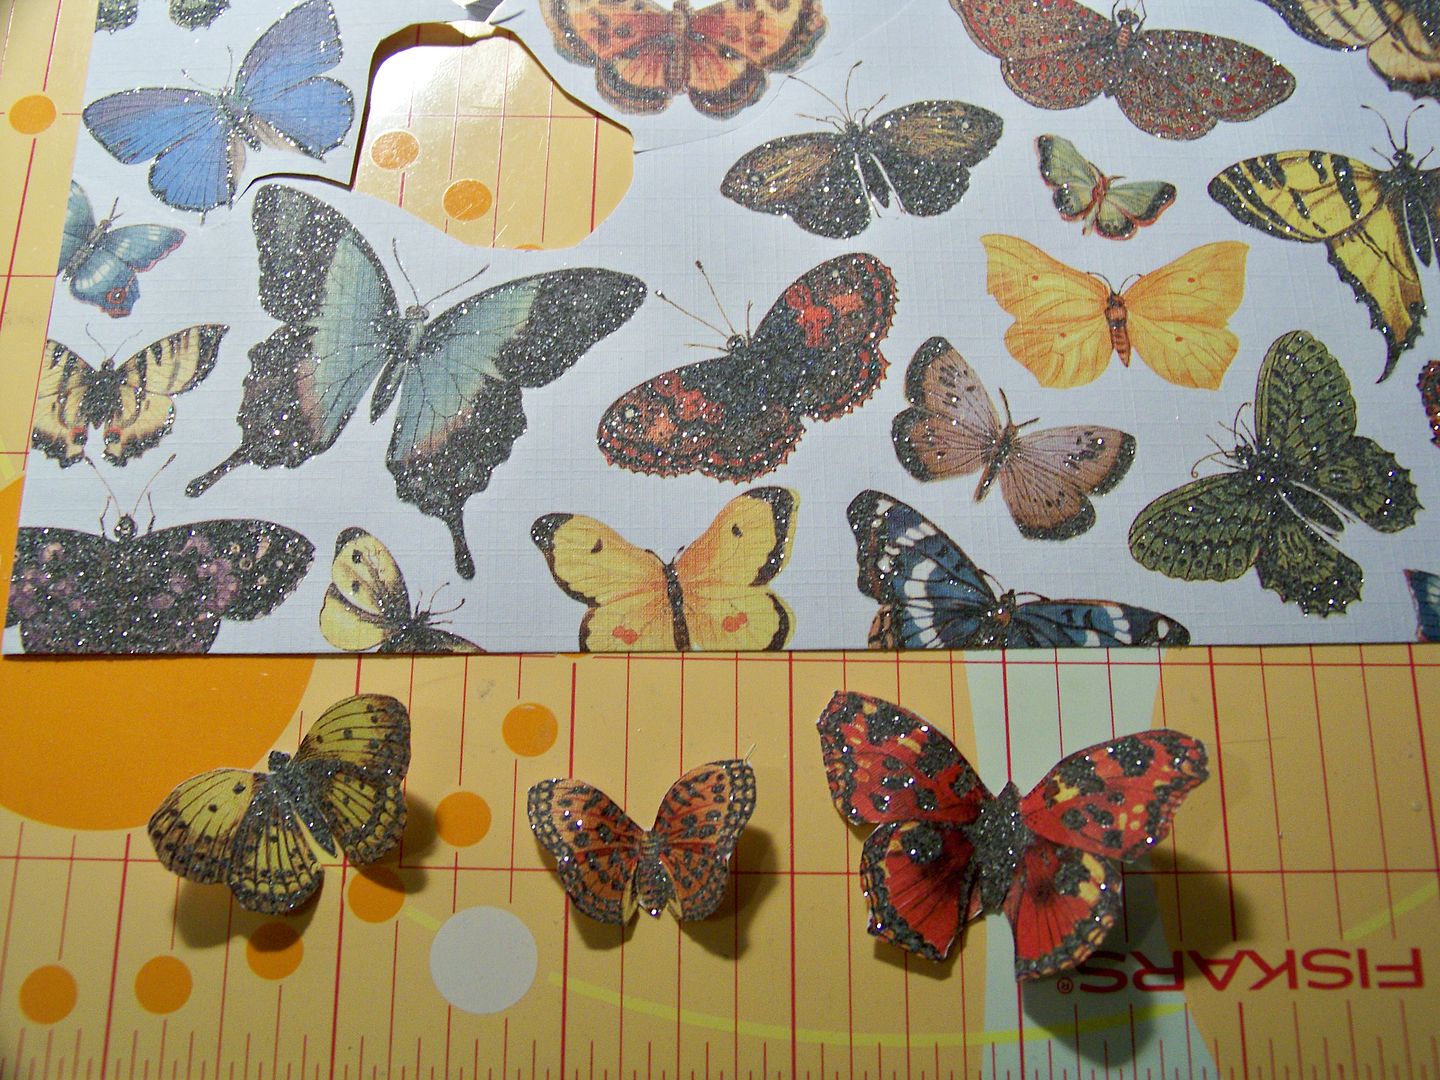
I hand-cut butterflies from a glittery printed paper for the box front embellishments.


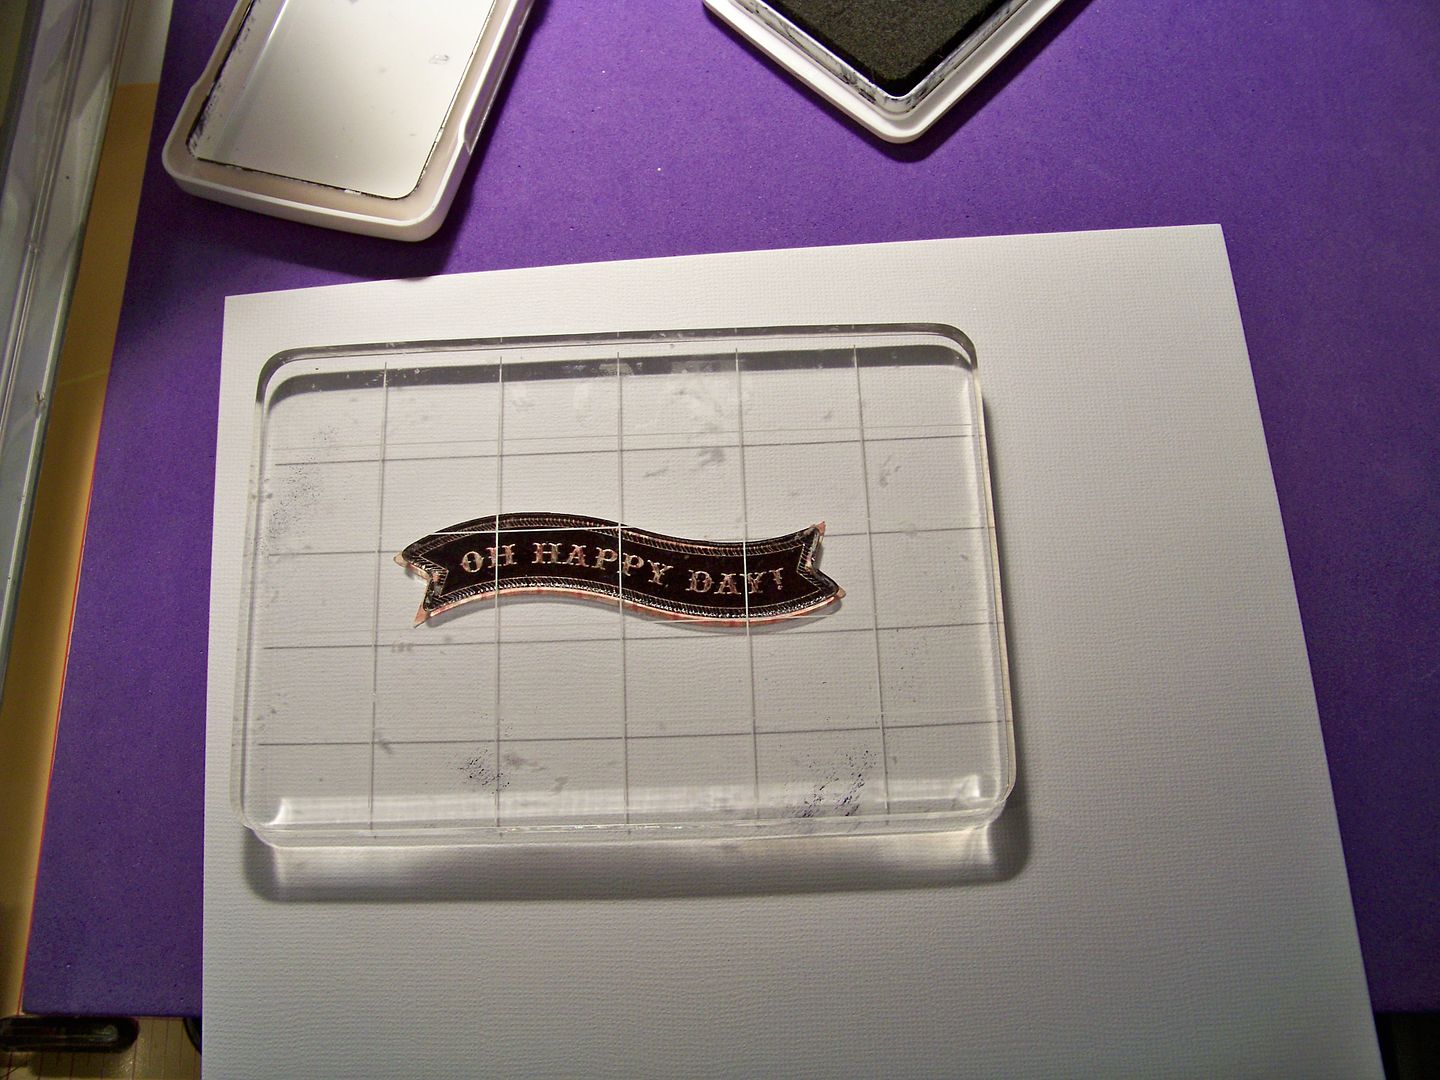
I cut a banner from Artiste (page 58) at 1" in the same plaid used on the card insert and stamped it with the coordinating CTMH stamp.


I adhered the banner after bowing it out.  The butterflies were adhered with pop dots and Scotch Quick Dry Glue.  I added extra packages, popping up one.


When the card is inserted...


It becomes a fun, boxed gift card!


To Sherry:  I hope you had a Happy Birthday yesterday!  (And I hope my card got to you before you saw this post... if not, well, surprises are over-rated anyway and hard on the aged... hahaha)  And I am looking forward to your project later today on this blog!

For everyone else, thank you for checking out my project today!  You can see many of my previous projects by visiting My Project Gallery on my blog.....And be sure you visit my blog November 10 when I will be part of the Holly Jolly Blog Hop!


Cricut Info & Supplies Used:
Designed By: Nadia Herbst-McConnell
Cricut Machines Used: Expression and Imagine
Project Type: card
Project Theme: Birthday
Cricut Cartridges Used: Wild Card, Fabulous Finds, Yummy, Artiste
Suppies Used: Card stock and metallic paper from my scrap bin, ATG tape, Scotch Scrapbookers glue, 1/8" foam squares (pop dots), white and black gel pens, brown and black ink pads, recycled clamshell plastic, Terrifically Tacky Tape, sanding block, Artiste Stamp from CTMH