While we are no longer making active post of Cricut projects on this blog as of 8/1/2013, we invite you to use it for continued die cut inspiration as we will leave the blog up for viewing. Happy Cricuting !

Showing posts with label All Sports. Show all posts

Sunday, April 14, 2013

Happy Spring!

This is Nadia, from my blog, With Glittering Eyes.  
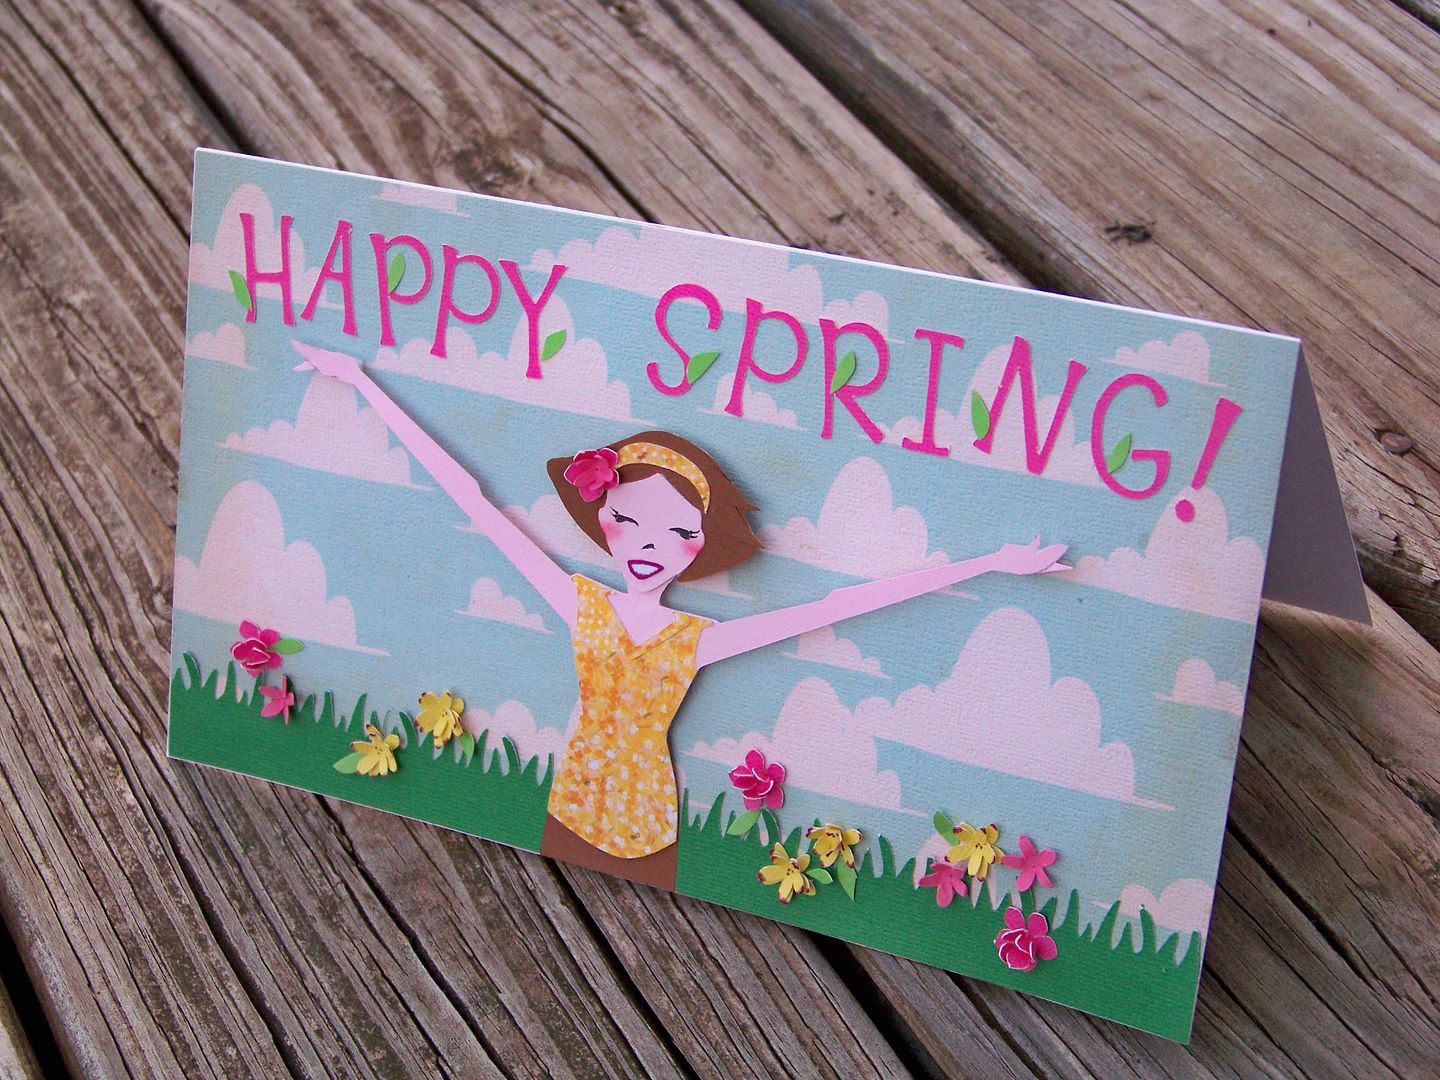


Finally, the snow and cold are gone (I hope!!) and the flowers are in bloom around here!  The day I made this card, it was 81° (ok, a little warmer than spring-like temps, but welcome nonetheless) and all the ornamental pear trees in my neighborhood bloomed all at once on that day!  The sky was blue and the breeze was perfect.  Between my errands and walks, I was stuck in the office... but I stole away a bit of time in my crafty space to make a quick card for a friend.

For this card, I started with the cheerleader image on Cricut cartridge All Sports and cut it at 6" on my Expression.  I cut away her legs and pompoms.


I trimmed down her hair and hand-cut a couple of extra locks.  I cut  an extra "hair do" from flesh colored paper, and created an extra face from the waste, backed it in black and added a little hand-drawn detail to her eyelashes, instead of trying to glue on those teeny, tiny features!  Doing this, she also gained a chin and her head tilt changed.


That GINORMOUS mouth was cut from the cartridge at the 6" relative size (like the body) but my 9-year-old daughter told me it was ridiculous.  Kids tell you honestly what you already know!  I peeled that crazy, big ole mouth off and re-cut only the white layer at 5-1/2" relative size and edged it with hot pink marker.
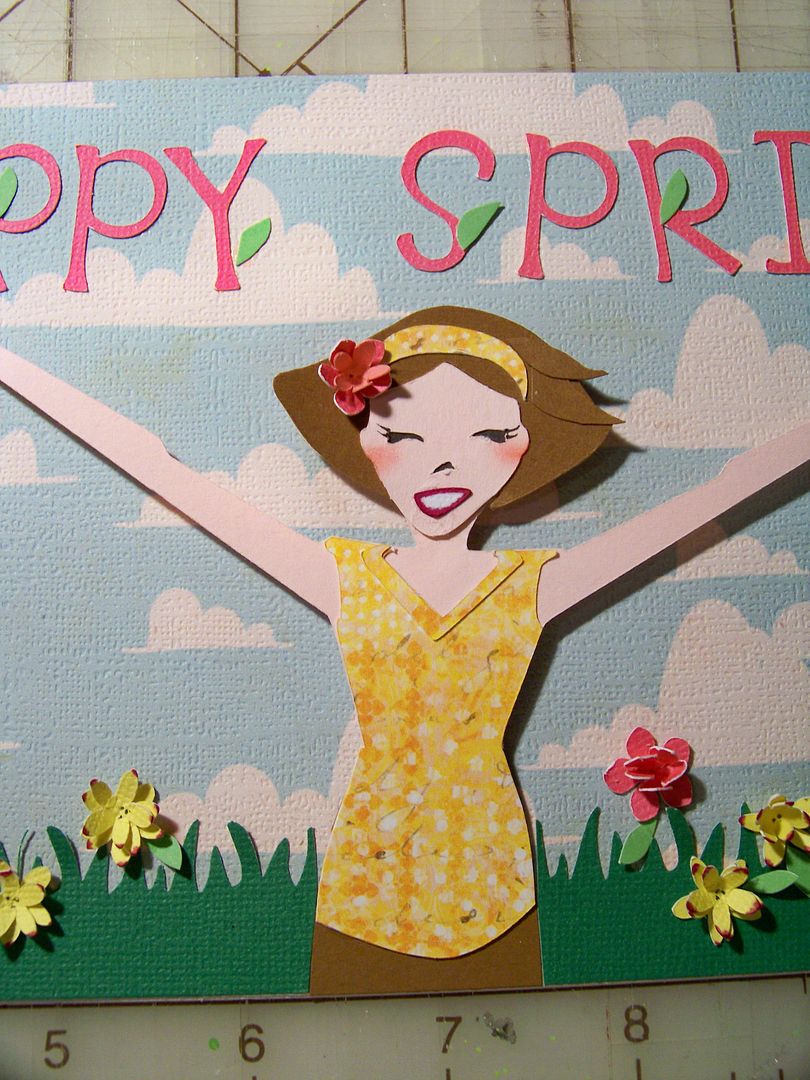

Much better, don't you think?  I added the collar detail from the cartridge cut and hand-cut a skirt.

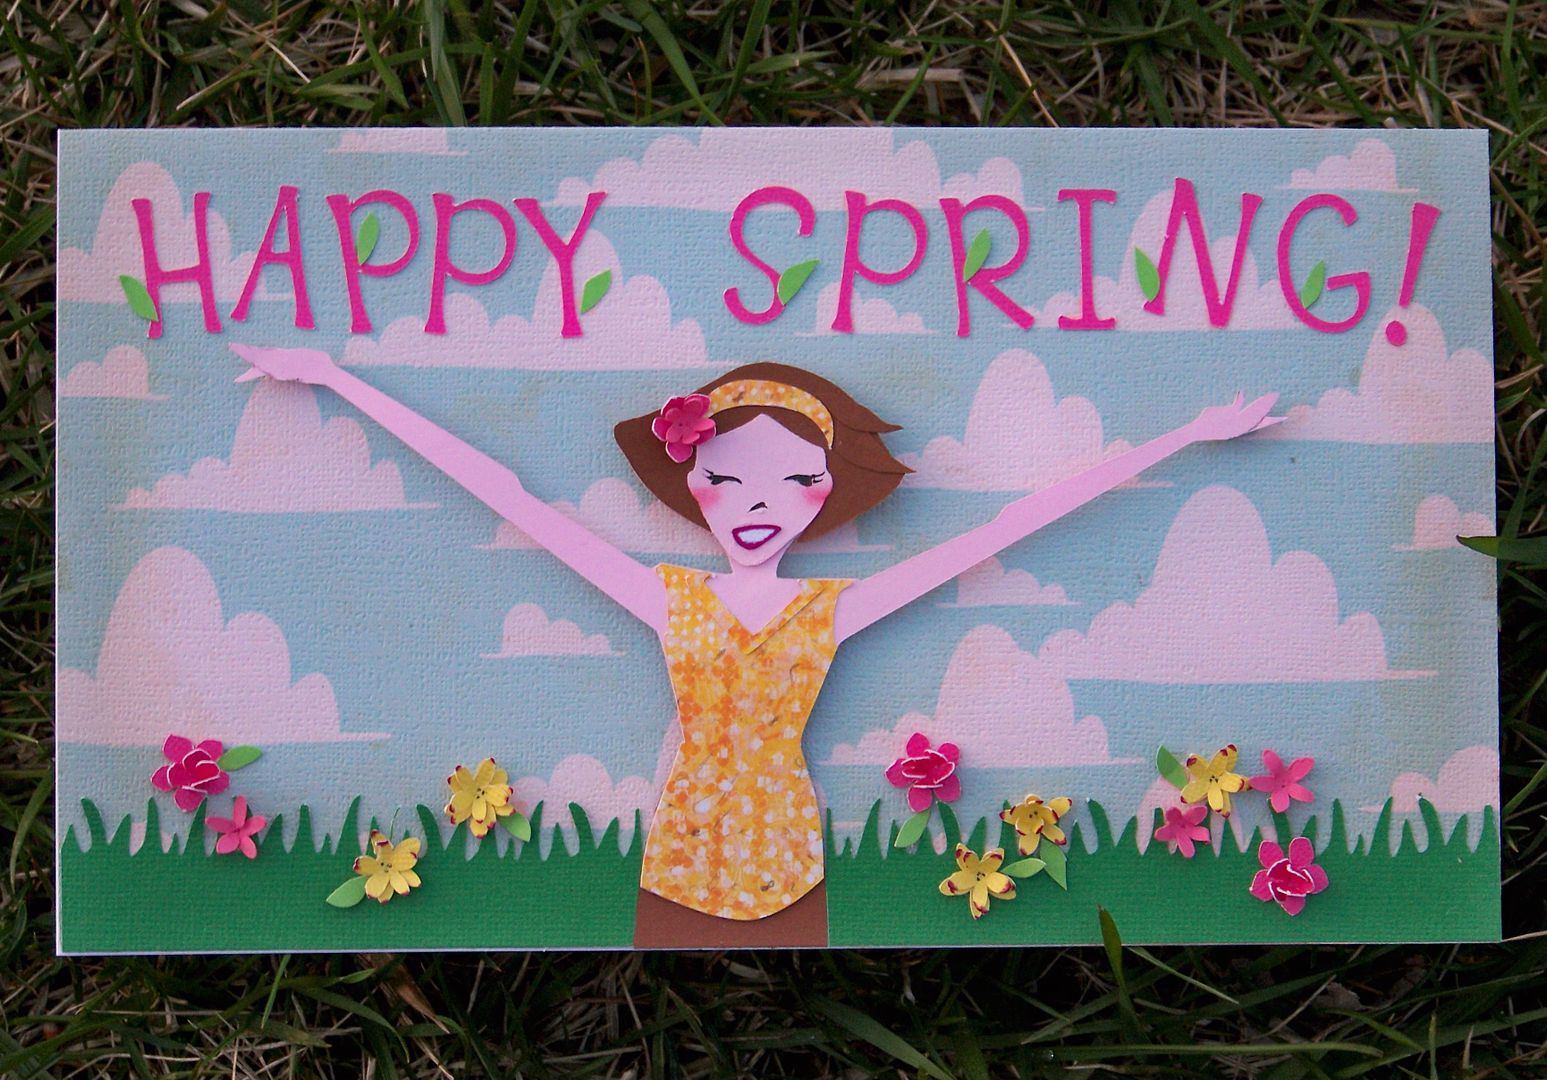
The background was printed from the Imagine cartridge Best Friends.  I trimmed it to 5-1/8" x 9".  The figure was popped up on all edges except for the bottom which was adhered flush to the page.

The text was cut from Alphalicious at 1".  The flowers were cut from Mother's Day Bouquet at 1/2" using keys #5 and #27 and layered for dimension.  The grass was edge-punch-cut and the leaves were hand-cut.

Thank you for checking my post today.

I hope you are having a bit of spring wherever you are today!

To see many of my previous paper projects, check out My Project Gallery (click here) on my blog.

With Glittering Eyes is on Facebook (click here
and on Pinterest (click here)!  
Of course, you can always find me at withglitteringeyes.blogspot.com!


Cricut Info & Supplies Used:
Designed By: Nadia Herbst-McConnell
Cricut Machines Used: Expression
Project Type: Cards
Project Theme: Spring
Cricut Cartridges Used:  All Sports, Best Friends, Alphalicious, Mother's Day Bouquet
Suppies Used: Paper, Quick Dry Glue, pop dots, edger punch, microfine pen, ink, scissors


Saturday, April 6, 2013

Basketball Birthday

Hello!  I am Michele Green from www.michelegreen.com, here today to share a birthday card with you.  We have a basketball fanatic in our family who just celebrated a birthday.


The basketball hoop is from the All Sports cart at 3".


The inside was printed from my computer. 

I hope you enjoy this boy birthday card!


Cricut Info & Supplies Used
Designer: Michele Green

Machines Used: Expression

Cartridges Used: All Sports

Other Supplies: Cardstock, adhesive, pop dots, printer, birthday stamp

Thursday, February 21, 2013

FORE!

Happy Thursday everyone. I'm L.B. from Cool Beans By L.B. and I am happy to be back for my day at Cricut FANatics. Recently, we heard from our followers that you would like to see more masculine themed projects. I have a lot of wonderful men in my life who enjoy getting my cards, but I find it hard to make these.  I am taking the challenge.  For the next few months I am going to do my best to share a masculine themed card or project with you on the 21st! I hope I can give you a little inspiration. Here we go with round one:
Know anyone who loves golf? I do and I came up with this cute Valentine for him. I started with the All Sports cartridge that has some great golf images (for male or females). I selected the guy swinging because I think he is the most  fun. I cut him and all is layers at 3.75 inches. I laid everything out on my Gypsy before putting the papers on the mat and cutting. Next came the gluing, which I did on the mat (a few small pieces)
I was really pleased with how easy the layer went together on him (although I drew in the face because I must have thrown away the small cuts). Next, came the phrasing.... I loved this "fore!" cut from a different golfing page in All Sports and it got me thinking: "Fore you!"
I cut the "fore" and its layer at about an inch an half height and then cut this fun "you" cut from Graphically Speaking for the inside.
I used a mesh texture embossing folder for some more fun on my backing layers and put it all together.  I hope you enjoyed part one of this journey and will come visit us again soon.

Supply Information:
Cartridges: All Sports (golfer page 47) and Graphically Speaking
Additional Supplies: The Paper Studio Mesh texture embossing folder, Recollections papers

Saturday, October 6, 2012

Fall Soccer layout

Hello!  This is Michele from www.MicheleGreen.com.  I'm happy to be back again this month!  When I think of October's theme fall, the first thing that comes to mind is jumping in the leaves!  But... I don't have any pictures of that.  I must be too busy in the leaves myself - ha!  Another fall thing in our house is soccer.  So that is what I bring to you today - a fall soccer scrapbook layout.


My older DD really likes to play soccer.  She plays in the rec league in our town.  When asked what she liked best about last season, she said, "I guess everything.  And I really liked my team."  So I guess that was a pretty good year!

So how did I make this?  Well, the soccer green pattern paper was in my stash.  The soccer girl is cut from the All Sports cartridge.  She was cut at fit to page, which ended up being just over 8".  A little tidbit about this girl - she does not fit exactly on her base layer.  I had to do a little trimming so that she didn't have grass growing off her arms and legs.  Or... in soccer you do get a lot of grass stains, maybe they meant it that way?!


The title was cut from Varsity Letter, the Lite cart.  Fall was cut at 1.5" and Soccer at 2".  I used the Narrow feature key because I think those letters are so much easier to glue together than the normal font.  I'm not sure the name of them but I used the Scotch dimensionals that you see in the picture to pop up the word fall. I love these when I want something to stick up but not too much.  They are made of a soft foam and are easy to squish down.


Here's just a fun pic of the layout in progress as I thought things out and decided where things were going to go.


Here is a closer view of the left hand final page for you:


The journal box there is from the phrase key of the soccer girl I used from All Sports.  It was cut at 2.5" in purple and 2.25" in white.

And of the right side final page:


And lastly, I have one fun picture for you.  Do you ever wonder what someone's desk looks like in the middle of a project?  Here was mine in the middle of this layout.  Do you see all that nice corner desk work space?  Yeah, me neither!  All that space and somehow it all gets instantly covered up and I end up working in a 6x6" area.  Sheesh!  :)


I hope you all have a wonderful weekend!!

CRICUT INFO & SUPPLIES USED: 
Designed by: Michele Green
Cricut Machine Used: Expression
Cricut Cartridges Used: All Sports, Varsity Letter
Other Supplies Used: Green soccer paper; white, black, green, and purple cardstock, black ribbon, Scotch Pop Ups