
This is Nadia, from my blog, With Glittering Eyes.
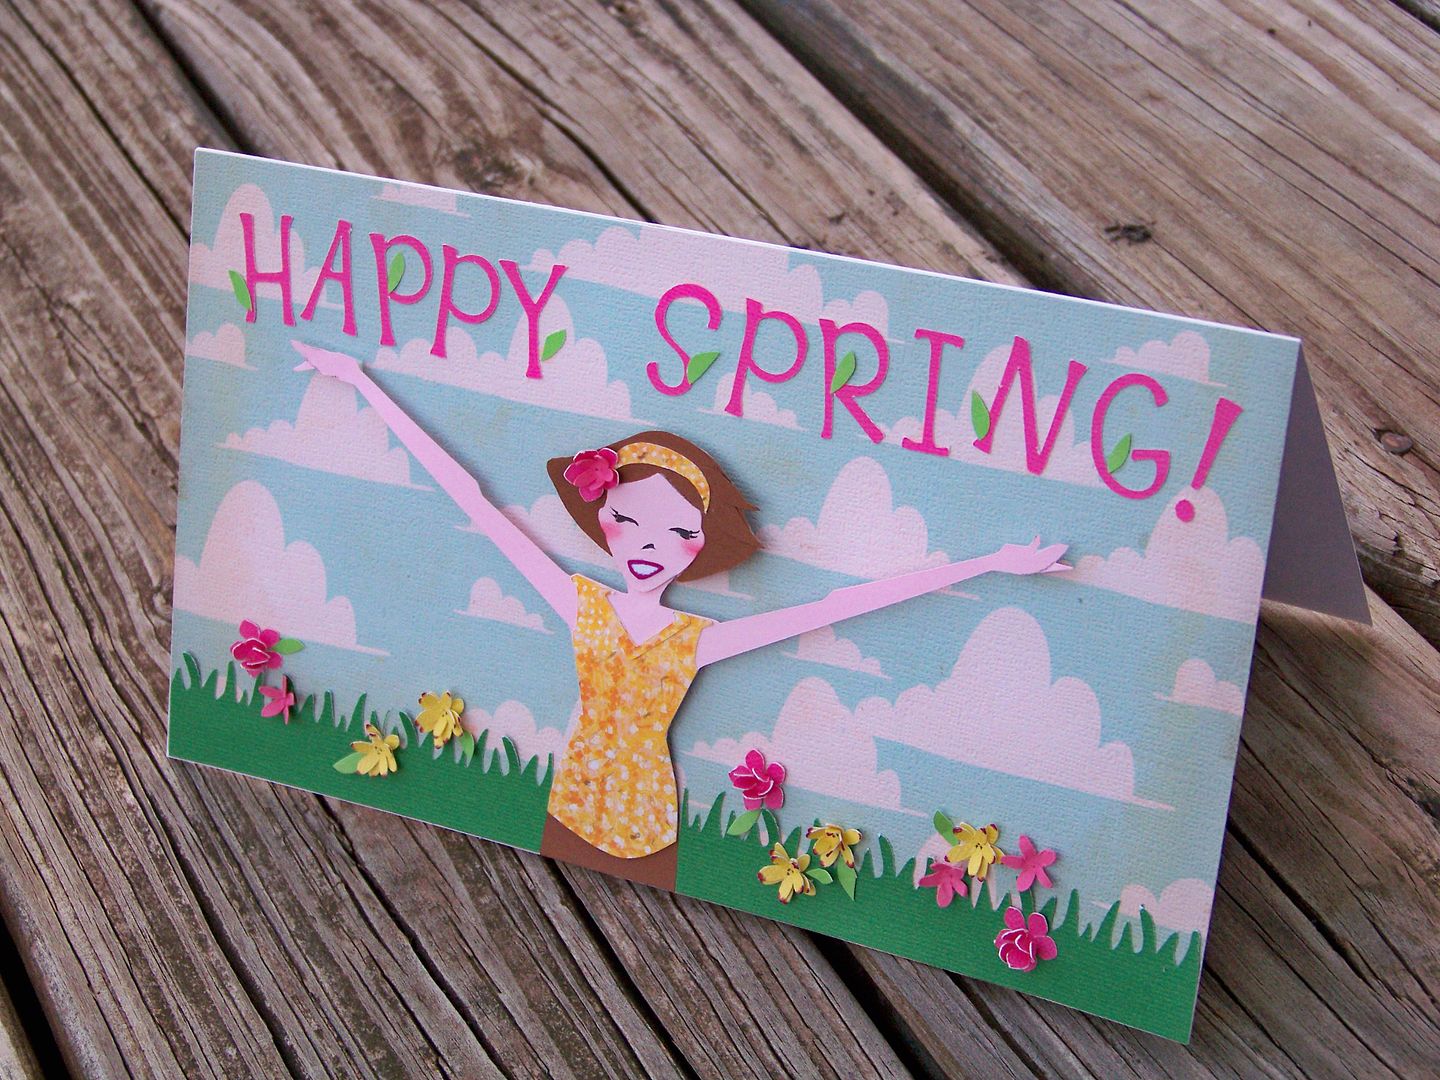

Finally, the snow and cold are gone (I hope!!) and the flowers are in bloom around here! The day I made this card, it was 81° (ok, a little warmer than spring-like temps, but welcome nonetheless) and all the ornamental pear trees in my neighborhood bloomed all at once on that day! The sky was blue and the breeze was perfect. Between my errands and walks, I was stuck in the office... but I stole away a bit of time in my crafty space to make a quick card for a friend.
For this card, I started with the cheerleader image on Cricut cartridge All Sports and cut it at 6" on my Expression. I cut away her legs and pompoms.

I trimmed down her hair and hand-cut a couple of extra locks. I cut an extra "hair do" from flesh colored paper, and created an extra face from the waste, backed it in black and added a little hand-drawn detail to her eyelashes, instead of trying to glue on those teeny, tiny features! Doing this, she also gained a chin and her head tilt changed.

That GINORMOUS mouth was cut from the cartridge at the 6" relative size (like the body) but my 9-year-old daughter told me it was ridiculous. Kids tell you honestly what you already know! I peeled that crazy, big ole mouth off and re-cut only the white layer at 5-1/2" relative size and edged it with hot pink marker.
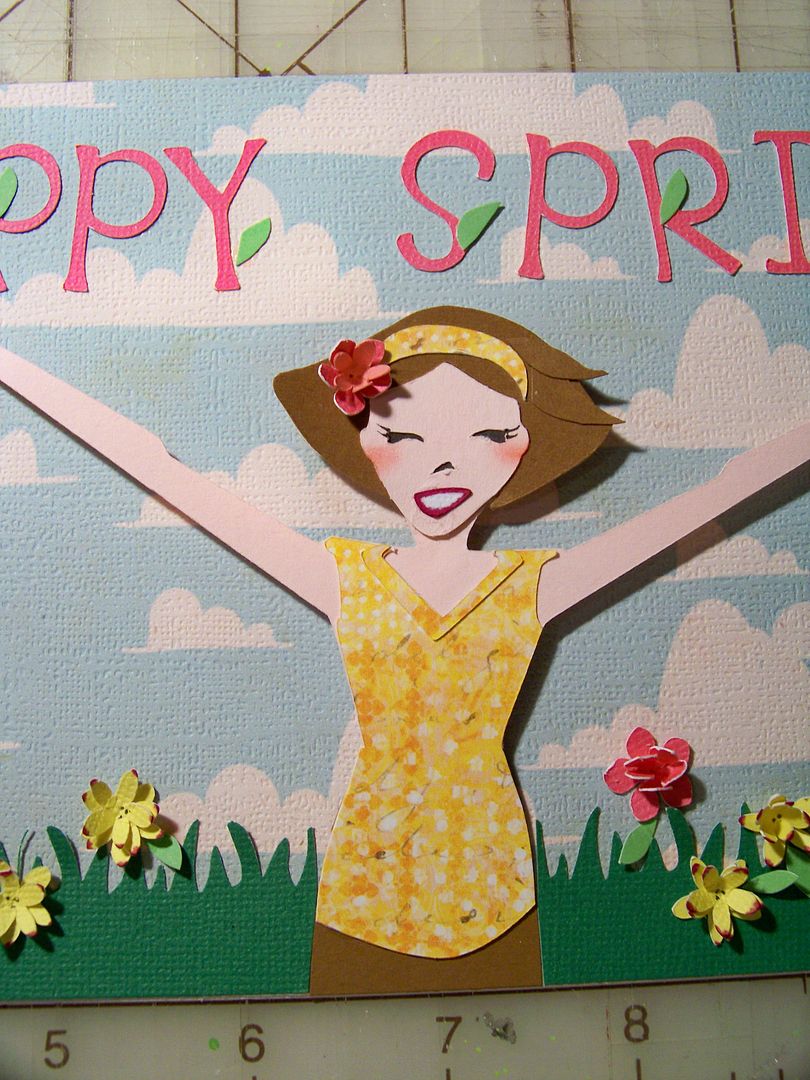
Much better, don't you think? I added the collar detail from the cartridge cut and hand-cut a skirt.
The background was printed from the Imagine cartridge Best Friends. I trimmed it to 5-1/8" x 9". The figure was popped up on all edges except for the bottom which was adhered flush to the page.
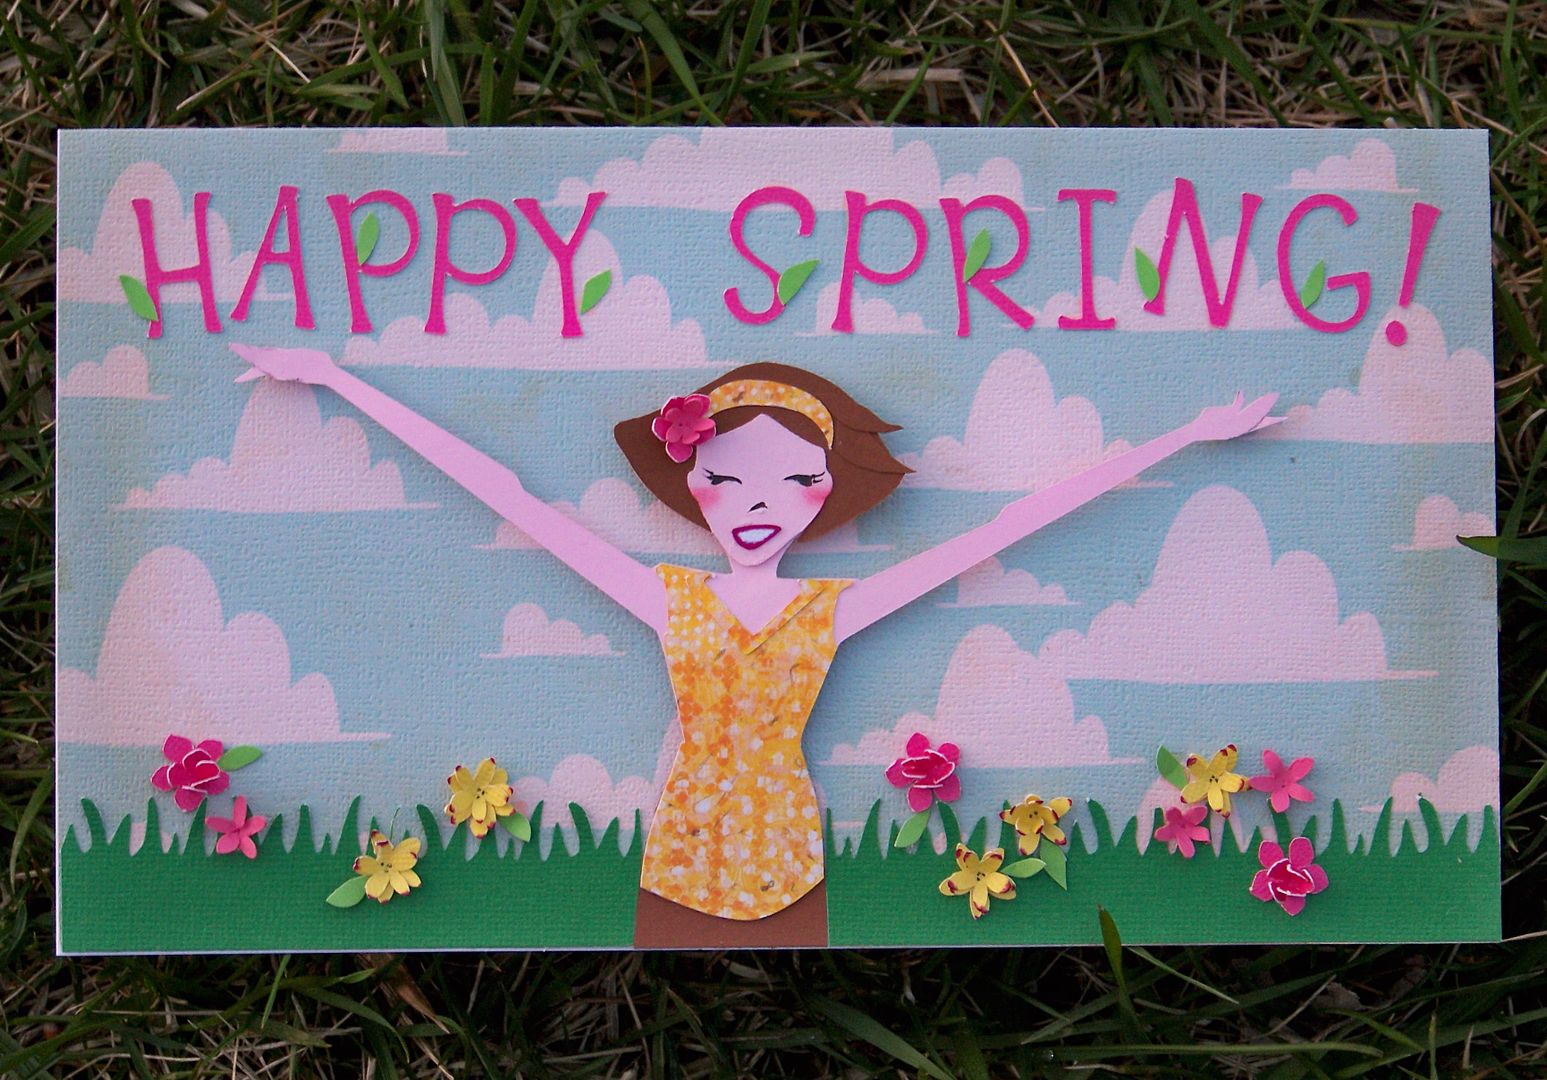
The text was cut from Alphalicious at 1". The flowers were cut from Mother's Day Bouquet at 1/2" using keys #5 and #27 and layered for dimension. The grass was edge-punch-cut and the leaves were hand-cut.
Thank you for checking my post today.
I hope you are having a bit of spring wherever you are today!
I hope you are having a bit of spring wherever you are today!
To see many of my previous paper projects, check out My Project Gallery (click here) on my blog.
With Glittering Eyes is on Facebook (click here)
and on Pinterest (click here)!
Of course, you can always find me at withglitteringeyes.blogspot.com!
Cricut Info & Supplies Used:
Designed By: Nadia Herbst-McConnell
Cricut Machines Used: Expression
Project Type: Cards
Project Theme: Spring
Cricut Cartridges Used: All Sports, Best Friends, Alphalicious, Mother's Day Bouquet
Suppies Used: Paper, Quick Dry Glue, pop dots, edger punch, microfine pen, ink, scissors


