

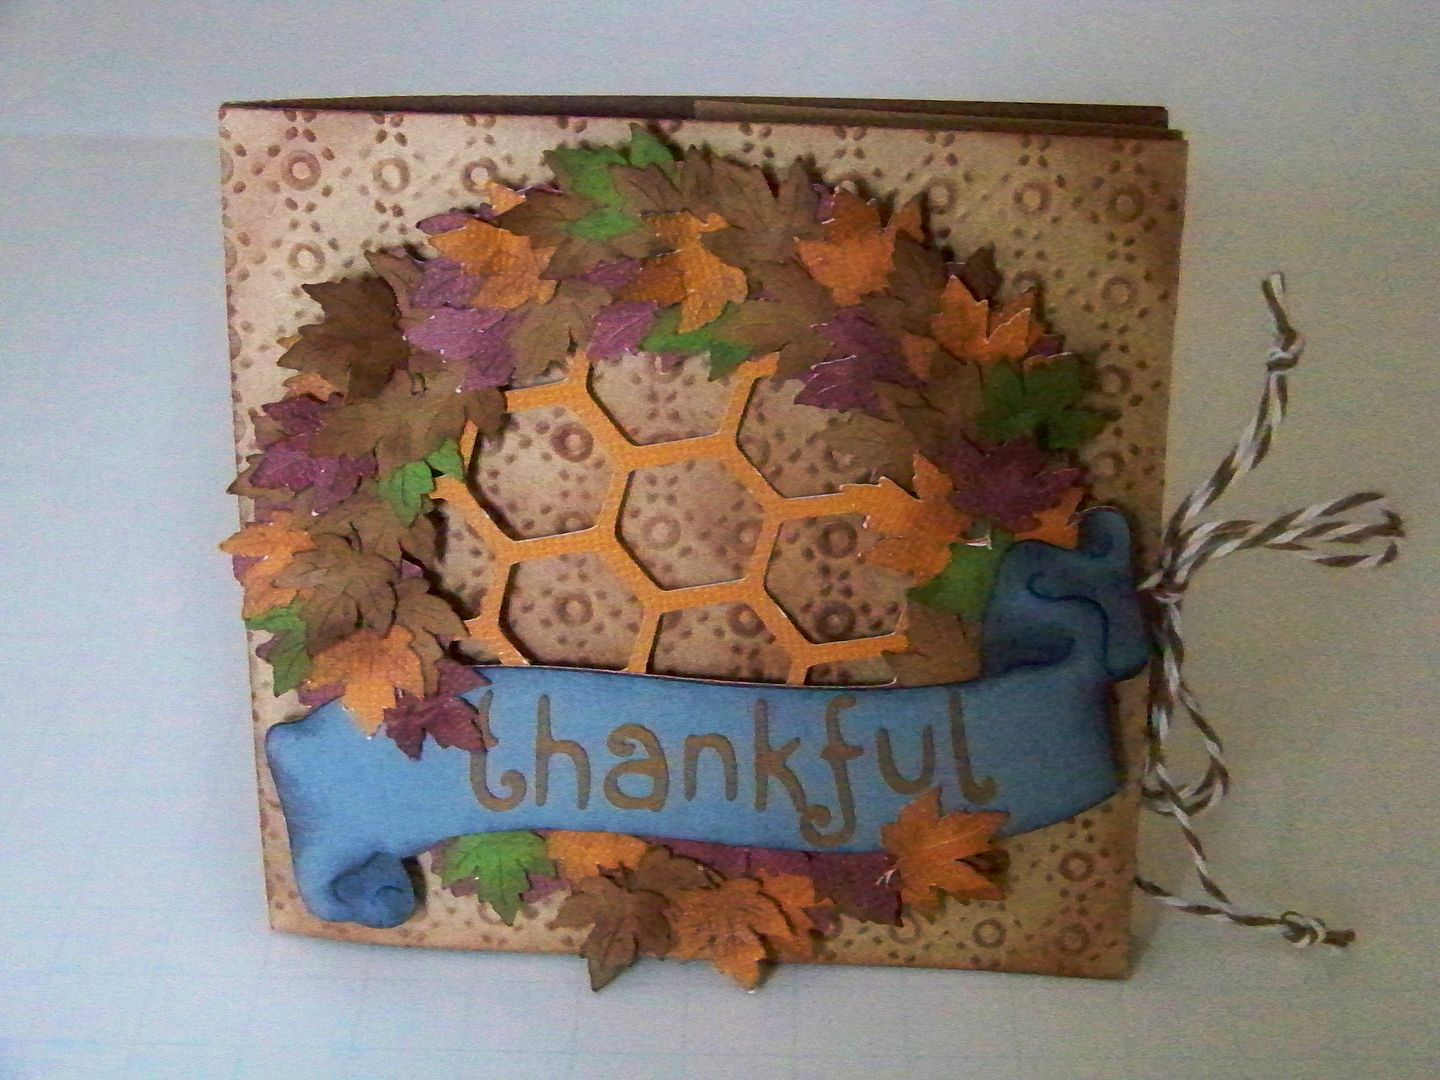
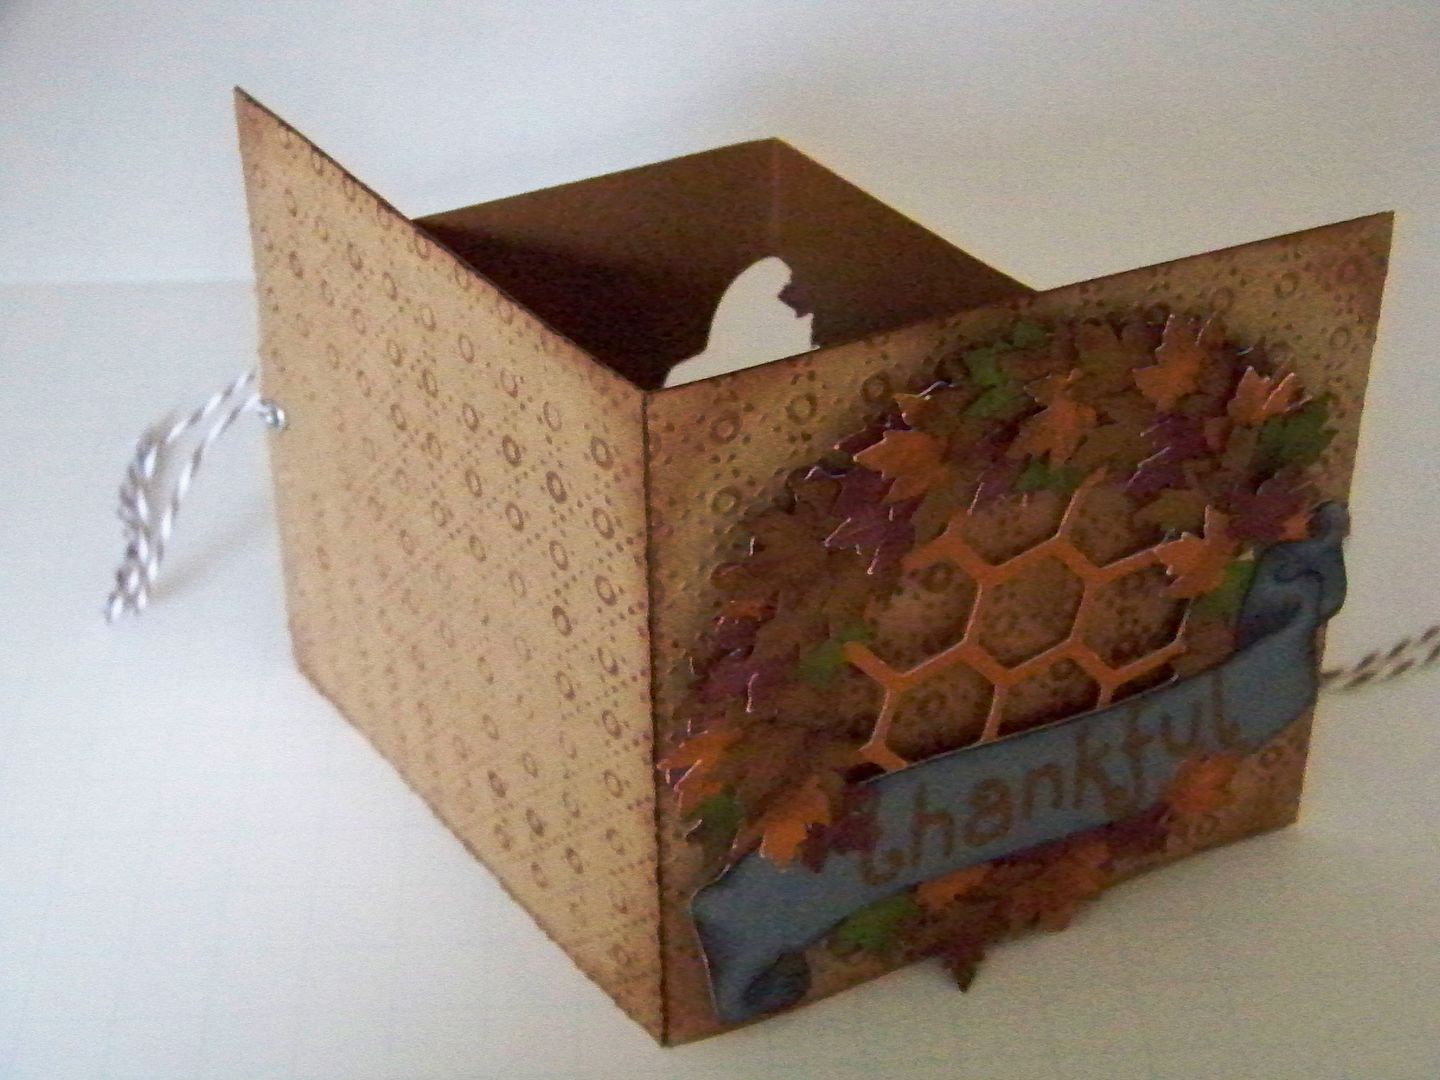
This card is one I made for my daughter. Her school has a little Thanksgiving luncheon and I wanted to give it to her then. Closed, the card has a dimensional wreath and the card ties closed. When untied, the card opens, to expose a window and decorations.
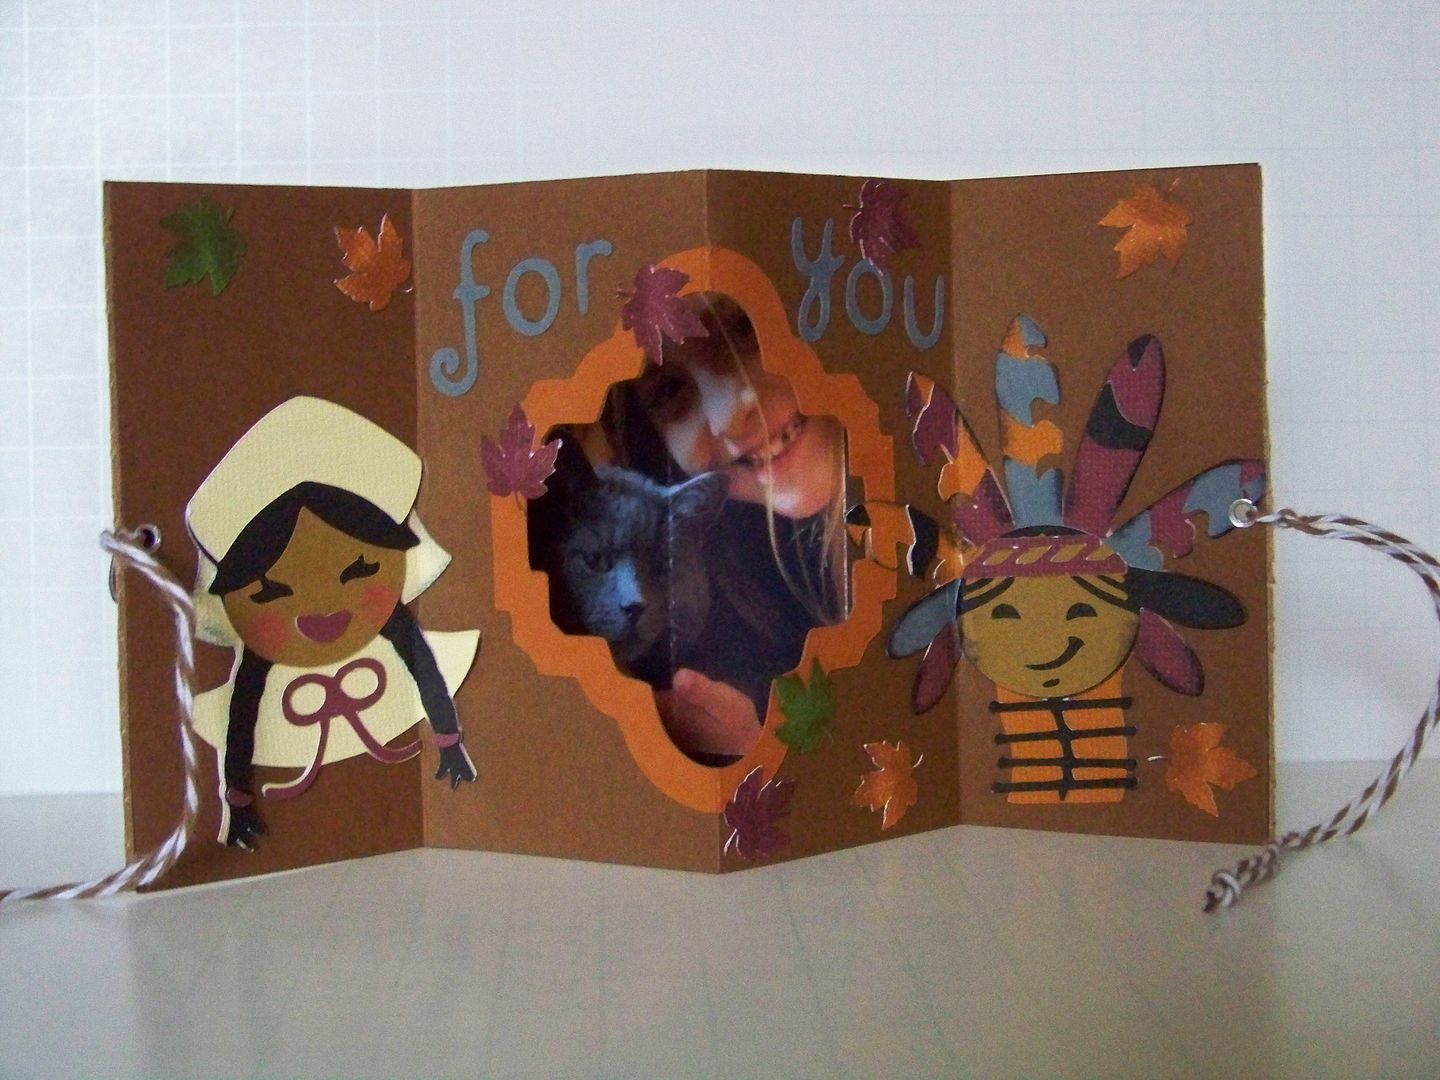
I cut the paper that would be the majority of the inside of the card-- the one that would have a window cut into it. It was cut at 4"x8" and scored at 2", 4", and 6". I cut a window in the middle of the paper using the Centerpoint feature. I also cut a frame with the same cut. This is from Holiday Frames and Tags. I cut the paper what would be seen when looking through the window at 4"x8" and scored in the center.
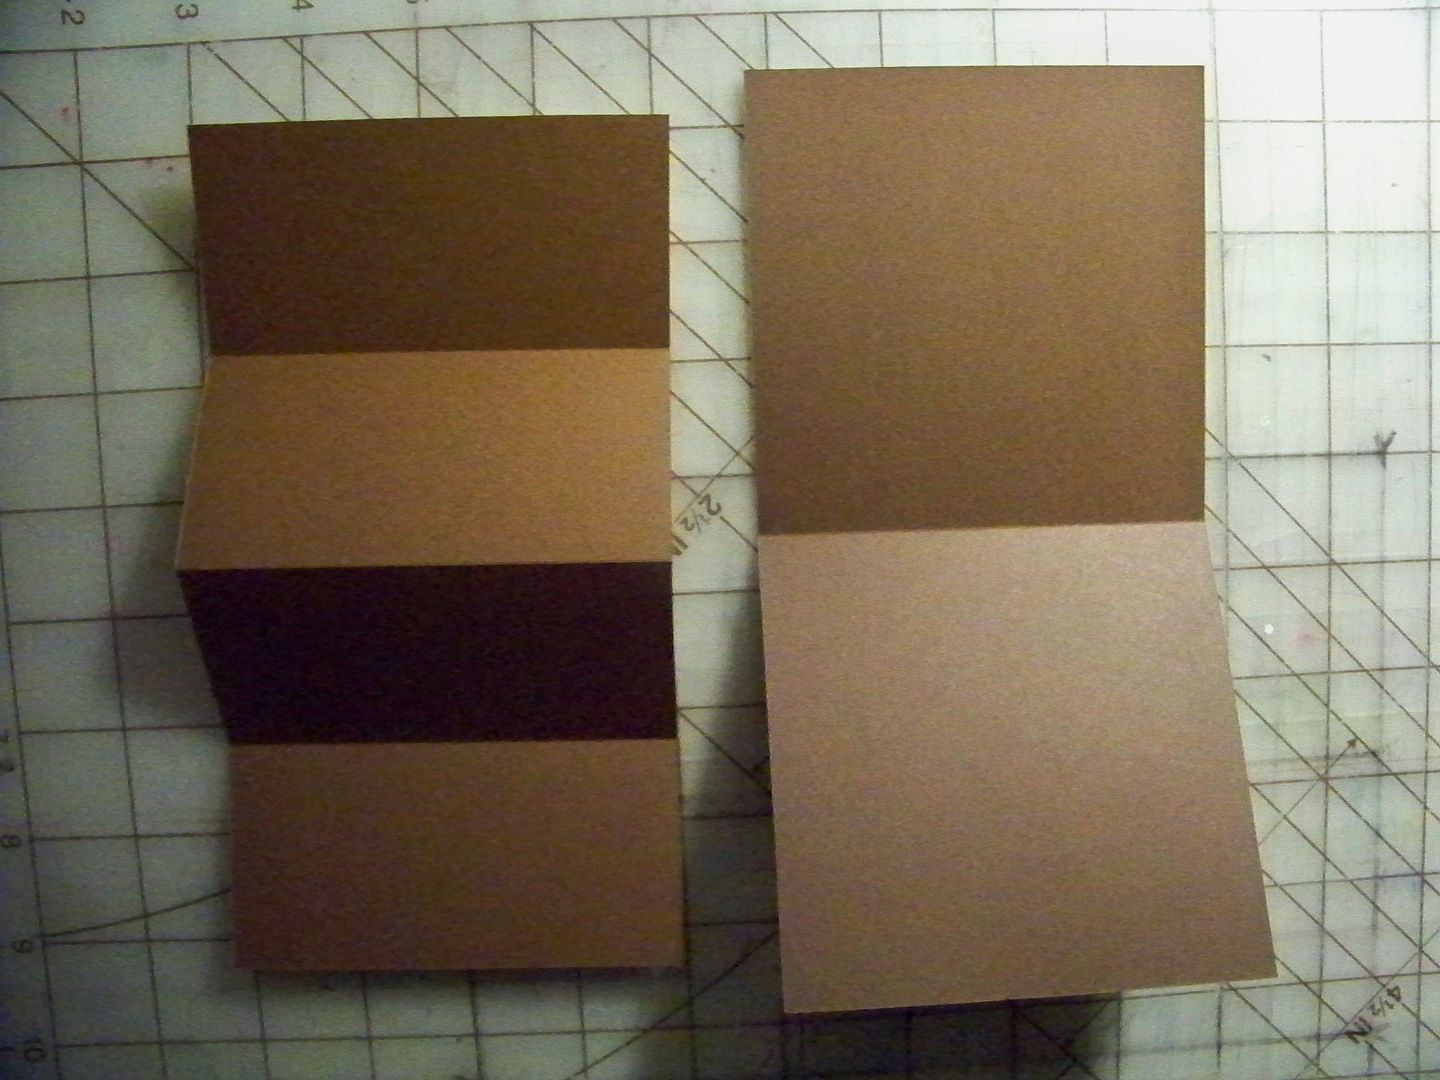
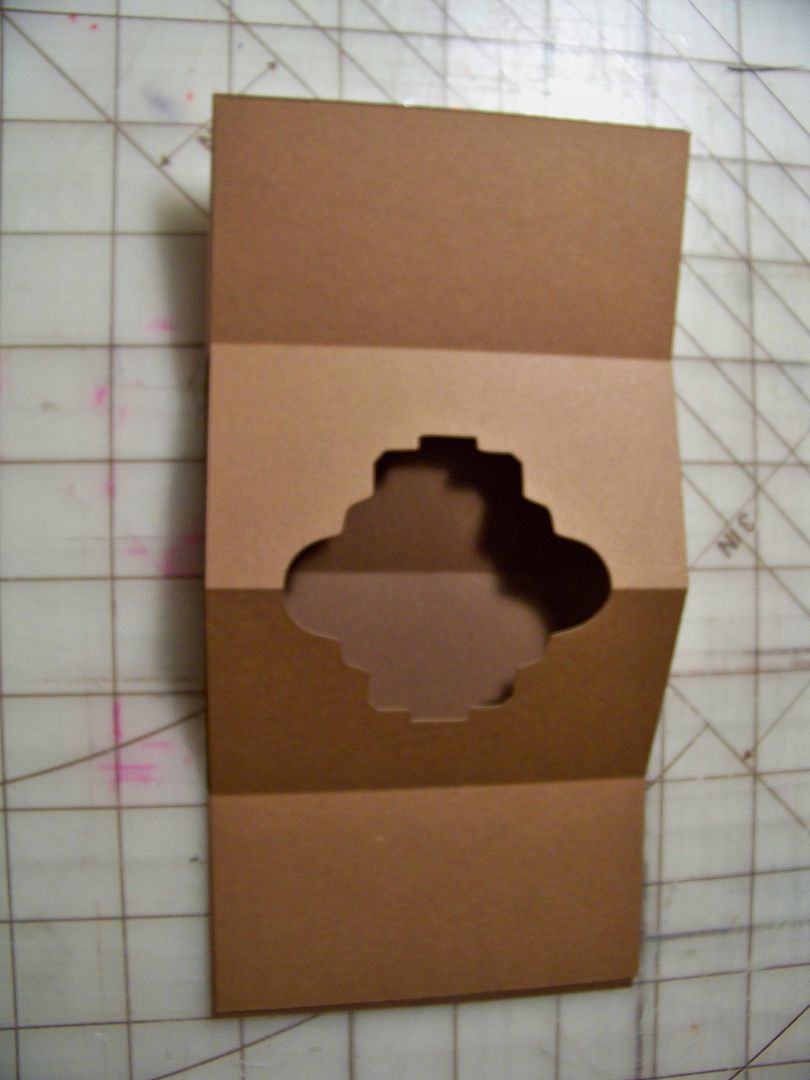 |
| Here, you can see how the two papers will go together. The mountain fold of the top paper is directly over the valley fold of the bottom paper. They will be attached by adhering the side flaps to the base below, leaving the area with the window and space behind it free to fold in opposite directions. |
I loved the new Holiday Frames and Tags cartridge for creating the window and a frame around it. This shape was cut at 3-1/2" (page 45). I used the frame (Layer) for each cut. To make the cut out, I simply stopped the machine after it cut the center, since it made that part of the cut first! Then I inserted a contrasting paper and cut the shape completely. A frame is created to accentuate the cut out.

For all cuts that covered a scoreline, I used Scotch Scrapbookers Glue because it is a bit more flexible.
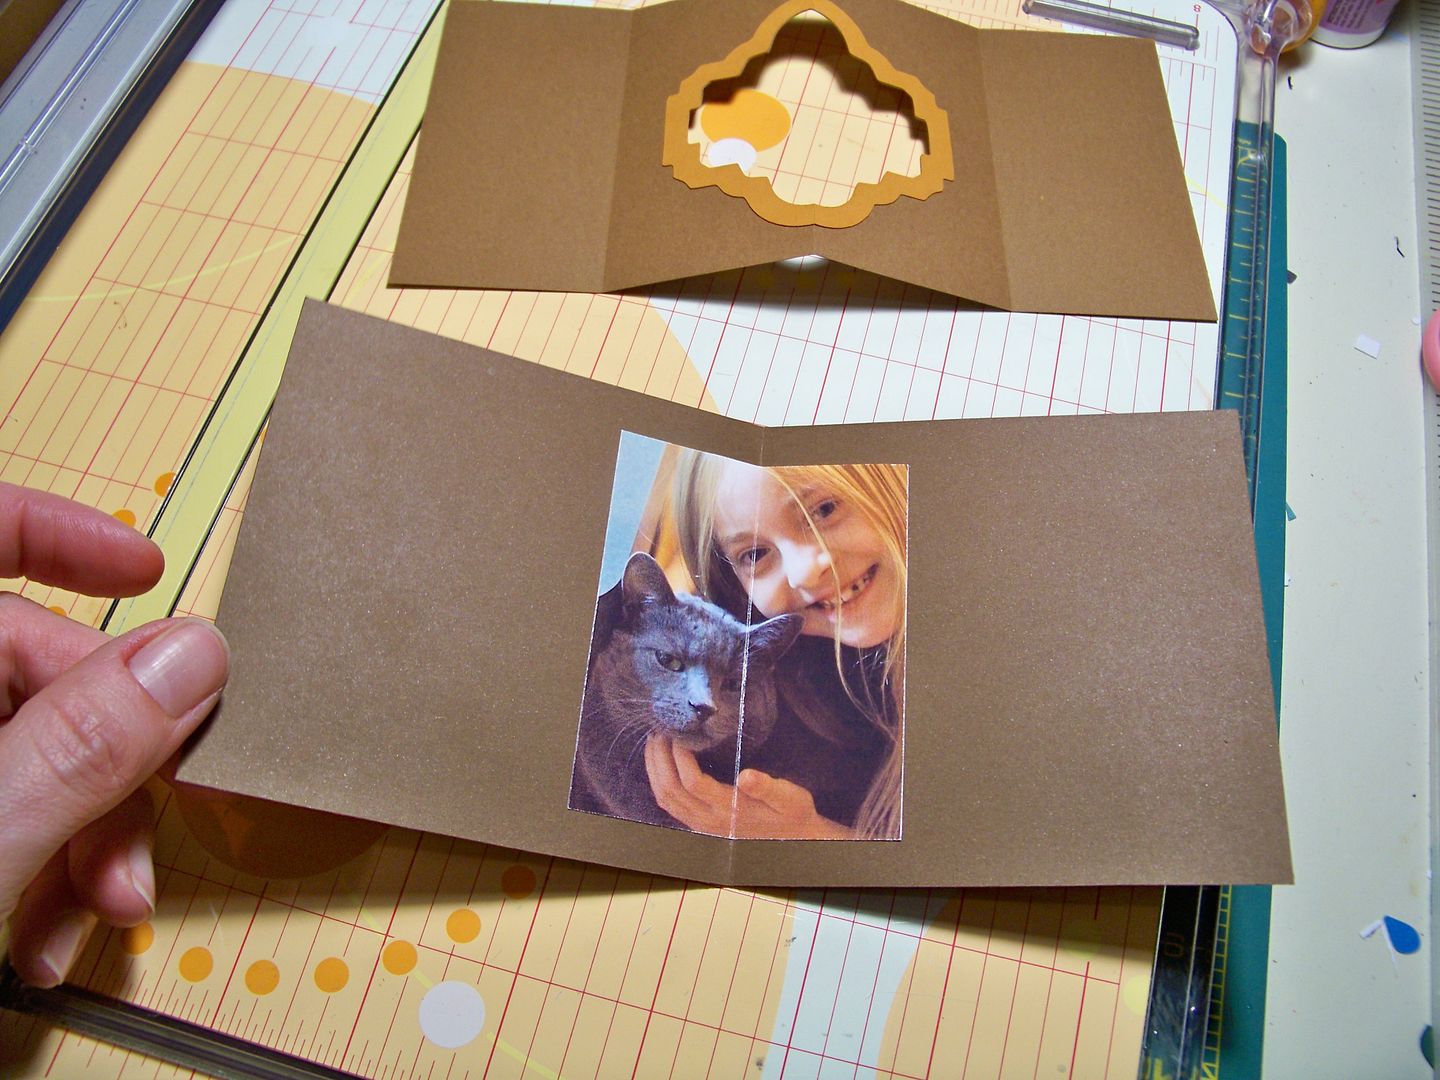
I scored the photo on the back since it was a valley fold. I used my Xacto knife to score. I found that photos I print with glossy photo paper do best when scored in this way. Papers, I have found, are fine to score this way whether mountain or valley, but layered cuts are better folded to score.

I attached the photo with ATG tape. The line that you see is the light reflecting on the fold. I took the pictures so that you could see the score line, but it is not cut all the way through; it is only scored.
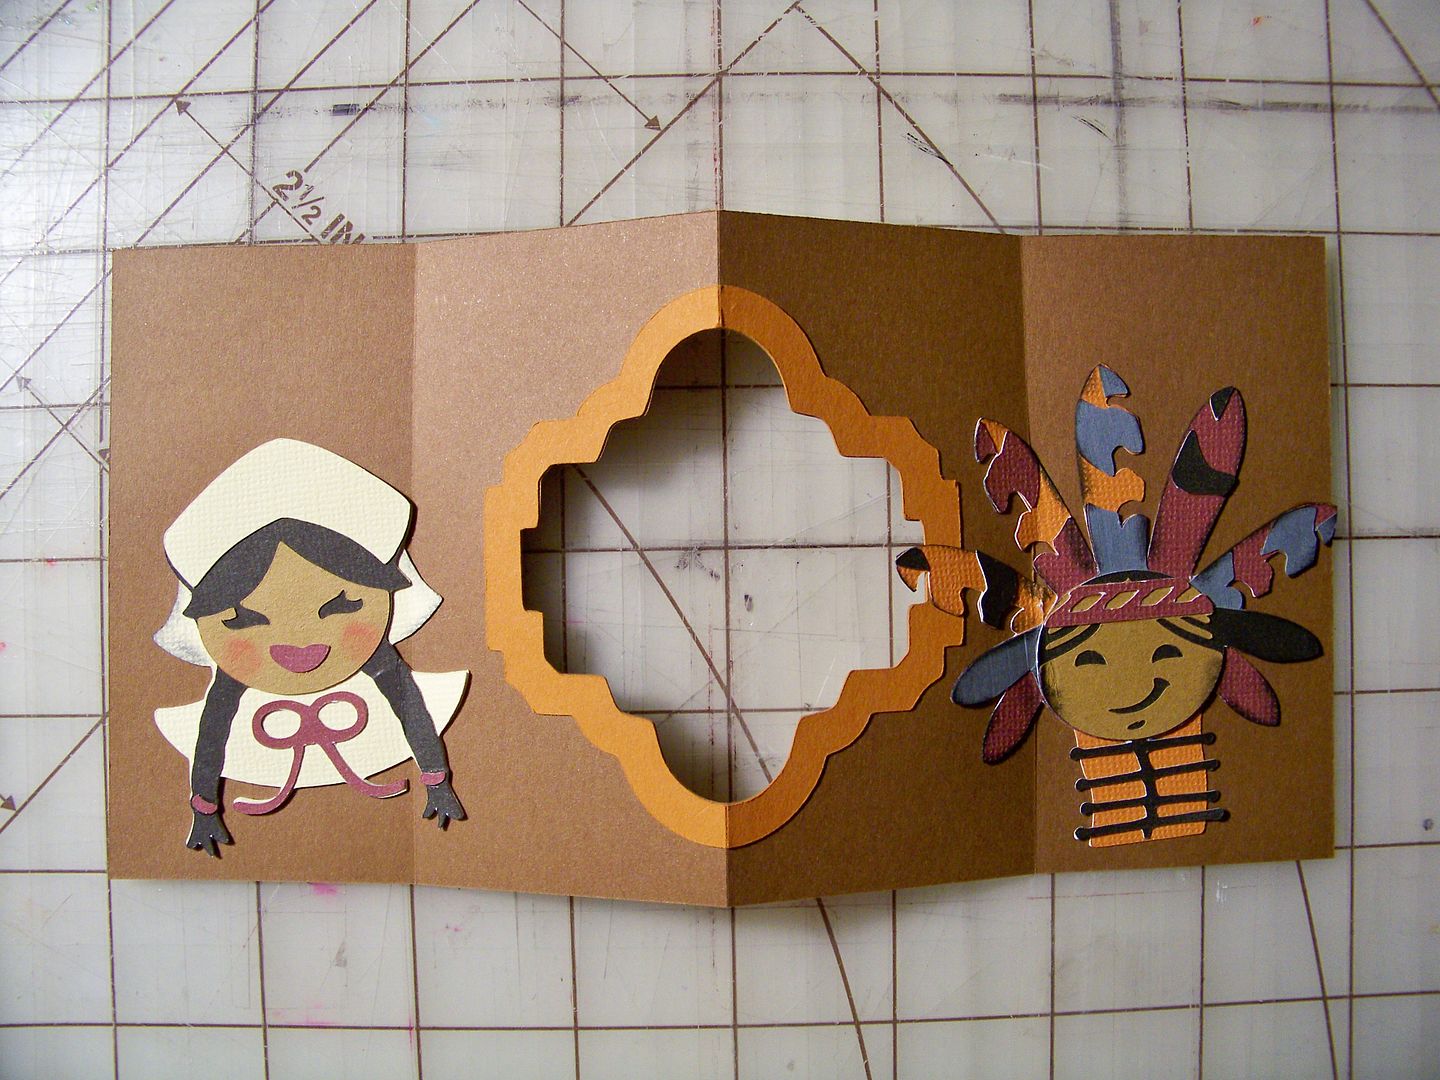
I added characters from Autumn Celebrations. The Indian (page 66), was cut at 3". The Pilgrim (page 67), was cut at 2-1/2".
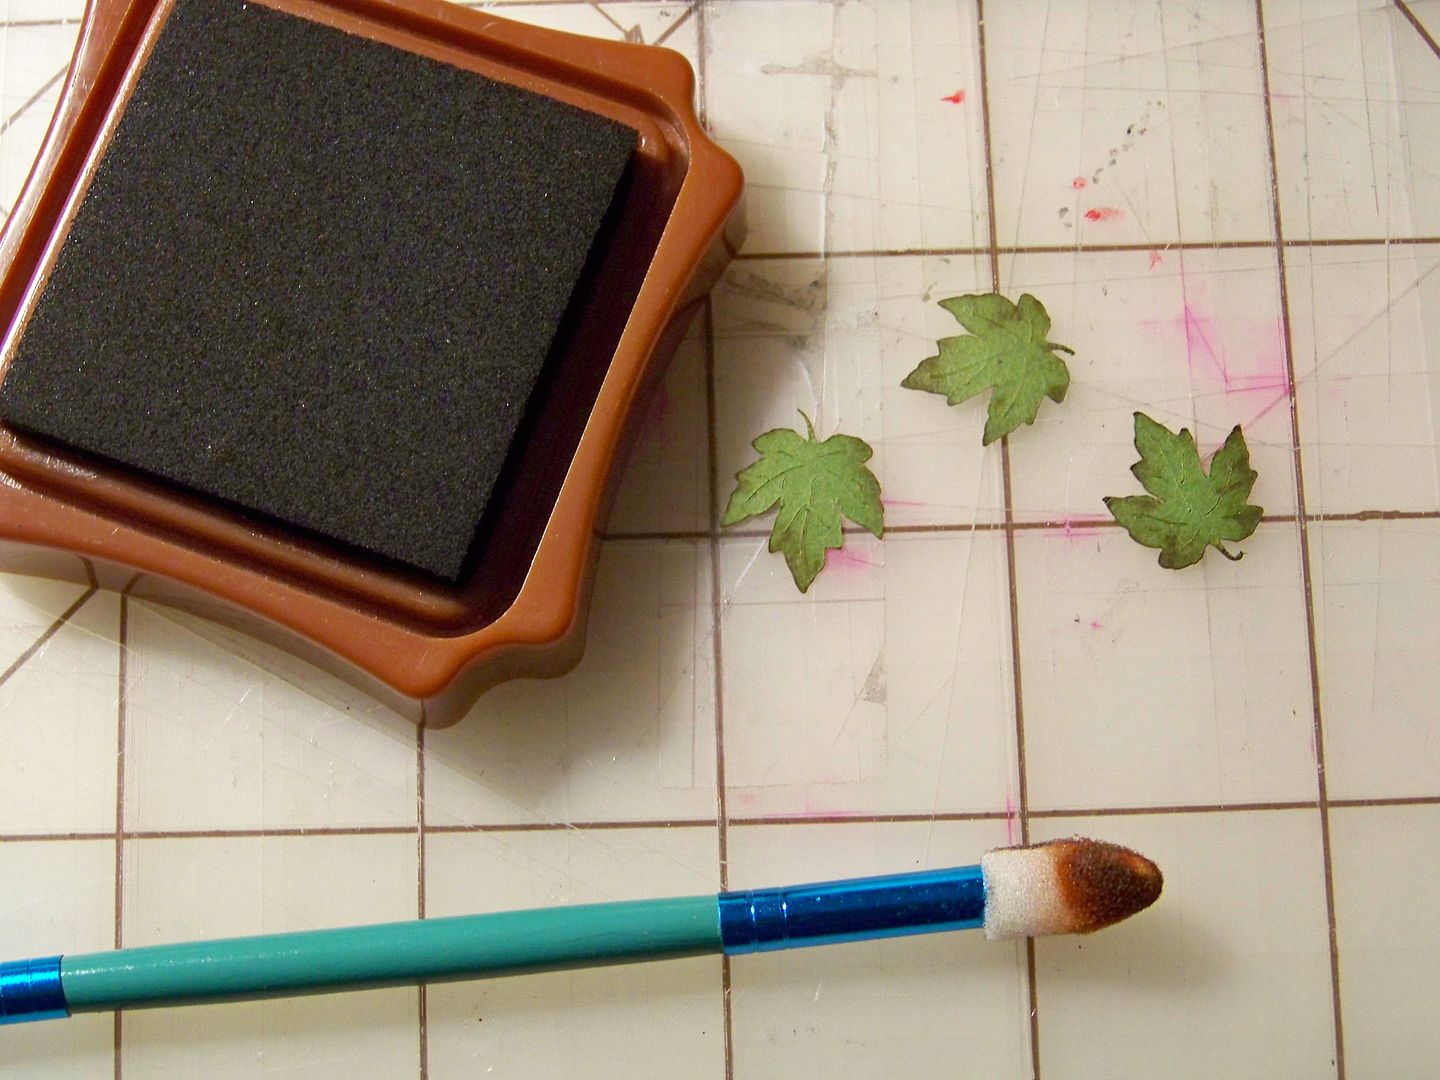
I cut and inked leaves and added them. They are from A Child's Year, cut at 3/4". The letters were cut from Holiday Frames and Tags (Jolly Font), at 1".
I attached the two papers by taping the two inch flaps on either side of the window cut to the base paper.

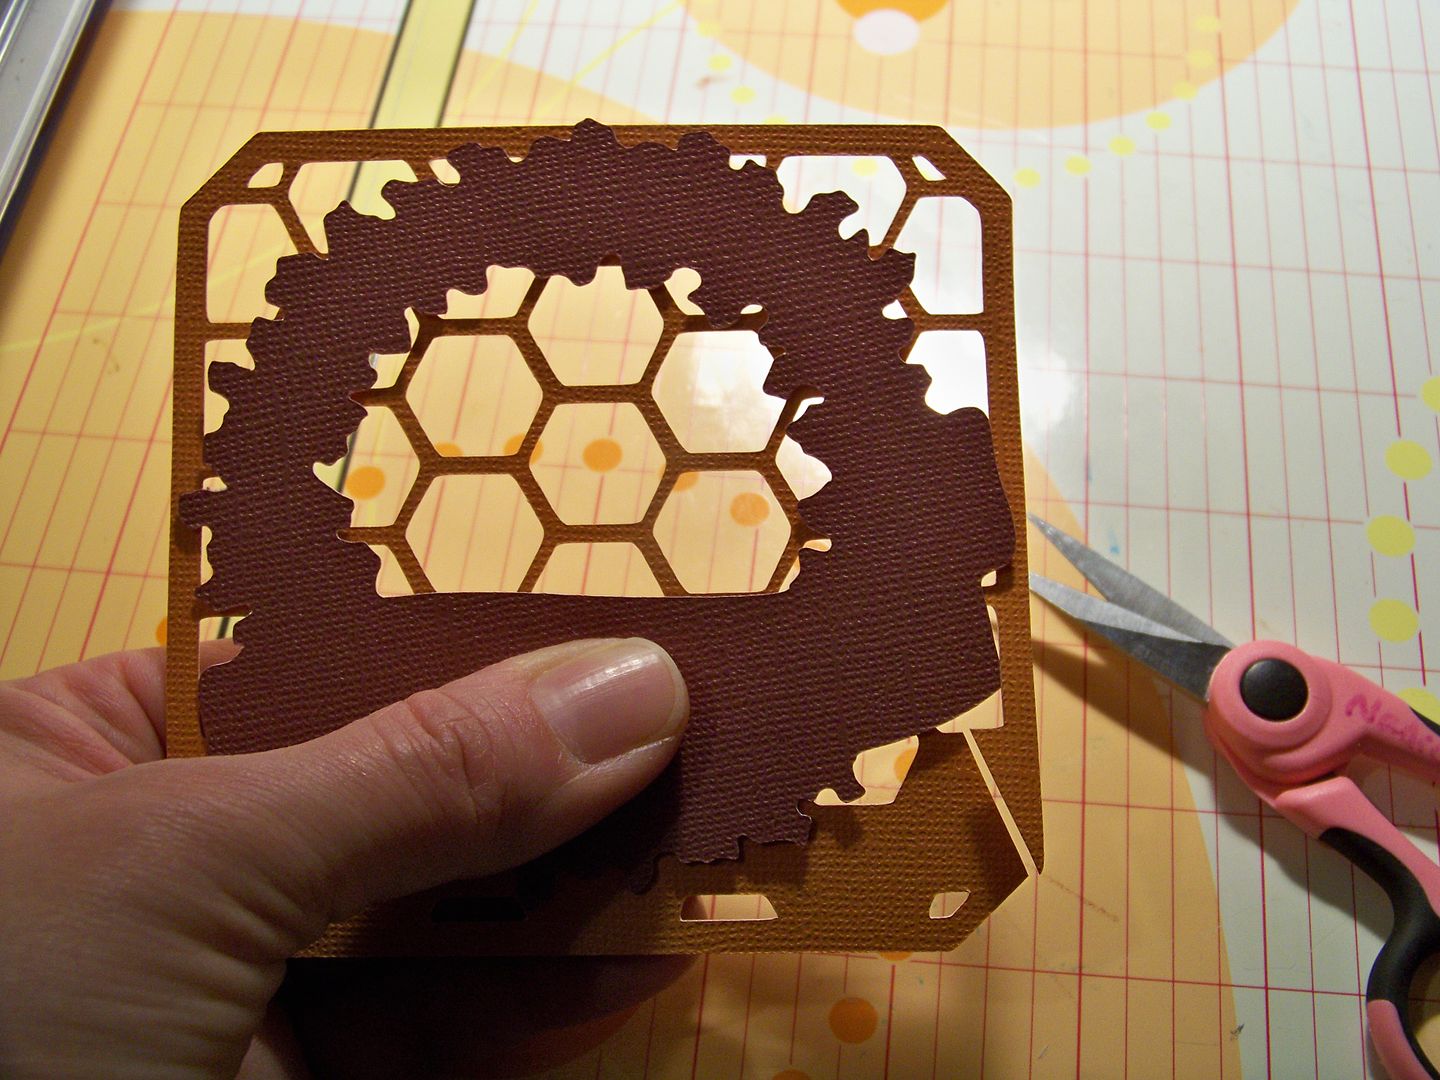
For the front, I used the wreath from December 25th at 3-3/4" and leaves I cut and inked from A Child's Year at 3/4". I put that honeycomb/chicken wire pattern behind the wreath simply to avoid a hole in the middle of the card. It was cut from Letter Envy Font (page 31), 4". I placed it behind the wreath and manually trimmed away the excess.
The letters were cut from Holiday Frames and Tags (Jolly Font), 3/4".
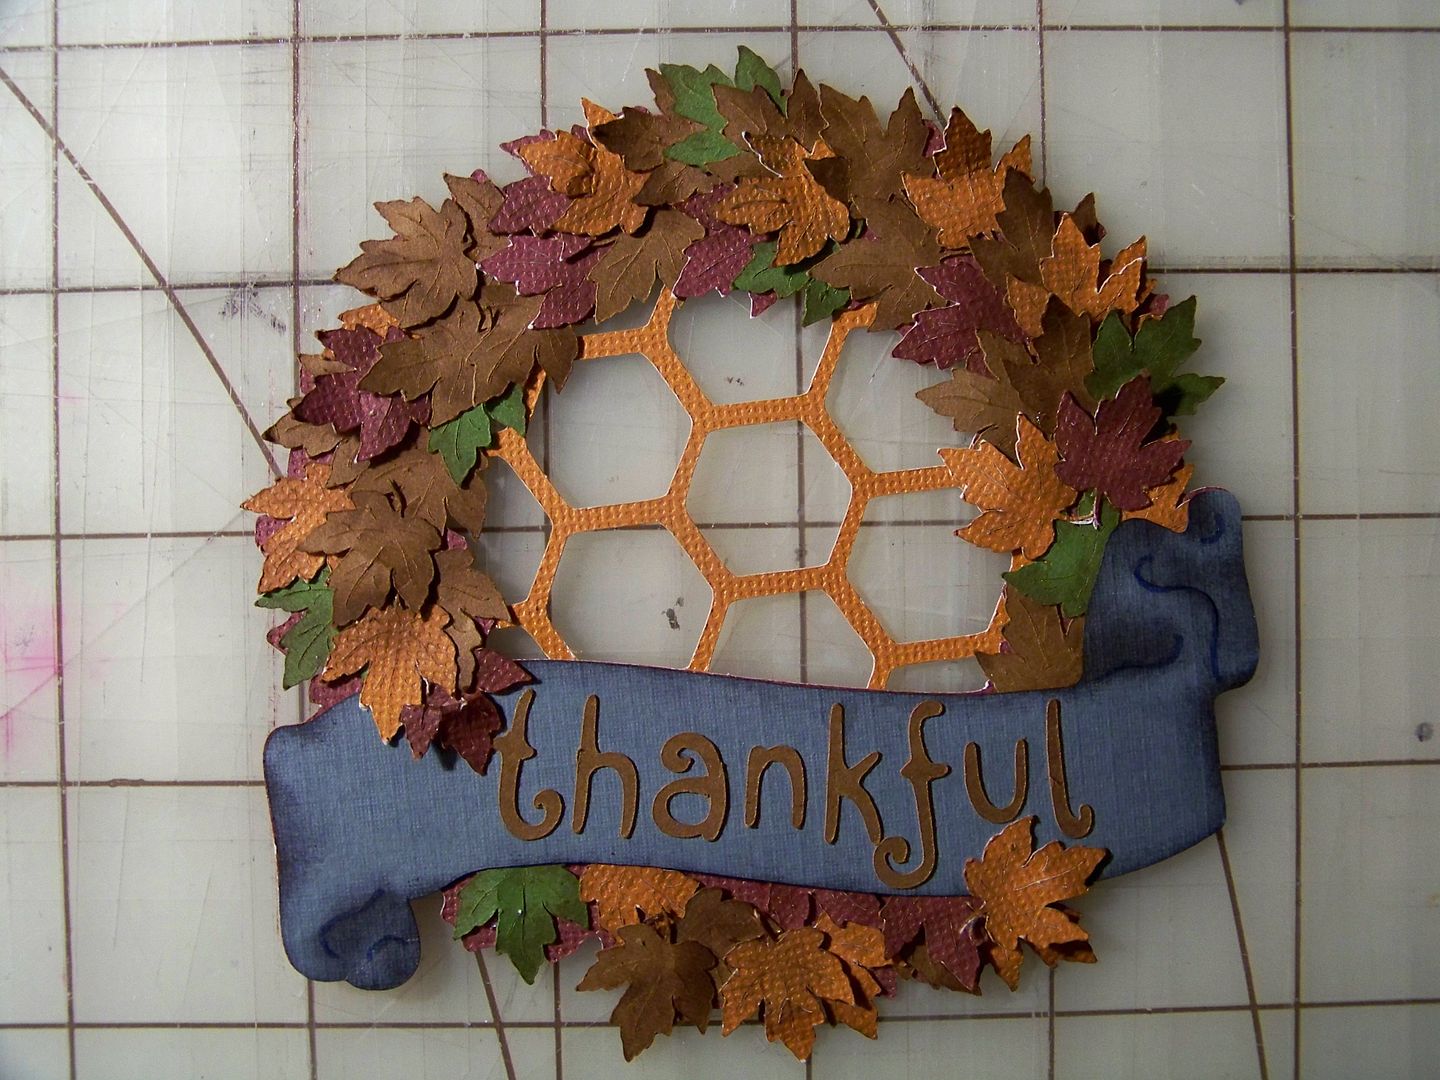
The wreath was added to the front cover with pop dots.
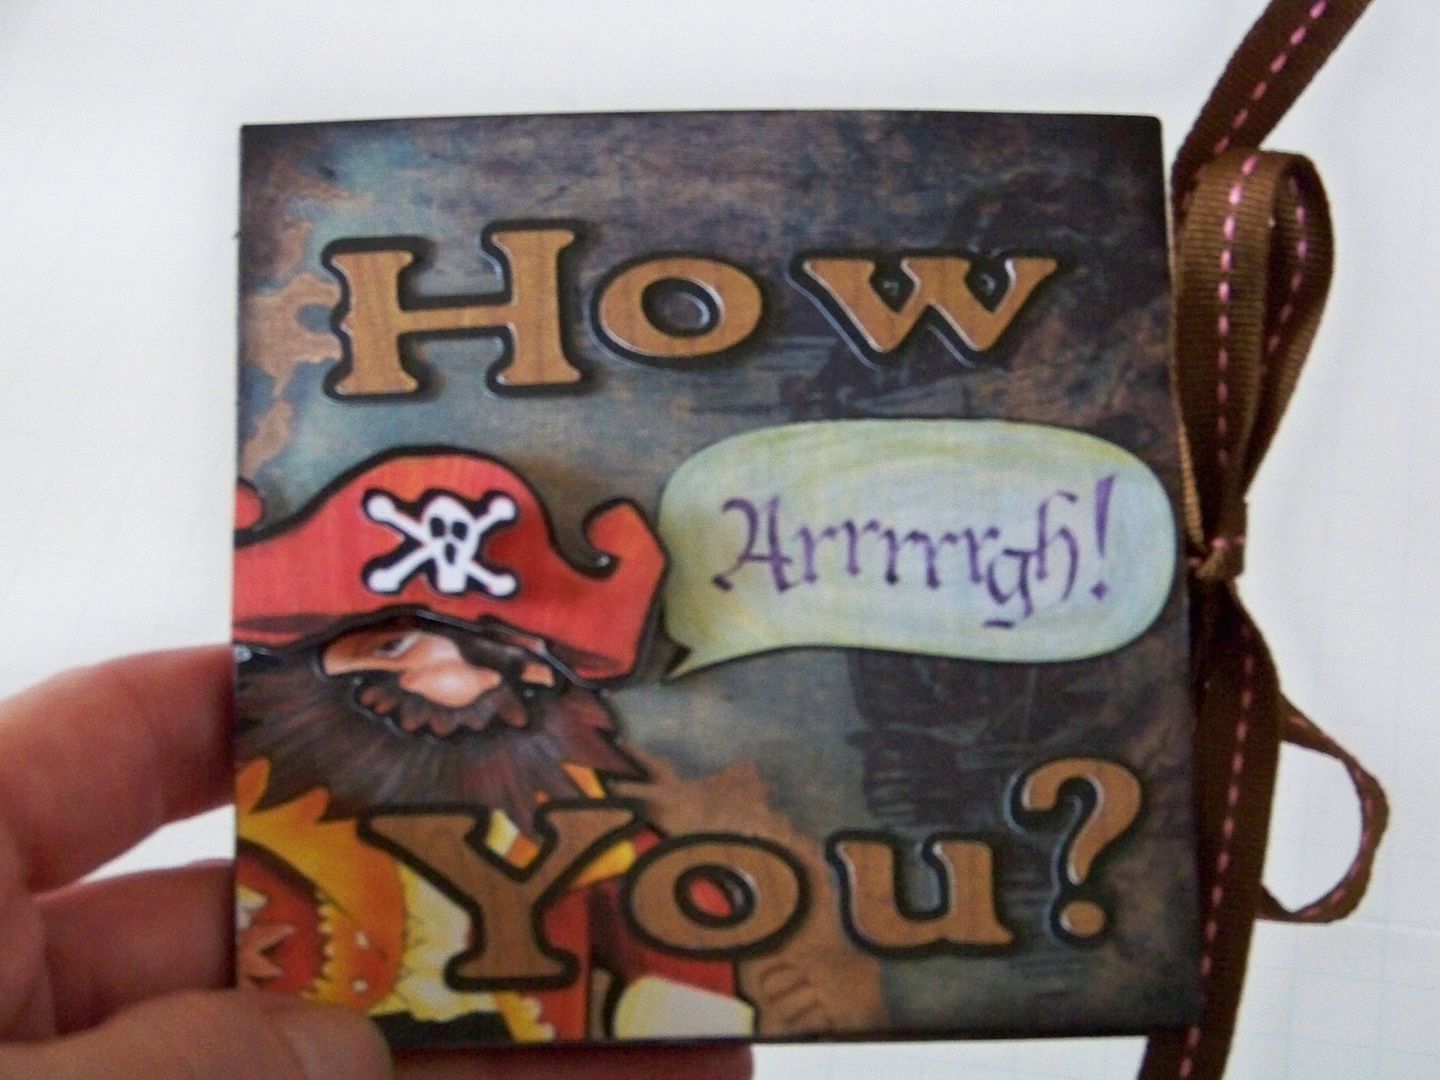
Thank you for checking my post here today. To see many of my previous projects on my blog, visit My Project Gallery! Check my blog today to see my pirate card with a scene from inside the ship and a complete tutorial for making it! Here's a hint:
Cricut Info & Supplies Used:
Designed By: Nadia Herbst-McConnell
Cricut Machines Used: Expression and Cuttlebug
Project Type: card
Project Theme: Thanksgiving
Cricut Cartridges Used: A Child's Year, Autumn Celebrations, December 25th, Holiday Tags and Frames, Letter Envy
Suppies Used: Card stock from my scrap bin, ATG tape, Scotch Scrapbookers glue, 1/8" foam squares (pop dots), black ink pad, Terrifically Tacky Tape, twine


