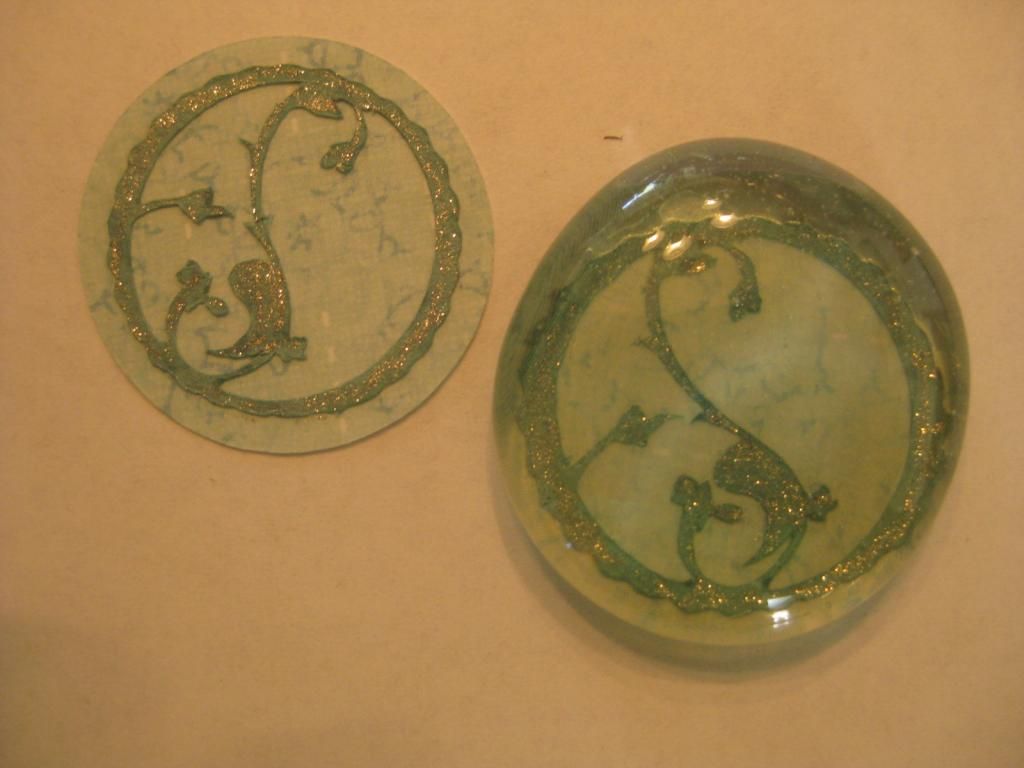
Good morning Cricut Fanatics! Hope you are having a wonderful three day weekend as we celebrate this beautiful Memorial Day. Thank you to all who have served in our military to ensure the freedom we enjoy.
This is Rita from Rita's Paper Obsession. Today I have a very easy jewelry making project to share with you.
I have a friend that is battling ovarian cancer. To let her know we are thinking of her, we wear teal ribbons to work. I wanted a little something to dress up my ribbon so I made a glass pebble pin and pendant.
To create glass pebble jewelery, you will need a few basic supplies: glass pebbles (purchased from a dollar store); Glossy Accents; a jewelry bail, pin backing or even a magnet; and a slick surface adhesive (I used Aleene's Glass and Bead); paper of your choosing (I used scraps and found that the light weight paper is easier to work with).
For this project I used my Sophie cartridge and selected the image found on page 50, Label9. The glass pebbles come in varying sizes. Cut a circle to cover the back of the pebble. My circles were cut at 1 1/4 inches. I cut the image smaller at 1 inch as I wanted to see the entire image on my piece.
Layer and embellish your images onto the background circle. Keep the artwork as flat as possible as this will be butted up to the backside of the glass pebble. As I mentioned, light weight patterned paper works best. I like adding some sparkle to the cuts with my Gelly Roll pen. Clear Star is my favorite as it gives the shimmer but lets the paper pattern and color through.
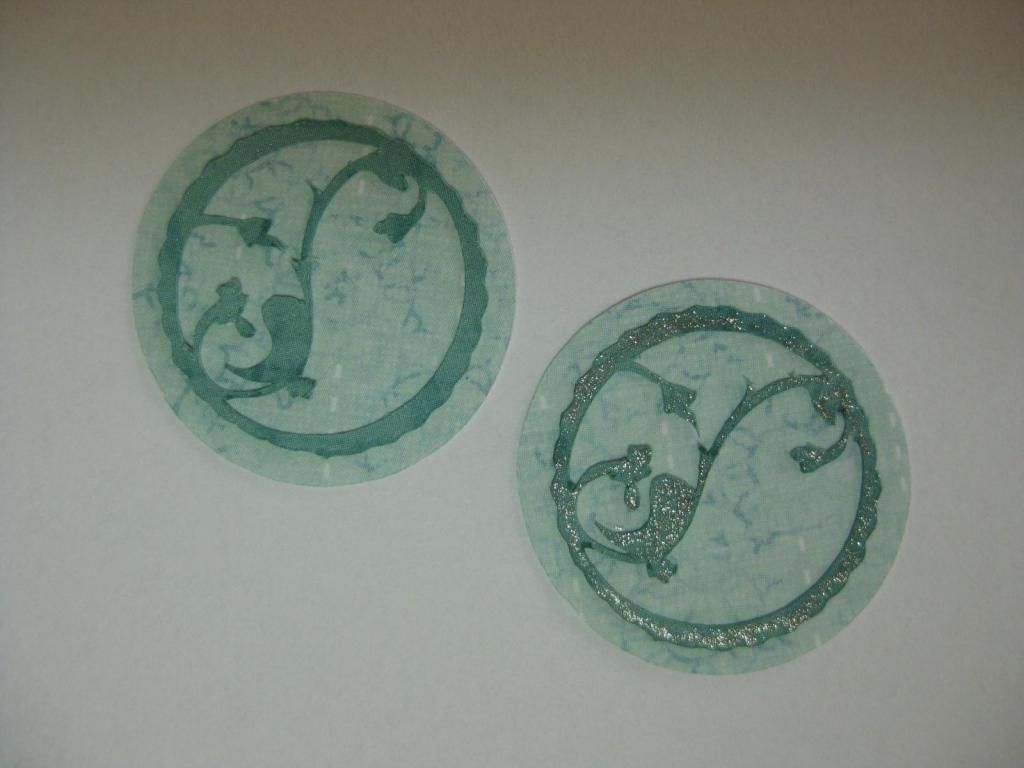
Next adhere the image to the back of the glass pebble with Glossy Accents. I found it easier to put the Glossy Accents in the center of the image and then place the glass pebble over it. Press down so the Glossy Accents covers the entire image.
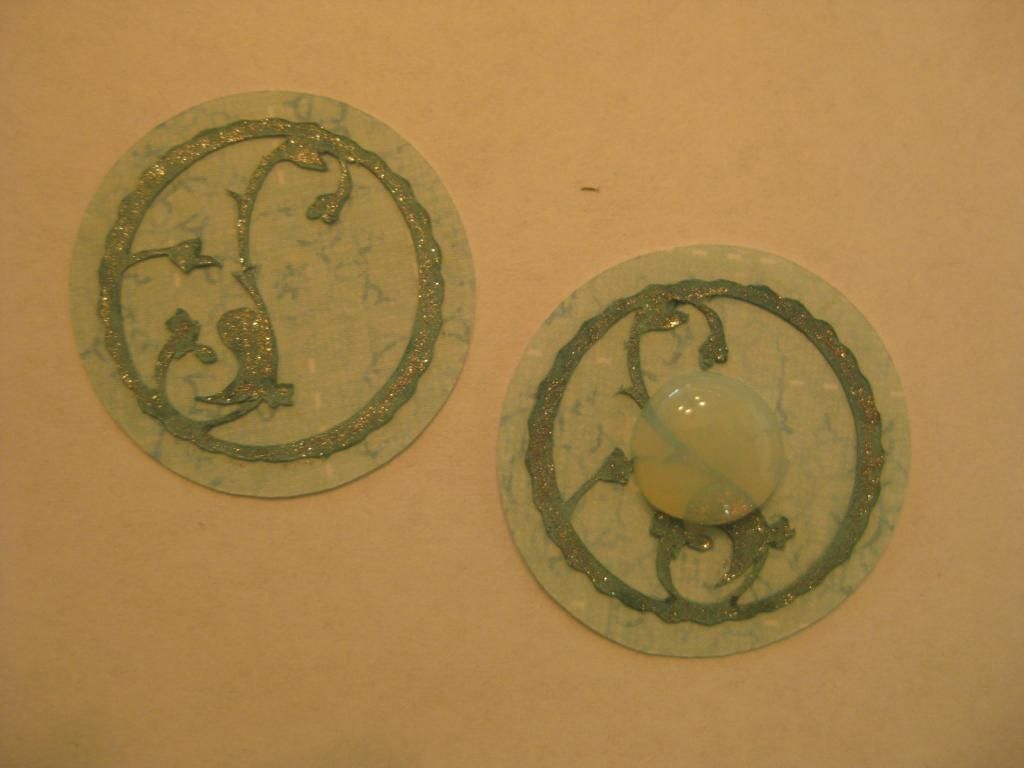
Flip the glass pebble over and cover back of pebble with Glossy Accents.
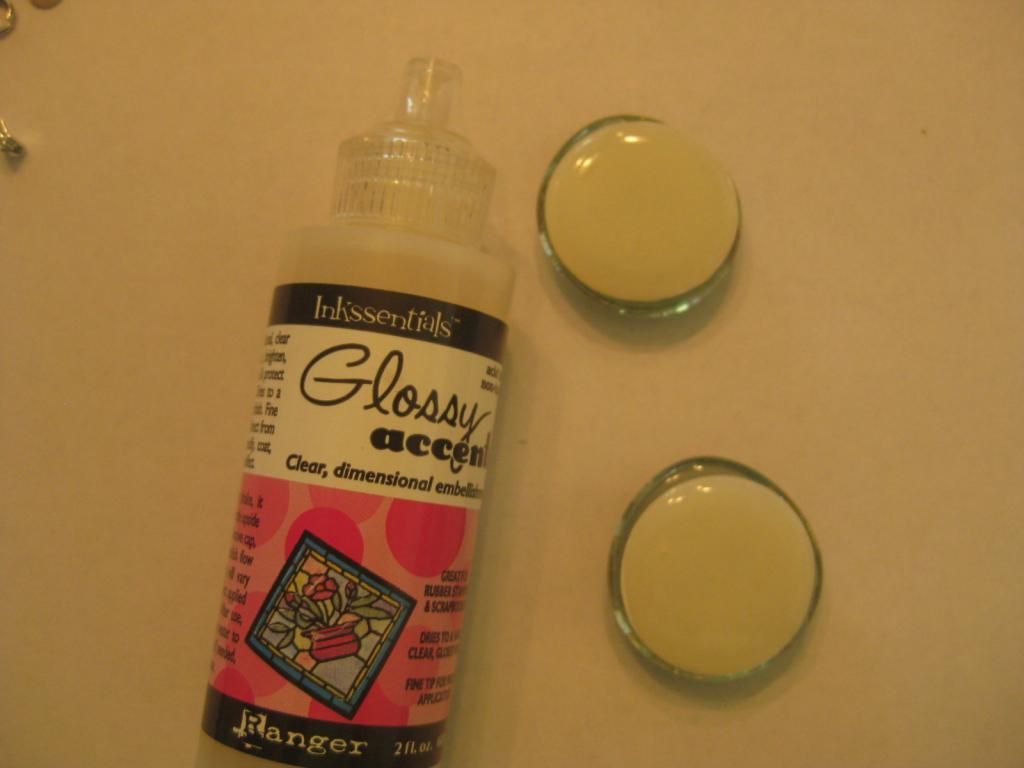
Once Glossy Accents has dried completely (I waited 24 hours), adhere pin back or jewelry bail.
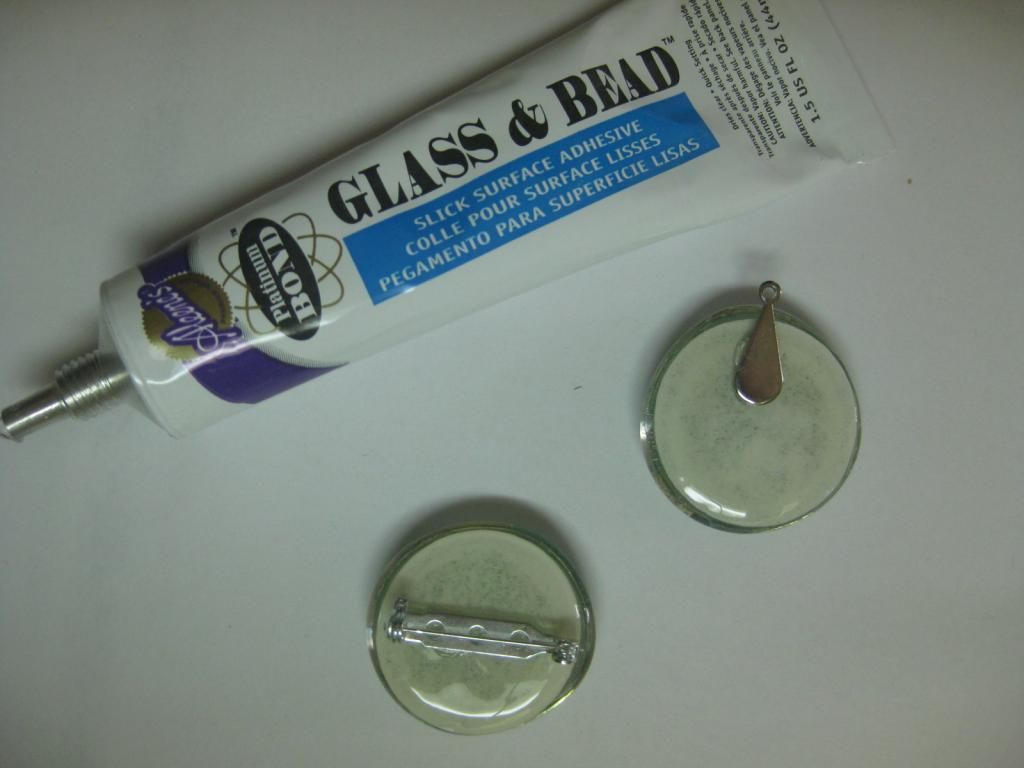
Jewelry is ready to wear as soon as the adhesive dries. I glued the teal ribbon to the back of the pin.
Thank you for stopping by today. Enjoy the rest of your day.
Designed by: Rita Poteat
Cricut Cartridges Used: Sophie
Cricut Machines Used: Cricut Expression
Project type:
Jewelry
Showing posts with label Jewelry. Show all posts
Monday, May 27, 2013
Wednesday, October 3, 2012
A Little Halloween Decorating~
Hello, this is Sara from www.sarawandrews.com.
I thought I would do a little special Halloween decorating of Me And Ashlyn!
I have wanted to make my own paper beads for a while now, and when I flipped through the DCWV The Bewitched Stack I knew it was time.
I chose two patterned papers, a glitter polka dot paper and the gorgeous orange glitter cardstock. Love it!
I used CCR to stretch a simple triangle from the George cartridge for my beads.
I made two different sizes one being 1.5" wide and the other .75" wide.
The length of your triangle will determine the thickness of your bead.
Wrapping the beads~
I used a kitchen skewer to wrap the paper around and glued the ends with Glossy Accents.
Finished bead~
I set them aside to dry for a few hours.
Now comes the fun part.
I dug into the wonderful collection of Blue Moon Beads that DCWV sent me to make my jewelry. Thanks DCWV!!
My orange bead necklace and bracelet~
My black bead necklaces~
A full view~
I must share that these were super easy and fun to make.
I even made all those paper beads without gluing my fingers together. Yippee!
And even better was the fact that my teenage daughter was actually a little excited to try the jewelry on.
She even smiled while wearing them. Double Yippee!!
Cricut Info & Supplies Used:
Designed by: Sara W. Andrews
Cartridges Used: George and Basic Shapes for triangles cut at 1.5 x 11.04" and .75 x 8.5"
Glossy Accents and Jewelry Essentials Findings
I thought I would do a little special Halloween decorating of Me And Ashlyn!
I have wanted to make my own paper beads for a while now, and when I flipped through the DCWV The Bewitched Stack I knew it was time.
I chose two patterned papers, a glitter polka dot paper and the gorgeous orange glitter cardstock. Love it!
I used CCR to stretch a simple triangle from the George cartridge for my beads.
I made two different sizes one being 1.5" wide and the other .75" wide.
The length of your triangle will determine the thickness of your bead.
Wrapping the beads~
I used a kitchen skewer to wrap the paper around and glued the ends with Glossy Accents.
Finished bead~
I set them aside to dry for a few hours.
Now comes the fun part.
I dug into the wonderful collection of Blue Moon Beads that DCWV sent me to make my jewelry. Thanks DCWV!!
My orange bead necklace and bracelet~
My black bead necklaces~
A full view~
I must share that these were super easy and fun to make.
I even made all those paper beads without gluing my fingers together. Yippee!
And even better was the fact that my teenage daughter was actually a little excited to try the jewelry on.
She even smiled while wearing them. Double Yippee!!
Cricut Info & Supplies Used:
Designed by: Sara W. Andrews
Cartridges Used: George and Basic Shapes for triangles cut at 1.5 x 11.04" and .75 x 8.5"
Cricut Machine Used: Cricut Expression
Project Type: Jewelry
Project Theme: Halloween
Other Supplies Used: DCWV The Bewitched Stack and The Bewitched Cardstock Stack
Blue Moon Beads: Glass Pearls, Shell Beads and Clear Transite CordGlossy Accents and Jewelry Essentials Findings
Subscribe to:
Posts (Atom)