While we are no longer making active post of Cricut projects on this blog as of 8/1/2013, we invite you to use it for continued die cut inspiration as we will leave the blog up for viewing. Happy Cricuting !

Showing posts with label Cuttlebug. Show all posts

Sunday, July 28, 2013

Divine Wedding Card

Hi fellow FANatics!  This is Erika from http://ekittyscraps.blogspot.com/.  I have another cricut project to show you today and here it is!
I used a 5 x 7" ivory card that I already had.  To cut the oval out of the gold cardstock, I used the Easter 2010 cartridge.  I cut out the regular easter egg at 5 inches.  The trick to this cut was to set the blade on your mat at 3/4 inches over and 3/4 inches down.  This is so you have enough cardstock to make the frame.  (I did see this trick on another site but I am not sure who it was-they made an Easter card with a cross and lillies on it).  I left two inches on each side of the egg and cut down my 12 x 12" paper to match my card.  Sorry I didn't use measurements. I have about an inch on each side of the egg.

  I embossed my gold mat with a 5 x 7 folder from Darice called Argyle Diamonds.   

I used Divine Wedding to cut the Bride and Groom image on page 38.  I used orange for the background color, the tie and on the bouquet since this is the main wedding color.

I embossed the skirt using the Cuttlebug D'vine Swirls folder and added some bling. I pop dotted the skirt onto the bride image.


The flower trim was sprayed with Heirloom Gold-several coats and dryed with a heat dryer.  I sprayed one coat of pumpkin spice/perfect pearls gold spray/water mix on my craft mat and pushed the trim through it and dryed again.  There are You Tube vidoes on how to make distress inker sprays if you are interested.


I glued gold rings and silver bling on my card.  I added my wedding rubon to some vellum and distress inked the edges of the vellum, frame and bride and groom image.  I also pop dotted the Bride and Groom image.
I hope you like my card and Thanks for stopping by.

Supplies used:
Cricut Expression
Cricut Cartridges: Divine Wedding and Easter 2010
Cuttlebug & D'vine Swirls folder
Darice Argyle Diamonds 5 x 7" folder
Tim Holtz Trims (flowers/roses)
Tim Holtz- Vintage Photo Distress Ink and Pumpkin Spice Distress Reinker
Ranger: Heirloom Gold Spray and Perfect Pearls Gold Powder
Kaisercraft Forever Rubons
Gold Rings and Silver bling
Vellum
Paper: Gold, Silver, Orange, White and Black 
pop dots and glue

Saturday, July 20, 2013

21st Birthday Card

Hi Everyone, It's Melody from MelodyLaneDesigns.com I made another 21st Birthday Card. I used Pack Your Bags for the drink and Velum for the glass, I cut 2 pieces and put the pink paper and half the straw inside between the 2 pieces of velum so they look like they are on the inside of the glass.
 I used purple foil paper from Walmart and adhearded it to purple metallic paper and then put it through the Cuttlebug with the swirls folder. I show it all in the 1st video below.
 I made the rosette by just cutting 1.5" x 12" glitter paper and used an edge punch and then scored every 1/4" I cut the 21 from Cricut Alphabet and then cover in glitter. I show completely in the second video below.
Check out the videos, the first one shows the embossing and drink.

The second one continues the card showing the rosette, 21, and the stamping.
Thank You for checking us out!
 
Materials Used:
Cricut Expression 2 Machine/ Cricut Craft Room
Cricut Cartridges: Pack Your Bags, Cricut Alphabet
Cuttlebug, Swirls Folder
Martha Stewart scoring board
edge punch
Foil paper from Walmart, Metallic paper from Recollections Vellum, 
white glitter paper from Joanns
glitter ribbon, purple glitter
pop up squares
glue gun, ATG

Tuesday, May 21, 2013

A Sweet Treat

Good morning everyone. I'm L.B. from Cool Beans By L.B. I hope everyone is having a wonderful day. I try really hard to create more masculine themed cards to share with you,but right now I am overflowing with female birthdays so I am fun wobble card I created for a good friend.
I love this old school DCWV paper from the Sweet Stack. It layered just right on the birthday girls favorite color.
Next came the cute cupcake off of Simply Charmed, of course I have a habit of cutting of the cherry topper. I embossed the icing with my Swirls folder then added gems using some Stickles and tiny gems. I also added Stickles to the cupcake wrapper.
 I had never put gems on this way before but it turned out great and they all stuck on quite well. After everything was all dry I attached my cupcake with an Action Wobble.
 I hope everyone is having a wonderful day. See you next month!

Project Details:
Made by: L.B.
Cricut Cartridges: Simply Charmed
Other Supplies: Swirls embossing folder, DCWV Sweet Stack paper, Stickles in Cotton Candy and Lavender

Friday, April 19, 2013

WESTERN HOME DECOR PROJECT & GIVEAWAY!!!


Hey there, it's Freda from CannCreate Designs with another 3D project
from SVGCuts and MTC using my Expression.
This project has was made for the top shelf area of my scraproom desk...
makes me smile every time I look at it.


As soon as I saw the Happy Trails set of designs I knew I had to make it using a picture taken at Sears years ago of my grandson in a hat.  The wanted poster was originally intended to be a card, but I wanted it on a 12 x 12 canvas so I enlarged the file to fit the canvas. I purchased the Sasparilla Collection papers by October Afternoon to use because I LOVE the comic strip cowboy paper included in it.
 
Paint the sides and a little on the front of the canvas black and let dry. Trim the background paper to 11 3/4" and apply to the canvas with Mod Podge and let dry*.  Use Black StazOn to ink the edges of the paper once dry. 
 
*NOTE:  In a previous project years ago where I used Mod Podge and didn't allow each layer to completely dry before adding next layer I wound up with bubbles and buckling of the papers once the final project was completely dry.  I flip the project over and brayer the open area of the canvas and use the Cricut spatula to rub under the wooden frame area.  I haven't had any bubble issues since using this technique.
 
Enlarge the Paper, Text and Frame files from the Wanted Poster Card folder to fit on the 12 x 12 Mat angled slightly then cut it out.  (Be sure to cut your frame and text out before printing your photo, you will need to measure the area of the frame you cut to get the correct size for your final picture...speaking from experience....lol.  Ink the edges of the Paper file and mod podge to the canvas and allow to dry.

I'm so glad I bought the digital files so that I could tinker with it.  I had the photo reprinted on matte paper but found it was to "new" looking for this project.  So I opened it in Photoshop and ran the wanted poster action from Panos Effects Old Papers Action Set which I had purchased years ago, you could also use the built in Sepia tone action since the final product you're looking for is the photo.  I used the Wanted poster action because you can try out different items like bullet holes, stains, nails and cracks etc. for cool effects on your picture, if you don't like them you just hide or delete them.  When the photo looked "right" to me I cropped the file down to just the photo approximately 1/2" larger than the size needed for the area on the frame where it will be placed which you cut previously.  I printed the photo on cardstock and used a pair of decorative scissors to trim the picture down to approx. 6" squarish , distressed the edges then inked with StazOn.

Assemble the frame, text and picture layers then mod podge it to the "Paper" layer.

I thought the frame still needed a little something extra so I braided 9 strands of jute into a large flat braid and placed it around the sides of the frame, and a small braid for the hanger.

 
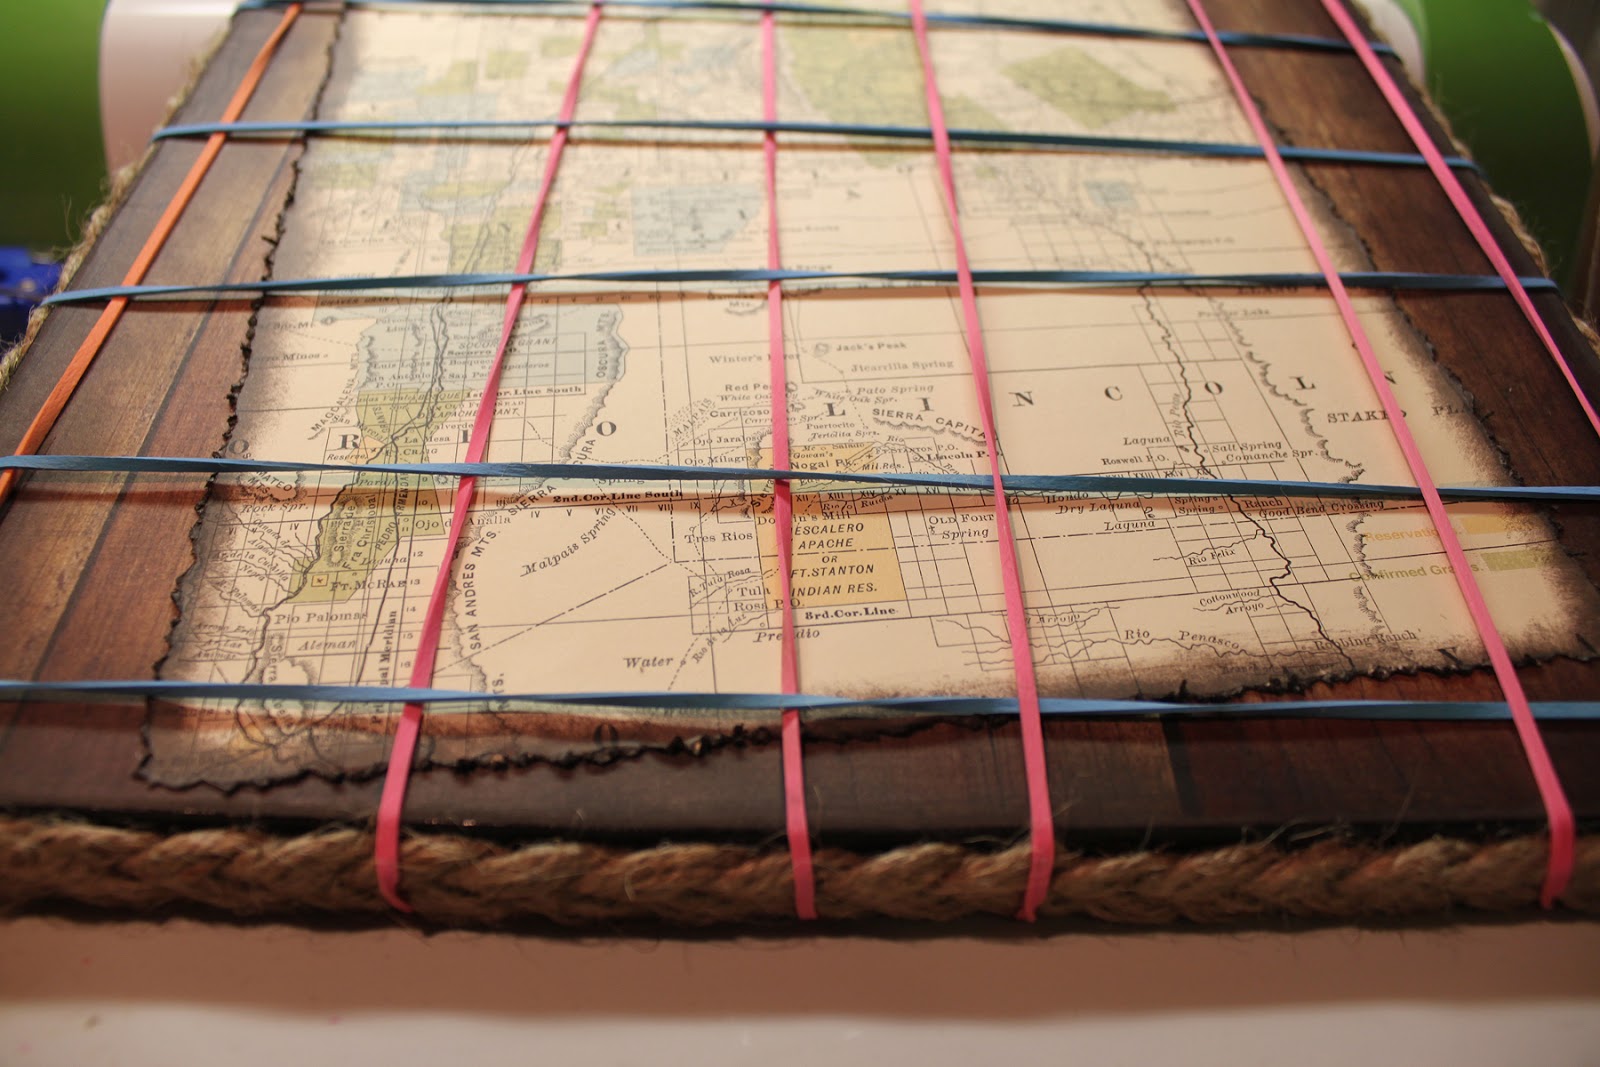
I stapled the start of the braid at the top of the frame and glued it around the sides with Zip Dry adhesive.  I trimmed the excess and stapled the other end where they met. I didn't like the appearance of the staples so I cut some jute to create a "fuzz", spread Zip Dry over the stapled area and pressed the fuzz into it...now you can't see the seam or staples.  I also did this to cover the staples on the hanger so they wouldn't scratch the wall when I hung it up...  I used large rubber bands around the outside to hold the braid in place while the glue dried.


The tag was made using Tim Holtz Distress Inks on a manila tag from the office supply store.  The lettering & banner came from Sizzlits dies Typeset and Tattered Banners.  The heart was a grunge board shape that I inked and fiddled with for 2 days to get it just right then couldn't wait for it to dry naturally.  I used my heat gun and wound up getting to close and suddenly had volcanic like eruption of paint and ink-My beautiful heart was broken.  I thought about it for a minute then covered the entire thing with red glitter, then drew lines of glue across the heart and applied gold glitter....let it dry without the heat gun.  The next night I applied Glossy Accents thickly and let it dry for a couple days.  Add a jute string and "fray" the ends and your tag is ready to be added using pop dots.

The boot and the pot were assembled using the video instructions on the SVGCuts.com website.  The boot itself was a little tricky on the front area, but they explain it quite well in the video...I couldn't even begin to explain.  Unfortunately I assembled the boot & pot at a crop and didn't take to many pictures of the assembly process.


You might notice that I changed the orientation of the horseshoe before cutting it out.  My grandma always said if you turn a horseshoe up side down all your good luck falls out...lol...I'm superstitious so I used the software to move the assembly tabs to the bottom of the shoe so my good luck doesn't get poured out...
 
 
Now for the Good Stuff-The Give Away:
 
If you would like to try your hand at assembling the boot but don't have the ability to cut one, I cut an extra boot to give away.  This will come unassembled, it has been inked and embossed you just add the glue...lol....
 
Embossing folder not included....it's in the picture so I can remember which one I used

 
Mary has a really detailed video tutorial that you can watch to help you with the steps of assembly and of course I will gladly answer any questions you may have just click the link to see it on Youtube: 
 
 
To win all you have to do is leave a comment on this posting. Don't forget to put your email addy in the comment section so I can contact you for mailing details....I will put the names in a hat, draw and post the winner Friday, April 26th.  Everyone is welcome to enter.
 
Thanks for stopping by and good luck!!!!!
 
Freda
 
Designed by:  Freda Cannon 
Machine Used:  Cricut Expression
Project Type:  Home Decor 
Products Used:  MTC Software; Happy Trails Svg files; Sasparilla Collection Paper by October Afternoon; Mod Podge; StazOn Ink; Photoshop Software; Panos FX actions for Photoshop; Tim Holtz Products: Typeset Alphabet, Tattered Banners and Grungeboard Heart, Martha Stewart Red & Gold Glitters, Glossy Accents, Twine and Jute. 

Thursday, April 11, 2013

Birthday Invitation

Ladies - Here is Maura's project for April that she sent me to post.  Unfortunately I have been very sick and was unable to get it posted earlier.  Please enjoy it today.  It is really cute !
 
 
Hello and happy spring everyone. Maura here with a birthday invitation that I created for my granddaughter.

 I used the cricut craft room to weld and cut the strawberry and all it's layers from the "Preserves" cartridge at 6 inches. With the red layer I used craft room basics to create the window frame for Straberry Shortcake by placing one circle inside the other with the outside circle at 1.5 inches.

The red layer I ran through my "Cuttlebug" using the Swiss dots folder I then used Tim Holtz walnut distress ink to ink up the edges and the raised dots. I found the Strawberry Shortcake image on line and then just cut it to fit the window.
 
For the inside I printed all the info using my computer and then used a negative cut of the strawberry front sized just a quarter inch smaller to place the info inside just how I wanted it and cut it out by hand.
 
I had to make the envelopes which was a new experience for me. Lol. I thought they would fit an A2 size but was mistaken. To seal the flap once again I found the image on line and the just used punches for the layers and glue dots to seal them.
 
 
Next my daughter wanted some bags for all the goodies that the kids would collect from the piñata.
 
For the bags I cut the strawberry at 5 inches wound a little twine and added a place for each child's name using a ticket punch.
 
 
For the flap on the back I used a Martha Stewart border punch and cut circles at 1 in and 1.5 inches from craft room basics, then used a stamp for the treats sentiment and inked and layered them together. To keep the bags closed I used small Velcro circles.
 
I am also working on a banner that I would have liked to share but it is not quite completed. Hope everyone has a great month.   Maura
 
Cricut Info & Other Supplies
Designed by:  Maura
Cricut Info : Preserves, Cuttlebug, CCR
Other Info: Paper bags, cardstock, velcro, border bunch, twin, ink


Monday, April 8, 2013

Bunny Cards and Tags

Hi Everyone.  This is Erika from http://ekittyscraps.blogspot.com/.  I am so happy to be here today and share my projects with you.  First up is the bunny card-Peter Cottontail and his Easter Basket.


                             Here are the items I added to the card.


 First I cut my Weathered Wood distress cardstock into 4 x 6 sheets.  Next I used my swirls embossing folder and my Cuttlebug.  I added the Weathered Wood swirl paper to my card and then layered with the TH Seasonal Cardstock-Easter. 
 I used my Paper Doll Dress Up cartridge to cut out the grass on Peeled Paint Distress Cardstock and adhered to my card.
I used my rabbit stamp from Stampers Anonymous and heat embossed the image.  I fussy cut out the rabbits and colored with Distress Ink pens.  I added small pieces of cotton balls for the cotton tails and adhered with glossy accents.  I used popdots and added my rabbit to the card.
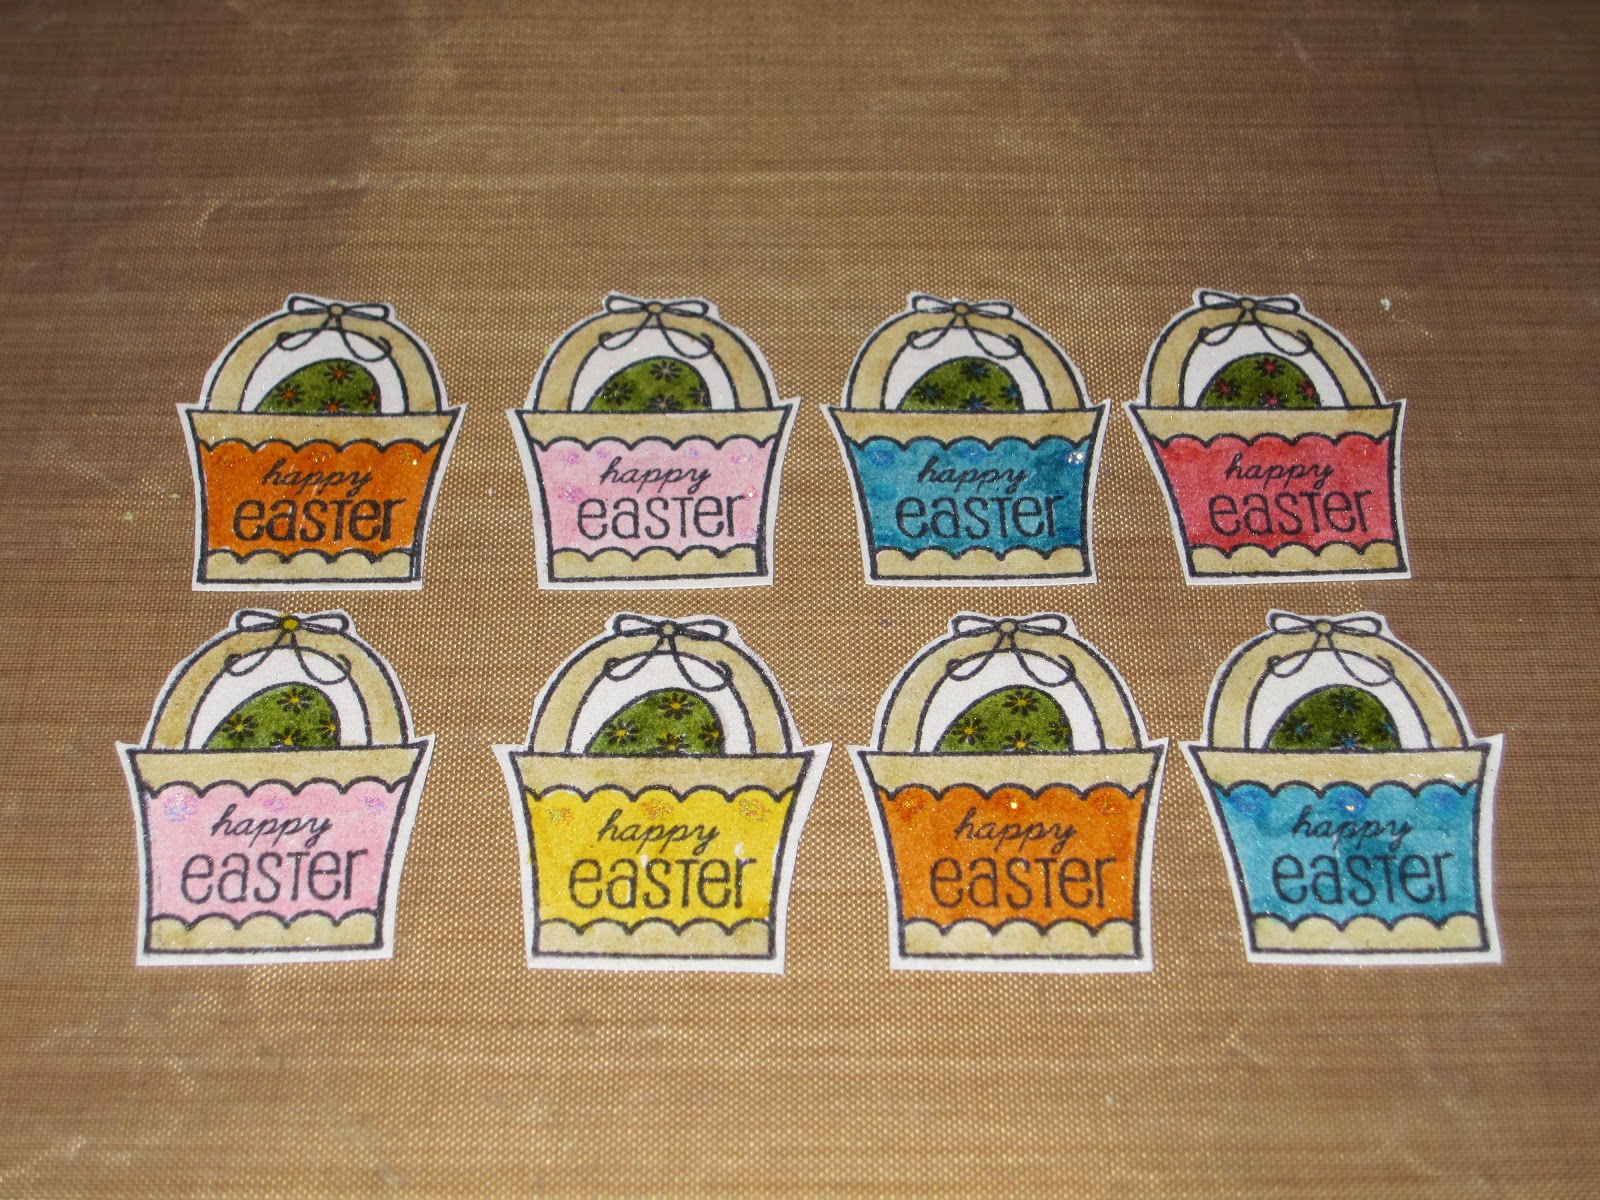
 I used the easter basket stamp from Studio G (a $1 stamp-love them) and also fussy cut and colored with Distress Ink Pens.I added glossy accents and stickles to the easter basket since they looked kind of flat or dull compared to the embossed  glittery rabbits.  I added popdots to back of the easter baskets and added to my card.  I used Vintage Photo distress Ink to outline each card.
Here are a few of the finished Bunny cards. 


Next up are the tags I created for my Easter bags.  I used both sides of the Reminisce papers.  This paper had light blue polka dots on one side which is the background paper of this tag and the bunny designs on this other side.  It also had the purple bunny and chicks border on it that I used on the bottom of the tags.  I almost missed this cute border because it was only on the backside of the paper.  I used my Artiste cartridge to cut out the names at .75 inches for 5 letter names and at 1 inch for four letter names on blue cardstock. I added a final blue ribbon to each of the guys' tags and outlined with Vintage Photo distress ink.

The girls' tags were also made from another  Easter Reminisce paper which had pink polka dots on one side with a pink and green striped border on the back.  I used the border on the top and bottom of each tag.  I used my Quarter Note Cartridge for the fancy font names.  I cut these at .75 inches for five/six letter names and 1 inch for the three letter name on fuschia cardstock. I added a orange ribbon to match their Easter bag and used Vintage Photo distress ink to outline the tag.  These tags were so easy to make since I only had to cut out the paper and names and adhere with Scotch Quickdry Adhesive.   
 Here are the Easter bags with their bunny paper tags. I purchased these cute bags from Joann's for $3.99 for 8.  Perfect for Easter but with a different paper could be used for any spring time event.
 Thanks for stopping by and have a good month!

Supplies Used:
Cricut Expression Machine
Cuttlebug
Artiste Cartridge
Paper Doll Dress Up Cartridge
Quarter Note Cartridge
Cuttlebug D'Vine Swirls Embossing Folder
Core'dinations Cardmaker Series Pearls-Pearly White cardstock for stamping on
Inkssentails #8 Manilla Tags
Stampers Anonymous-Rabbit from Spring Sprung Collection
Stampendous Marcasite Opaque embossing powder
Studio G Easter basket stamp-2012
Ribbon-blue and orange
Tim Holtz Idea-ology Paper Stash Seasonal -Easter
Tim Holtz Distress Collection Paper-Weathered Wood and Peeled Paint
Reminisce Papers-Bunny Collage
Blue and Fuschia Cardstock
Tim Holtz Distress Ink Pens-various
Tim Holtz Distress Ink-Vintage Photo


Thursday, February 7, 2013

Valentine Riddle

Hello to all the fantastic Cricut FANatics.  It's Melody your designer for today, aka kauaimelody on the cricut board and cricutmelody on my blog.  Can you believe it is almost time for Valentine's day? Time to put all things frosty away and dream of  romance, love, and Valentine Crafts of course. 

Well, I decided to put you in the mood, by sharing pics with you today, of lots of little details that will hopefully inspire you to get all lovey dovey and make something romantic for a loved one. Do I see you blushing???  Well let's get started with a  riddle. . .

VALENTINE RIDDLE:

WHAT DO YOU GET WHEN YOU PUT RIBBONS, BLING, HEARTS, DESIGNER PAPER,CALLIGRAPHY, EMBELLISHMENTS, LOTS OF LOVE
 AND A BOX, A TAG AND A CARD TOGETHER?

Here are a whole kaboodle of details you can check out in the picture gallery to help you solve the riddle.  If you are a Serial Lookie Loo, who likes to see a bunch of pics, rather than read a bunch of words, than this blog could be just perfect for you.

CLUES TO VALENTINE RIDDLE/A PICTURE GALLERY WITH LOTS OF DETAIL


VALENTINE RIDDLE SOLVED: Here is what you get. You get a . . .


A Valentine Box to tuck a surprise inside to show you care-


A Valentine Card for sharing loving sentiments-


And a Valentine Tag to Place on your Valentine Box after it is all wrapped up


The coordinated Valentine Set -


HAVE A HAPPY VALENTINE'S DAY EVERYONE AND THINK OF THIS BLOG TODAY , AS MY CRAFT VALENTINE TO YOU. . .

Joyful Crafting Always,
Melody

Designer:   Melody
Machines:  Cuttlebug  (hearts)
Materials:   Ribbon, gems, lace, embellishments, designer paper, smart phone box, ranger tag


Monday, January 7, 2013

2013 New Year Craft Resolution

Happy Happy New Year Everyone! It's Melody (aka KauaiMelody on the Cricut Boards and CricutMelody on my Blog) and as always, elated to be your designer today.  I would like to share with you my 2013 New Years Craft Resolution.  I am going to recycle my Bottle Cap Stash, and make little ornaments for a live Christmas Rosemary Tree Centerpiece for 2013.  I always run out of time to do this, so I thought I would start ahead and make a few Bottle Cap Ornaments each month, so I could finally have my decorated Rosemary Tree at the dinner table on Christmas.

Here is an example of a Rosemary Tree I buy each year.  Alas, it never gets decorated despite my best intentions.  I buy these at Home Depot for $8.95.


So I have started now on my Holiday Goal, and I have made 3 little ornaments from my favorite bottle caps.  Being a Master Procrastinator, I have shocked myself, because my mantra is, if it weren't for the last minute, nothing would get done.

Minimilist Bling Ornament:


Lots of Bling Ornament:


Bling with Fancy Soda Can Die Cut Ornament:


PICTURE GALLERY OF ORNAMENT ADVENTURES

Acquiring real ornament tops for the bottle caps:


Getting my friends and family to drink this specific beer so I can have my favorite bottle caps:


Pulling out my Cuttlebug and Provocraft Die Cuts to use on my prepared aluminum can square.


Looking at more Provcraft Die Cuts and bling possibilities for next month's ornaments:


Hope you enjoyed my share today and if you would like to see photos up close and personal of altered tickets that I designed for a winter swap, swing by
http://cricutmelody.blogspot.com/.

(Oh, did I mention my second 2013 Craft New Years Resolution - to keep my Blog up to date!!!)

Here's hoping that all of your New Year Resolutions come true.

Joyful Crafting Always,

Melody

Designer:  Melody
Machines: Cuttlebug
Supplies:  Bottle Caps, Ornament tops, Bling, Provocraft Dies, Soda Can, Epoxy,
                Scissors, Embellishments of your choice