
Hi Everyone! This is Alex from www.cardsinthetree.blogspot.com with a Peter Pan inspired Birthday Card. I am also going to show how easy it was to make a custom embossing folder.
I started by finding a compass image that I wanted to use. It was a little too detailed for what I wanted the final image to be so I hid many of the smaller contours. I cut the image out of the sticky foam type paper that comes in the embossing folder kit. I then peeled the image onto the blank folder and put the opposite/negative image on the opposite side creating the impression/depression sides. I actually doubled the layers because I would be embossing grunge board and I needed more depth.


This is a standard sheet of paper with the new embossing design.

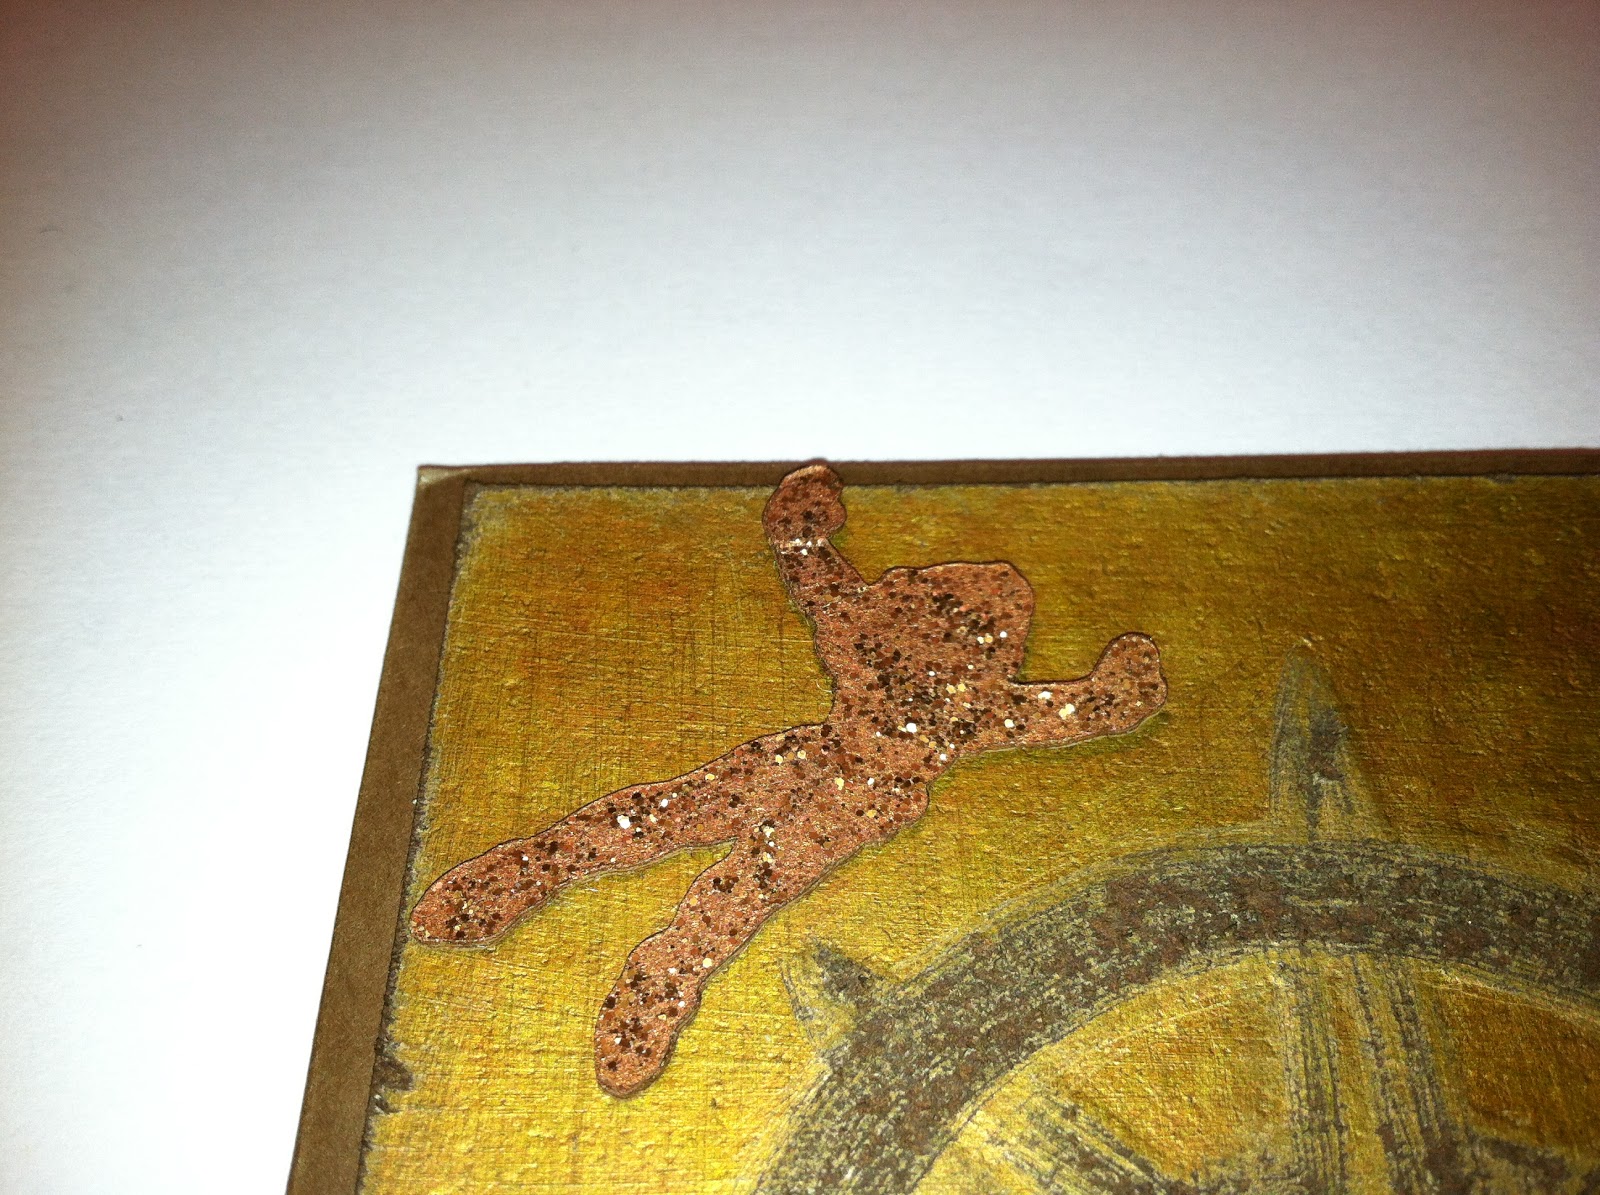
Once I ran a piece of grunge board through the cuttle bug I painted the entire front in the gold paint. I did this to seal the surface of the grunge board for the next step and give it a shine. I then used alcohol inks and covered the entire front of the gold painted piece, layering all the colors. Using the scratcher I went over the embossed compass and scraped into the grunge board pulling up the majority of the ink and paint. I also used the sanding tool to rough up the edges and flat areas. With the distress ink I inked the newly exposed grunge board several times to soak in the color.

I cut the shadow piece of the flying peter pan several times from brown paper and glued the images together to make a thicker embellishment. I covered him in the brown and copper alcohol ink and once that was dry I added the stickles.
In the top right corner I added 2 stars. [Second star to the right!] I used a metallic sharpie and added two hot set gems to the center of each.

At the bottom under the compass I wrapped a piece of ribbon around the base of the grunge board only and used the ends to tie on the word band.

Finally, I mounted the decorated grunge board onto a brown card base and cut & glued a gold shimmer piece of paper on the inside for friends to sign on.

I hope you enjoyed this project. For my peter pan obsessed friend this card is perfect. Happy Halloween!
Cricut Info & Supplies Used:
Designed By: Alex B.
Cricut Machine Used: Cricut Mini, Gypsy, Cuttle Bug
Cricut Cartridges Used: Disney Classics
Other Supplies Used: Close to My Heart Paper in Cocoa; Tulip Hot Set Brown gems and setter; Tim Holtz distress ink in Gathered Twigs; Tim Holtz Grunge Board (plain); TIme Holtz Sanding Block and Scratcher Tool; Adirondack Metallic Acrylic Paint Dabber in Gold; Adirondack Alcohol Inks in Lettuce, Ginger, Gold, and Copper; Distress Stickles in Vintage Photo; Idea-ology Word Bands "dream as if you'll live forever."; Glimmer Ribbon in Aged Copper; Sharpie Marker in Bronze.

