While we are no longer making active post of Cricut projects on this blog as of 8/1/2013, we invite you to use it for continued die cut inspiration as we will leave the blog up for viewing. Happy Cricuting !

Showing posts with label Paper Trimmings. Show all posts

Monday, January 14, 2013

It's Not Too Late for This Resolution!


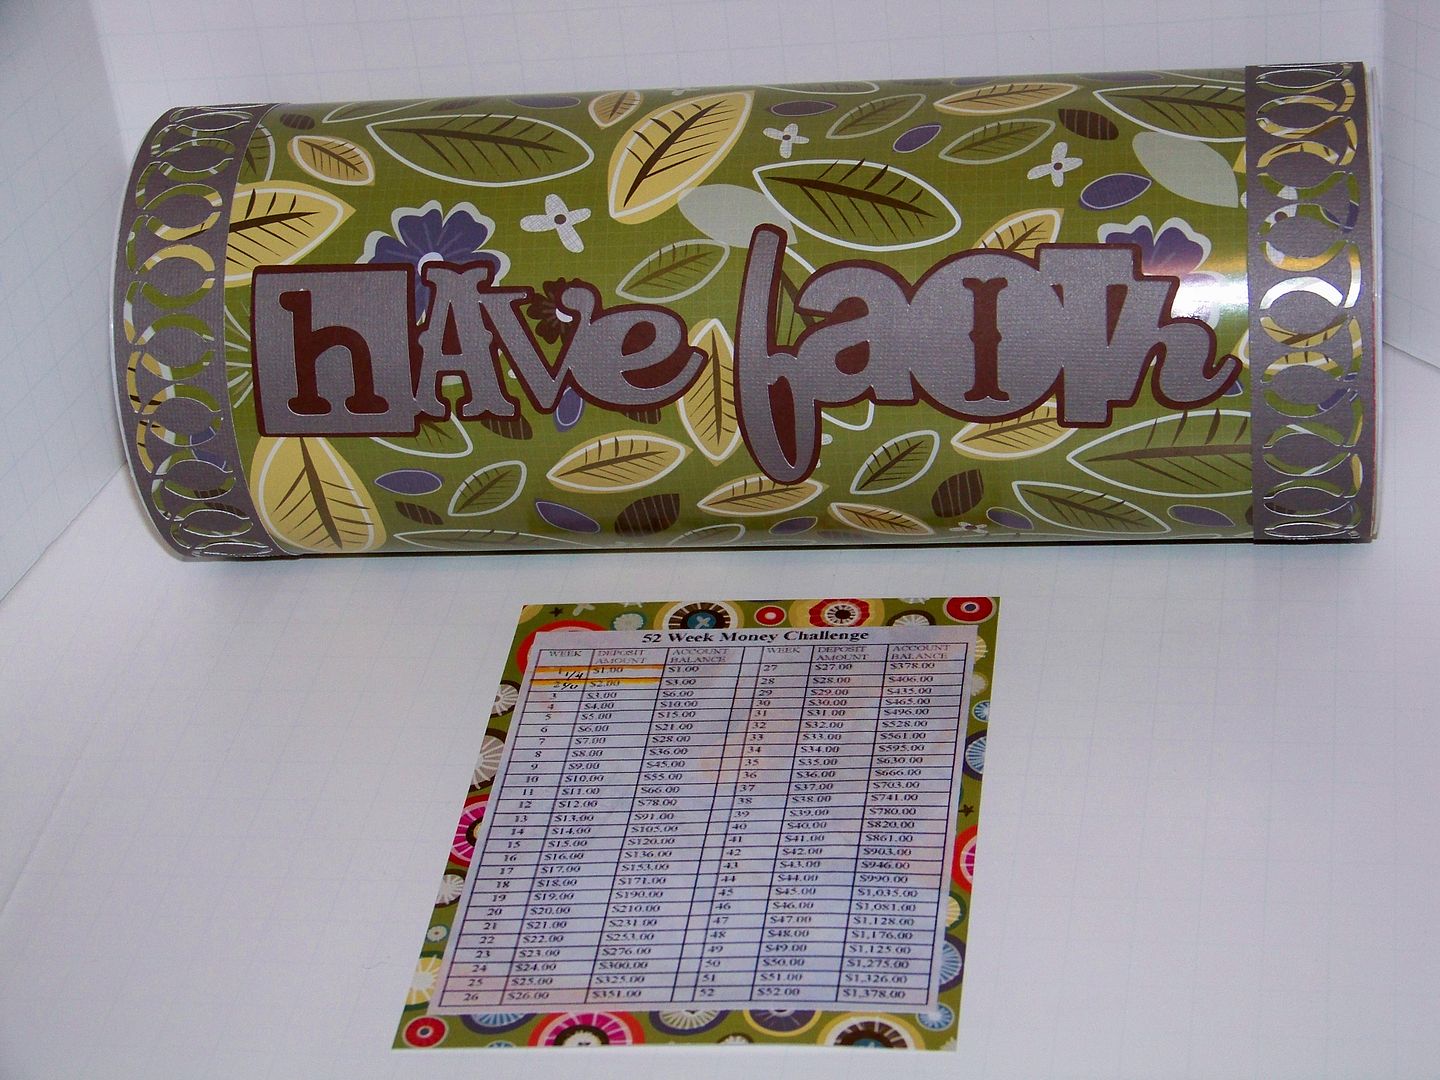
Hello!  This is Nadia from my blog, With Glittering Eyes.  By now, many people have already dumped their New Year's Resolutions, but I have one that you might just want to adopt-- and even though we are halfway through January, it is easy to catch up!  This year, my family is doing a super-easy, extra savings plan that I found on Pinterest.  For each week, one through fifty-two, we put that amount of money aside.  So, for week one, we put in $1.  Week two was $2.  This is week three, so we will put in $3... this will continue until the last week of the year (week 52) when we will put in $52. You get the idea.  At the end of 2013, without doing any extra work and without even noticing the weekly shortage, we will have saved $1378.  Click here to see the pin- and the mini spreadsheet.  (There's no reason that you have to deposit in order so you might prefer to make the biggest deposits earlier in the year and smaller ones during the month of December since the goal is to make this extra saving unnoticed).

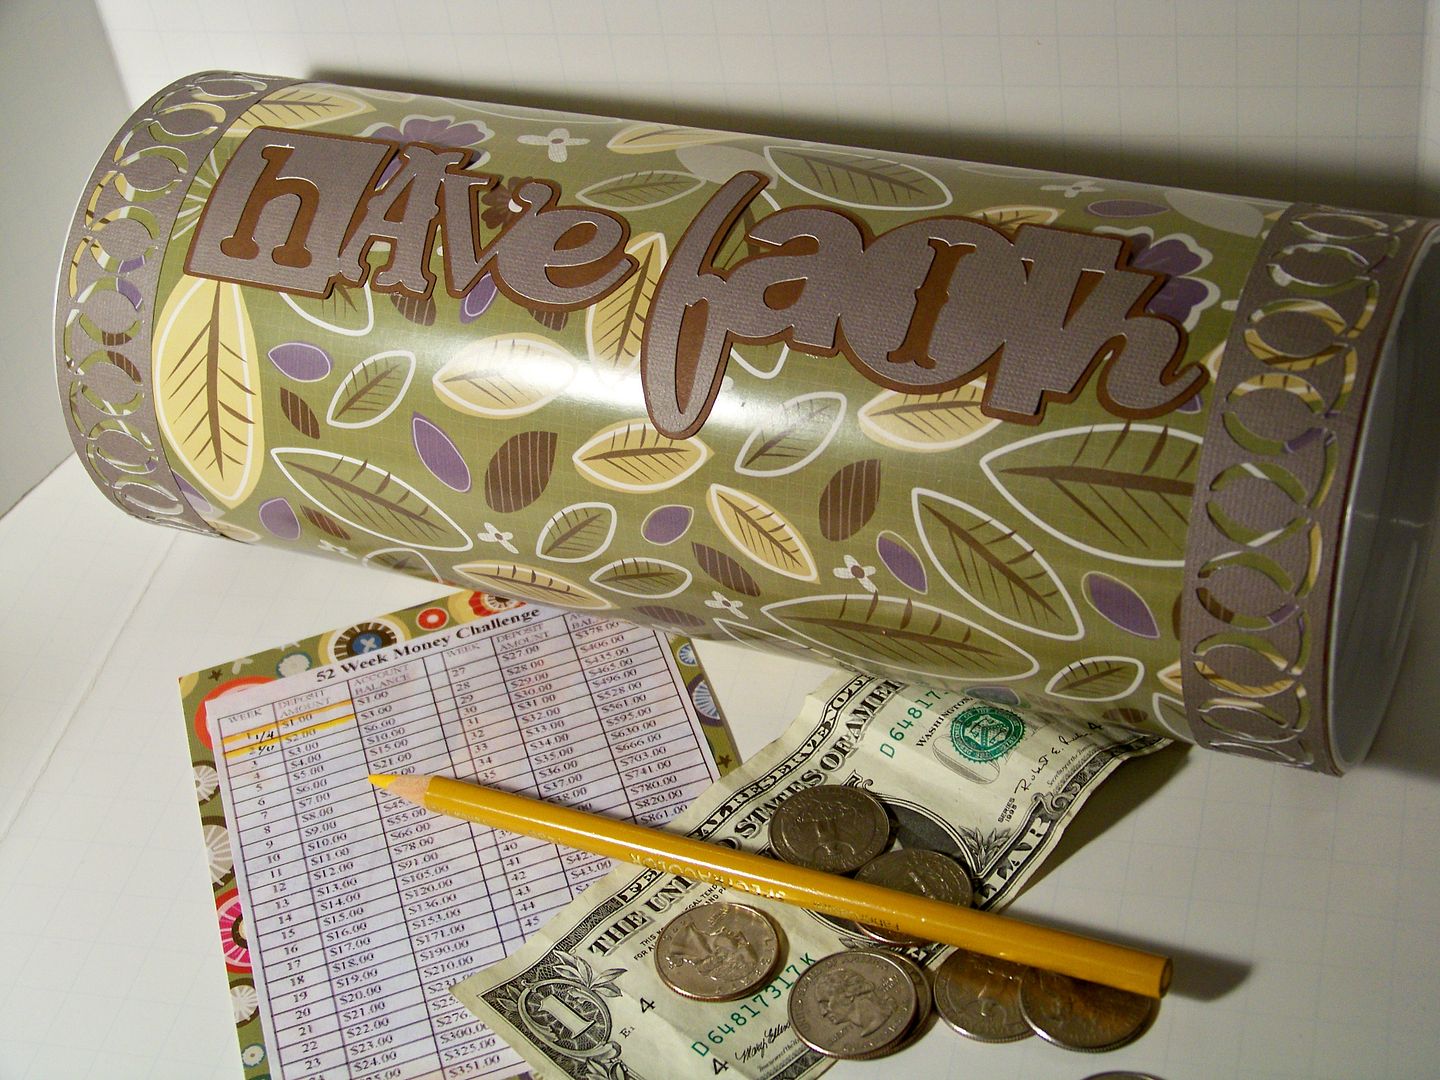
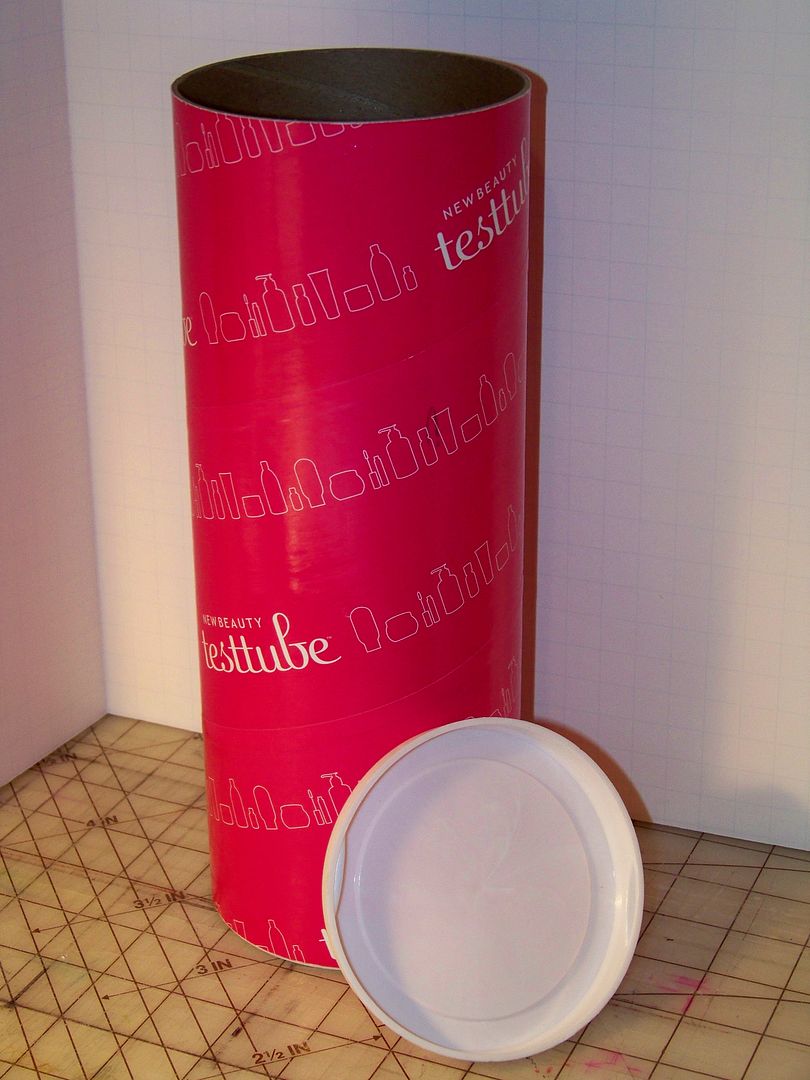
My daughter was concerned that we needed a little bank to hold weekly deposits.  For our little bank, I used a recycled bit of packaging from one of my Christmas gifts and covered it with decorative paper.  She thought this shape looked like a deposit tube from the drive-thru at the bank.

I used Paper Trimmings for borders (page 69, border cut at 1") and Wall Decor and More for the phrase (page 45, cut at 2-1/4").  I picked this text because my OLW for the year is 'faith' so I am trying to work it into some of my projects this year.

I printed off the spreadsheet from the pin-- my daughter particularly likes crossing off the weeks.  We keep it inside with the money.


That's all there is to it-- easy peasy-- and to catch up, it will only cost you three bucks.  This is a great way to make an extra, end-of-year offering at church or to have a little stash to buy a gift for the family to share after the holidays.  ...And it's a LOT easier than keeping that weight loss resolution!

Thank you for checking my post today!


Cricut Info & Supplies Used:
Designed By: Nadia Herbst-McConnell
Cricut Machines Used: Expression
Project Type: Uncategorized
Project Theme: New Years
Cricut Cartridges Used:  Paper Trimmings, Wall Decor and More
Suppies Used: Recycled tube with ends, paper


Friday, October 19, 2012

Happy Halloween!

Hi Everyone! This is Kim from imlosingitonceandforall again. Hope you all are enjoying your October so far. It's amazing that we are already half way through the month! I was really undecided on what to do for this month's post but decided to go with the Halloween theme since this is the month and all. :o) So without further adieu here it is!


I had a lot of fun creating this and used several of my crafty items that I've either long forgot about or just recently purchased and didn't bother to use yet. Signing up for this blog was one of the best things for me because I really have been using things from my stash. The only thing I had to buy for this was the vellum  I could have swore I had some but had no luck in locating it and really wanted the effect it would bring. 

It really was super easy. I started out with a $2 unfinished frame that I purchased from Michael's some time back and painted it with an Adirondack Citrus paint dabber. I was a bit impatient for it to dry so I went ahead and used my heat gun to dry it. I actually hoped that it would age it a bit but no luck. No worries though because to get the darkened edges I just swiped my Black Soot distress stain from Tim Holtz all around.

As for the cuts I used a couple cartridges for this. The web was cut twice once in vellum and then again in black cardstock (all of the measurements are from my Gypsy so they are not in normal inch format) and are 4.93 for the width and 4.71 for the height. The bat was from Paper Doll Dress Up in purple cardstock and measured at 5.02 for width and 6.29 for the height. Lastly I cut the Boo! from Mini Monsters in orange cardstock at 3.59 for the width and 4.00 for the height.


After cutting everything out I cut the black spider from the web and glued it to the top of the vellum spider. I then found some mismatched googly eyes and glued those on. 


For the bat I really wanted him to have some dimension so I scored his wings and did a little accordion fold. He also needed some googly eyes so I found a couple more and stuck them on. I also outlined the cricut cut lines to give a mouth and define his wings.


Lastly I had the Boo! to deal with. The orange was a bit bright for my taste on this project so I wanted to rough it up a bit. I recently purchased some Faber Castell Gelatos so I snagged the purple one and outlined all of the edges. I then just took my finger and smeared it everywhere to rough it up. I really liked how it turned out. 

I then glued all my pieces on but I still felt that it could use something else so I pulled out my Goosebumps Shimmer Texture Spray and misted the entire project. Unfortunately the picture just won't turn out of the entire frame coated in it but you can see some of it in the other pictures I've posted. This was the first time that I've altered or dolled up a frame and I'm quite pleased. I do wish though that the picture I have in it printed out better but that's our home printer for you! I'll be looking to have one printed at the local store I think LOL

Hope you've enjoyed my project and I look forward to posting again for you next month! 
Happy Halloween!

Cricut Info & Supplies Used:
Designed By: Kim
Cricut Machines Used: E2, Gypsy
Cricut Cartridges Used:  Paper Trimmings, Paper Doll Dress Up, Mini Monsters
Supplies Used: Purple, Black, and Orange cardstock, vellum. Random googly eyes, wooden frame from Michael's, Goosebumps Shimmer Texture Spray, Adirondack Citrus Paint Dabber, Tim Holtz Black Soot Distress stain and Fiber Castell dark purple gelato stick.