
Hello
again, it’s Freda from CannCreate Designs. I posted a little teaser for this project on my
blog a couple of weeks ago showing the unembellished teapot and got a really
good response from viewers. This is going to be a really easy posting for
me today because SVGcuts does all the work, they produce excellent step by step
videos telling you how to assemble the files you purchase from them, the only
thing I had to do was decide on the papers and types of embellishing I wanted
to use.

These
items were cut on my Expression using MTC, you can also use SCAL if you have
that software. They were not cut using Cricut Cartridges.
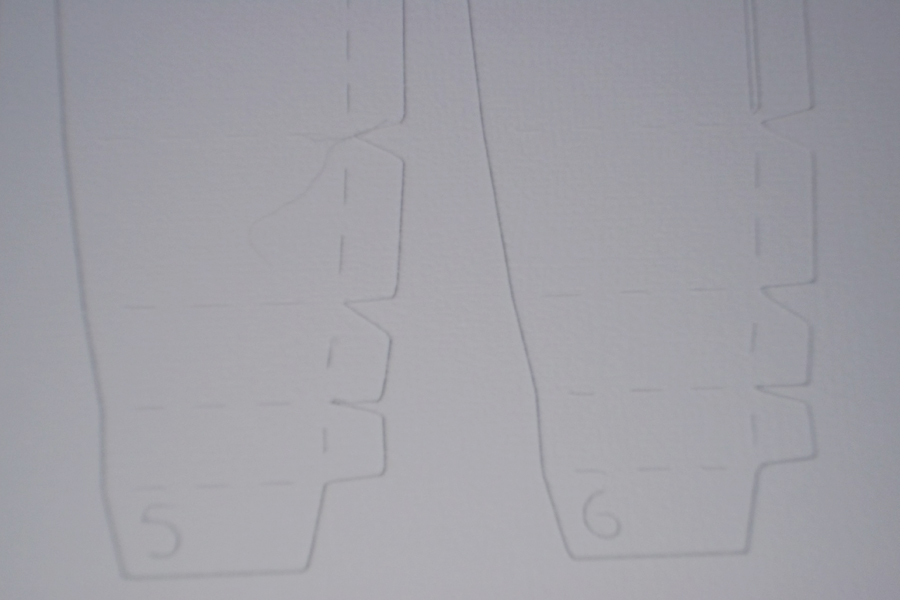
Making
papers bend looks a little daunting, but if you take it step by step it is
really easy. Each piece is numbered and cut with tabs for gluing and
folding so all you have to do is bend and it folds exactly as needed-no having
to use a score board, assemble them together in numbered order and you’re
done. Here’s a picture of the base pieces showing the numbering of
pieces, tabs and fold lines that are cut.
The Half
Naked Truth-Here’s
what the pot looks like before the panel pieces are attached.


As you can
see all the top panel pieces have had the edges inked with Timber Brown Ink.
The upper layer papers were from GCD Studios Ella Blue Collection by Tina
Higgins. The white base layers were cut from American Crafts White
Cardstock. I decided to use a pearl and Snug Hug Seam binding theme
for embellishing.
I used two
files I purchased from SVGcuts.com and the MakeTheCut software to make this
set. This should be an easy posting because they do all the work.
(disclaimer-I am not affiliated with these companies, I’m just really satisfied
with the results I get when I use their products).
Tea for you
and Me:
Home for
the Holidays: (Pitcher)

There are 3
different types of pearls used on the teapot. For the spout handle and
around the top of the lid I used the small pearl “lines” made by Paper Studio
(I should have checked my stash quantity first-ran out and didn’t have enough
to do any of the other projects with them). Around the the rim of the pot
and the “dangly” pearls in the bow I used pearls by the yard I bought at JoAnn’s.
Around each tab on the lid and on the small dangly I used the large Queen and
Company Pearls. I’m going to make a cameo charm for this bow, the Round
25 set I used on the pitcher was too large for this spot.

The paper I
used had a silver script writing on it, you can see a little of it in this
picture.

Next we
have the Pitcher from the Home for the Holidays set. The cameo charm was
made using a cut from the Cricut Heritage Cartridge at 1” and Epiphany Crafts
Shape Studio Round 25 punch and the coordinating charm and bubble caps.
Pearls by the yard and Queen and Company large pearls were used on
the pitcher.

I used the
cameo and a white circle which made my cameo 2 layers of paper, when I put the
bubble cap on it looked a little “milky” in spots. I flipped the bubble
cap over on a sponge (to avoid scratching the bubble) and used the cricut
stylus to push the white back into the bubble cap adhesive. After
burnishing the paper to the cap, I used Glossy Accents to glue to the metal
charm.
The
Burnished Cameo


Last but
not least is the hot chocolate holder. My family LOVES hot chocolate so
much that I bought a Keurig for us to use last Christmas when everyone came
home. Little did I know that my son was buying me that Hot Chocolate
dispensing machine too…lol

This piece
was the only one that gave me problems, if you look close you’ll see that it’s
“wavy” in spots. This piece is a box inside of a box with trim around the
top. The space between the 2 boxes is “hollow.” When I put the 3M
quick dry adhesive on the decorative piece the base got a little
distorted. If I make another one of these I would cut some foam core to
attach to the outside pieces to prevent the distorting with wet
adhesive. I used Snug Hug seam binding, a large pear and
pearls by the yard for embellishments on this piece also.

Merry Christmas to one and all, see you next year. Freda
Cricut Info & Supplies Used:
Machine Used: Cricut Expression
Files Used: Cricut Heritage Cartridge for Cameo shape.
SVGcuts Home for the holidays (pitcher) and Tea for you and Me.
Paper: GCD Studios Ella Blue Collection Pack designed by
Tina Higgins. American Crafts White Cardstock
Supplies: 3M Quick dry adhesive, Pearls-Queen & Company,
By the Yard from JoAnns, Paper Studio Pearl Lines, Epiphany Crafts-Shape Studio
Round 25, Bubble Caps and Charms. Snug Hug White Seam Binding

Each and every piece is simply stunning.
ReplyDeleteAbsolutely beautiful!
ReplyDeleteWow...unbelievable!! Lee-Ann :)
ReplyDeleteGorgeous project.........
ReplyDeleteWow! That is wonderful! Doubt I have the patience to create something like this.
ReplyDeleteLove these 3D items!!!
ReplyDeleteI thought that it was beautiful when I first saw it, but now all put together with the pearls all I can saw is WOW!!
ReplyDeleteO.M.G.!
ReplyDeleteFantastic project! Everything looks perfect.
ReplyDeleteReally detailed and fabulous project!
ReplyDeleteGorgeous! It is really beautiful.
ReplyDeleteThe best way to protect your home is to hire quality roofing near me services. We connect you with local experts.
ReplyDelete