While we are no longer making active post of Cricut projects on this blog as of 8/1/2013, we invite you to use it for continued die cut inspiration as we will leave the blog up for viewing. Happy Cricuting !

Showing posts with label Cricut Design Studio. Show all posts

Saturday, July 27, 2013

Train Picture Frame

Happy Saturday Cricut Fanatics!  This is Rita from Rita's Paper Obsession.

Today I wanted to share a picture frame I created for a picture of my husband and our nephew.  We went to the train museum and I wanted to create a keepsake for our nephew.


I selected the train from the Carousel cart and used Design Studio to layout the frame.  The train image is 8 inches.  The window was too small for my picture so I used the hide contour and placed a 3 inch square from George & Basic Shapes in its place.  I cut this out three times on blue, green and red pattern paper and twice from chipboard.


Next using the shadow function, I welded a rectangle to the bottom of the image to give me a flat surface.  I cut this out of black pattern paper and chipboard.


For the frame back, I used the welded shadow/rectangle and used the vertical frame back from the Fancy Frames cart.  Again using the hide contour function I hide the rectangle utilizing only the stand portion of the image.  I cut this from chipboard.


To assemble, I glued the red train to a chipboard cut and the blue train to the other chipboard cut.  I hand cut the smoke stack and light off the blue train.  From the green train I hand cut the top of the smoke stack, the roof of the train and the cow catcher.  I cut circles from George & Basic Shapes to match the size of the wheels and I created a window frame by cutting a 2 3/4 square inside a 3 1/2 square.  All pieces were inked with Versa Magic "Jumbo Java"


Finally assembly of the frame, layer the train on to the shadow leaving an opening to insert the picture.  Adhere to the frame back.


The frame looked a little plain so I doodled some and added a number cut from the Lovely Floral cart.  The numbers represent the date we went to the museum.


Thank you for stopping by and allowing me to share with you this weekend.  It has been a pleasure being a part of the Cricut FANatics blog.  Happy Cricuting!

Designed by: Rita Poteat
Cricut Cartridges Used: Carousel, George and Basic Shapes, Fancy Frames
Cricut Machines Used: Cricut Expression
Project type: Home Decor

Wednesday, March 27, 2013

Easter Place Setting

Happy Spring Cricut FANatics!  This is Rita with Rita's Paper Obsession.  For this month's post, I have a quick home decor project.  I was inspired by a Michael's ad for their spring charger plates.  The ad showed a clear plate with a rabbit etched in the center on top of a charger plate, very festive!

My table ready for Easter brunch.


I selected the EstrBny2 image from the Martha Stewart Seasonal Cake cart.

To start, using Contact paper, I cut a circle from George Basic Shapes the diameter of the plate bottom.  The bunny image was centered in the circle and flipped so that the image faced left as shown in the handbook.  I used Design Studio to accomplish the centering and flipping.  Then using the "kiss cut" method, blade depth 3 and pressure set at low, I cut the bunny image from the vinyl.  The plates are 10" with a bottom surface area of 5 3/4", the bunny image was cut at 5 1/4".

The Contact paper image was then adhered to the underneath side of the plate and the etching solution applied according to the directions.


Wishing you a Happy Easter!


Designed by: Rita Poteat
Cricut Cartridges Used: Martha Stewart Seasonal Cake
Cricut Machines Used: Cricut Expression, Design Studio
Project type: Home decor
Project theme: Easter/Holiday
Other Supplies Used: Glass plate, vinyl shelf paper, etching solution, foam brush

Sunday, January 27, 2013

Family Layout

Hello everyone, this is Rita with Rita's Paper Obsession.  It is hard to believe January is almost over.  Like everyone else, I set some goals for 2013, one of which was doing at least one layout a week.  So today, I have a layout to share with you as well as a couple online resources I go to when I'm looking for sketch ideas or Cricut images.

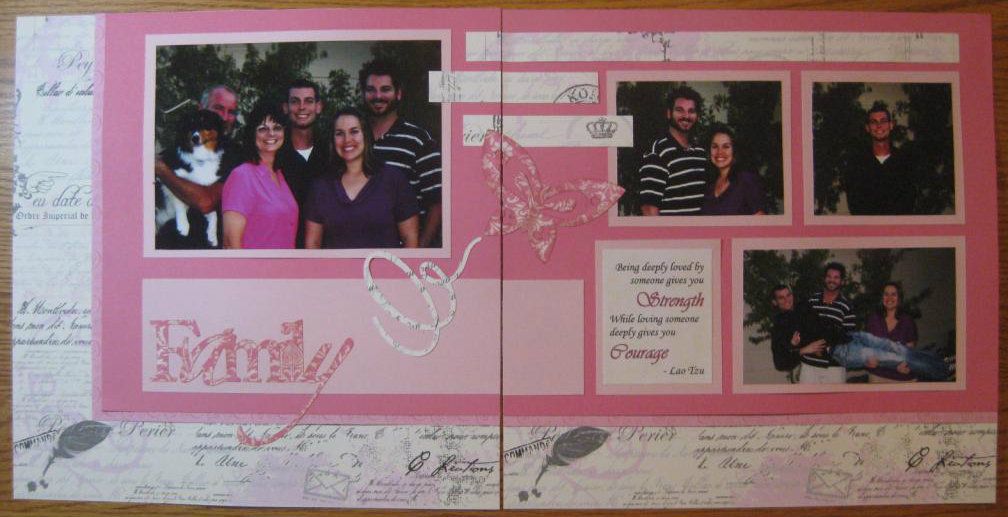
I had some family snapshots I wanted to scrap but wasn't coming up with any great ideas as to how I wanted my layout to look.  For inspiration I went to pagemaps.com.  This site as all kinds of sketches.  I selected a sketch from August 2006.


And here is my completed layout:


I used Echo Park "Love Letters" and Paper Pizazz "Soft Tints Pink Swirls".  The solid pink is from Close to My Heart.

It takes me a while to choose the cuts for my layouts.  Part of the problem is I have a lot of cartridges and don't know which carts have the image I'm looking for.  To solve my problem I go to mycutsearch.com.  This site is awesome and simple to use.  You simply enter what you are looking for and the site shows you all the handbook pages with the searched image.

The Echo Park paper was double sided so I used the reverse side for my cuts.  The butterfly is from Pink Journey and "Family" is from Sophisticated.  Both were cut at 3".  "Family" was part of a longer phrase so I used Design Studio to hide the other words and make the cut.

I started my layout at a crop and I didn't bring my inks but I had my Inkadinkado blending chalks.  I used brown chalk along the edges of my cuts. 

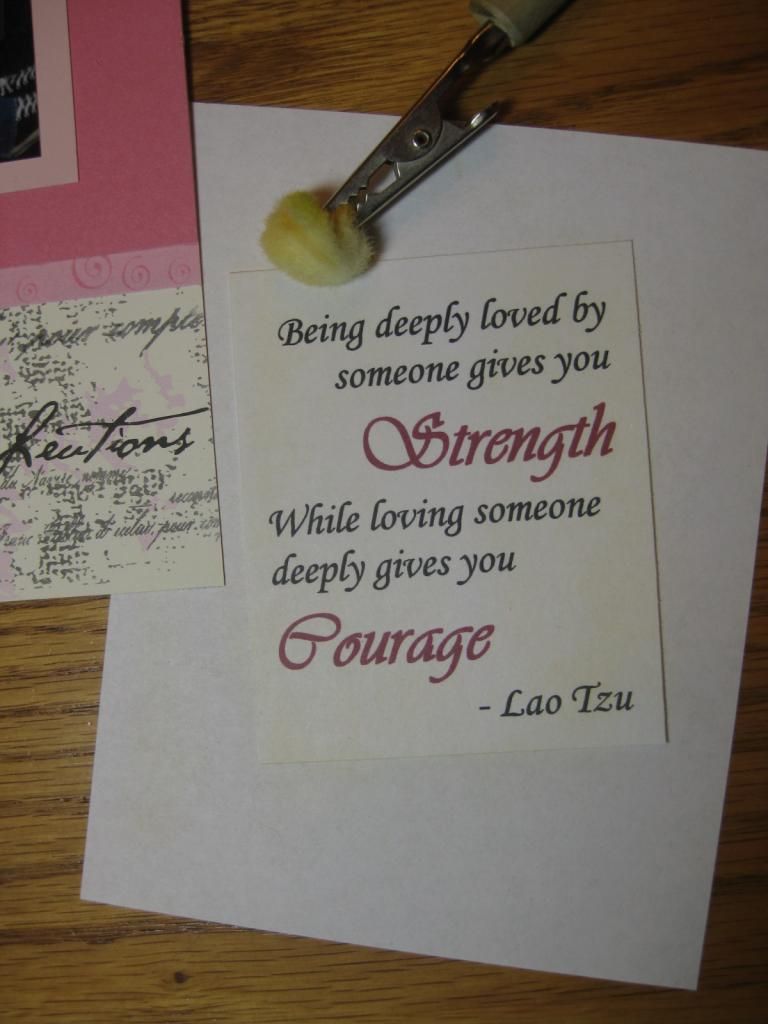
The quote was computer generated but I only had white paper.  I didn't like the starkness of the white so I yellowed the paper with a mustard colored chalk.


Looking for sketch inspiration go to pagemaps.com
Looking for a Cricut image go to mycutsearch.com

Thank you for stopping by and allowing me to share with you today.


Designed by:  Rita Poteat
Cartridges:  Pink Journey, Sophisticated
Cricut Machines:  Expression, Design Studio
Other Materials Used:  Echo Park "Love Letters", Paper Pizazz "Soft Tints Pink Swirls", Close to My Heart pink cardstock, Inkadinkado blending chalks


Thursday, October 11, 2012

Halloween Treat Box

Hello again! This is Angela from Angies Paper Passion with my October post here at Cricut FANatics. I want to share a Halloween treat box that I designed in the Cricut Design Studio some time ago. This was before the CraftRoom and all of the wonderful cartridges that we have now with the boxes and bags. I used square, rectangle, and tag shapes from Plantin School cartridge to create this treat box that you can use for many, many more occasions other than Halloween. These would be cute for other holidays, birthdays, showers, and wedding favors just by changing the colors and adding an different topper. Oh, and of course, changing the treats inside! I will post the CDS file on my blog for anyone who’d like it.

Candy Box5

Candy Box6(Don’t you just LOVE the purple M&M’s?)

Candy Box4This is the box after it is cut with the Cricut.

Candy Box3Now just score! Starting from the left (the side with the window) score at 1”, 3”, 4”, 6”, 7”  and 9”. Turn 90 degrees and score at 1” and 3”. (This cut was embossed with the Big Shot)

CandyBox2Place Scor-Tape on the ends on the 4 tabs.

CandyBox1Cut or punch out a square piece of transparency paper that is slightly larger than the window opening. I used a 1 3/4” punch. Use the Scor-Tape to adhere the transparency to the underside of the window opening.

CandyBox3 (I tried to take a photo of the top to get the transparency but I can’t tell if you can see it or not)

CandyBox4Put it all together and you have a treat box!

CandyBox8Do not adhere the back flap. This is where you will add your treats!

CandyBox5Decorate the top….

CandyBox6and the inside and you’re done! I used Chic & Scary for the spider web on this one and I used Happy Hauntings for the tombstones in the first photo.  Remember, I’ll have the CDS cut file on my blog at Angie's Paper Passion.

Thank you visiting and I hope that you enjoyed today’s Treat Box! Have a safe and Happy Halloween!

Until next month, Angela

Cricut Info & Supplies Used:
Designed by: Angela Cromwell
Cartridges Used: Plantin SchoolBook, Happy Hauntings, Chic & Scary
Cricut Machines Used: Cricut Expression, Cricut Design Studio
Other Supplies Used: K&Co. cardstock, Sixxiz Big Shot, Tim Holtz Tattered Banners Die, gemstones, Scor-Tape, pop dots, transparency sheet, square punch, ink, stamp by Stampin’ Up, PC embossing folder, Scor-Pal