Good morning!!! (or afternoon, or possibly evening)...this is Liz from http://lizziesworldofcrafting.blogspot.com/. I used the $50.00 credit that was generously given us from PC and purchased Teresa Collin's basics. Boy oh boy do I LOVE the cuts!!! See for yourself:
Here is a close up of the doily cut:
and I used the Craft Room Basics Font for the wording:
I hope you have enjoyed the layout.
Have a sparkling day!
Liz
Showing posts with label Cricut Craftroom Basics. Show all posts
Tuesday, March 26, 2013
Sunday, November 11, 2012
Christmas Reindeer Treat Holders
Hey everyone! It's Angela from Angie's Paper Passion with a post to help you jump start your Christmas crafting! They are cute, easy to put together and I’ll show you different ways to use them this Christmas.
I saw something like these several years ago made with punches and I had always wanted to make some but never got around to it. Now that I have my Cricut, I am always trying to make life a little easier by recreating projects from years ago using my Expression along with either my Gypsy or more than ever now with Cricut CraftRoom. For this project I used December 25th cart by Teresa Collins and Cricut Craft Room Basics. I love putting most (if not all) of my cardstock for a project on my cutting mat and making just one pass through my Cricut at one time. So even though there are eight different colors to make a reindeer, I only had to do two passes with my Expression.
I used the Sweet Treat Cups from Stampin’ Up! for the reindeer noses. You get
12 cups for less than $3!
In one nose I placed red Skittles. You can use Red Hots, red M&M’s, or
anything that you’d like to use. In the other nose I used red glitter that I
adhered with Glossy Accents and after it dried, I placed oats in the cup. These
are to be used on Christmas Eve as “Reindeer Food”. (Note – you may want to use
red colored sugar crystals instead of glitter so as not to harm birds or other
little critters)
I did the “Reindeer Food” with my kids when they were little and they loved
it! There is also a little poem that goes with it that I’ll share at the end of
this post. After cutting out all of the parts of the reindeer, I inked all of
the edges, added red Stickles to the holly and one of the ornaments, Glossy
Accents to another ornament, popped the eyes and eyelids up with pop dots, and
added the highlights to the eyes with a white gel pen.
Can you guess what I used for the antlers???
The antlers from the deer on the December 25th cart! I cut out two with one
flipped and that gave me two sets of symmetrical antlers. I just cut them off by
hand. Everything is then glued to the base (the one without the hole in it) and
a piece of ribbon was attached to the tops with my Tiny Attacher (love this
tool!).
Then you attach the cup with your treats (or the reindeer’s treats) inside
and adhere it to the base. The cups already come with adhesive on them. Next,
just place the face on top, attach the eyes and holly, and draw his mouth (I can
not draw so excuse his lopsided mouth!).
After I put them all together, I found these plastic Christmas lights in my
stash and used these instead of the ornaments that I had cut out. I just tied
them on with some SU twine.
Here is the poem that I will use (these are not mine, I have just been using them for many years so I do not know where I found them):
Magic Reindeer Food -
Sprinkle this
reindeer food outside on Christmas Eve night
The moon will
make it sparkle bright
As Santa’s
reindeer fly and roam
This magical
food will guide them to your home.
Or I may
even use one of these:
I wanted the
perfect gift for you-
But couldn’t decide just what to do.
I almost sent you a dozen roses-
Instead here’s a bag of…
reindeer noses!
But couldn’t decide just what to do.
I almost sent you a dozen roses-
Instead here’s a bag of…
reindeer noses!
I woke up
with such a scare when I heard Santa call...
"Now dash away, dash away, dash away all!"
I ran to the lawn, and in the snowy white drifts,
those nasty reindeer had left "little gifts".
"Now dash away, dash away, dash away all!"
I ran to the lawn, and in the snowy white drifts,
those nasty reindeer had left "little gifts".
I got an old shovel and started to scoop
Neat little piles of "reindeer poop."
but to throw them away seemed such a waste,
So I saved them, thinking you might like a taste!
Neat little piles of "reindeer poop."
but to throw them away seemed such a waste,
So I saved them, thinking you might like a taste!
As I finished my task, which took quite a while,
Old Santa passed by and he sheepishly smiled.
And I heard him exclaim as he rose to the sky~~~
"Well, they're not potty trained, but at least they can fly!"
Old Santa passed by and he sheepishly smiled.
And I heard him exclaim as he rose to the sky~~~
"Well, they're not potty trained, but at least they can fly!"
I hope that you enjoyed my Christmas Reindeer! I have the cut sizes on my blog Angie's Paper Passion.
Have a very happy and safe Thanksgiving!
Cricut Info and Supplies Used:
Designed by: Angela Cromwell
Cricut Machine Used: Expression. Cricut Craft Room
Cricut Cartridges Used: Cricut Craft Room Basics, December 25th
Project Type: 3-D Treat Holder
Project Theme: Christmas
Other Supplies Used: Cardstock (AC), Stickles, Ribbons. Sweet Treat Cups (SU), twine (SU), white gel pen, Glossy Accents, Distress Ink, glitter, pop dots
Labels:
CCR,
christmas,
Cricut Craftroom Basics,
December 25th,
Expression
Tuesday, September 25, 2012
An apple a day....
ʺHello, this is Terri of http://www.scrappinwiththebug.blogspot.com/. Today, I have an Apple Mini photo album to show you.ʺ I made these cute little apple albums for my daughter's pre-school teacher and assistant. I made these so they could put a small 3x3 photo inside. This album will hold 24 total photos, however, I only matted the one side.
|
| Apple mini photo album |
| Finished Apple Mini Album |
I used only 3cartridges for this project.
Create A Critter - 2 Apples and worms with shadows function I hid the faces of the apples w/ the gypsy
Mini Book - Cut 6 of the Square L2 cut for inside pages
Cricut Craft Room Basics - Rounded Squares (photo mats)
| Scored all pages |
Once cut I then scored the pages on the tick marks using a score board. Glue 3 of them together end to end. I simply glued the tab to the bottom of the next page. If you need more area for photos then cut out another page.
| Mountain/Valley fold the pages after glued together |
I folded each of the pages in Mountain/Valley style or fan fold.
| Glue pages to apples
|
Once folded then I glued the pages tot he inside of the apples. I glued some twine under the 1st page to make a pretty little bow. Hold down the album and carefully glue the back page on.
| Add photo mats and tie |
Once the inside pages were glued down I added a red photo mat cut with Craft Room Basics for the mats. I find I like to use my machines to make the photo mats.
I then decorated the Apple shadow cut. I added the brown layer, then the green leafs, and the red apple layer. I added the cut little worm to the side with foam dots.
Cartridge Cut w/ Measurements:
Create a Critter Apples: 5 1/2" - cut 2 of them - one for each album w/shadow function & layers
Create a Critter Worms: 2" - cut 2 of them one for each album w/ shadow function and layers
Mini Books - 3 1/2" Square L2 - cut 6 of them 3 for each album (unless you need more space for photos).
** A little tip - if you try to cut the L2 squares at 3 1/2" on the expression it will beep at you and say that it won't fit. That is because it is very close to the edge of the 12x12 mats. Here is a little trick - select the Mat Size 24 function and still use the 12x12 mat. It will really cut almost to each edge so make sure the paper is 12x12. ***
Cricut Info & Supplies Used:
Designed by: Terri S.
Cricut Cartridges Used: Create a Critter, Mini Book and Cricut Craft room basics
Cricut Machines Used: Cricut Expression and Gypsy (to hide the face on the apple
Project type: Mini Album
Project theme: Teacher
Other Supplies Used: Paper from Michael's, scotch liquid glue, ATG tape, white gel pen
Monday, September 17, 2012
Cute Baby Shower Decor
Hi,
this is Demita, mom2sidsquid on the CMB.
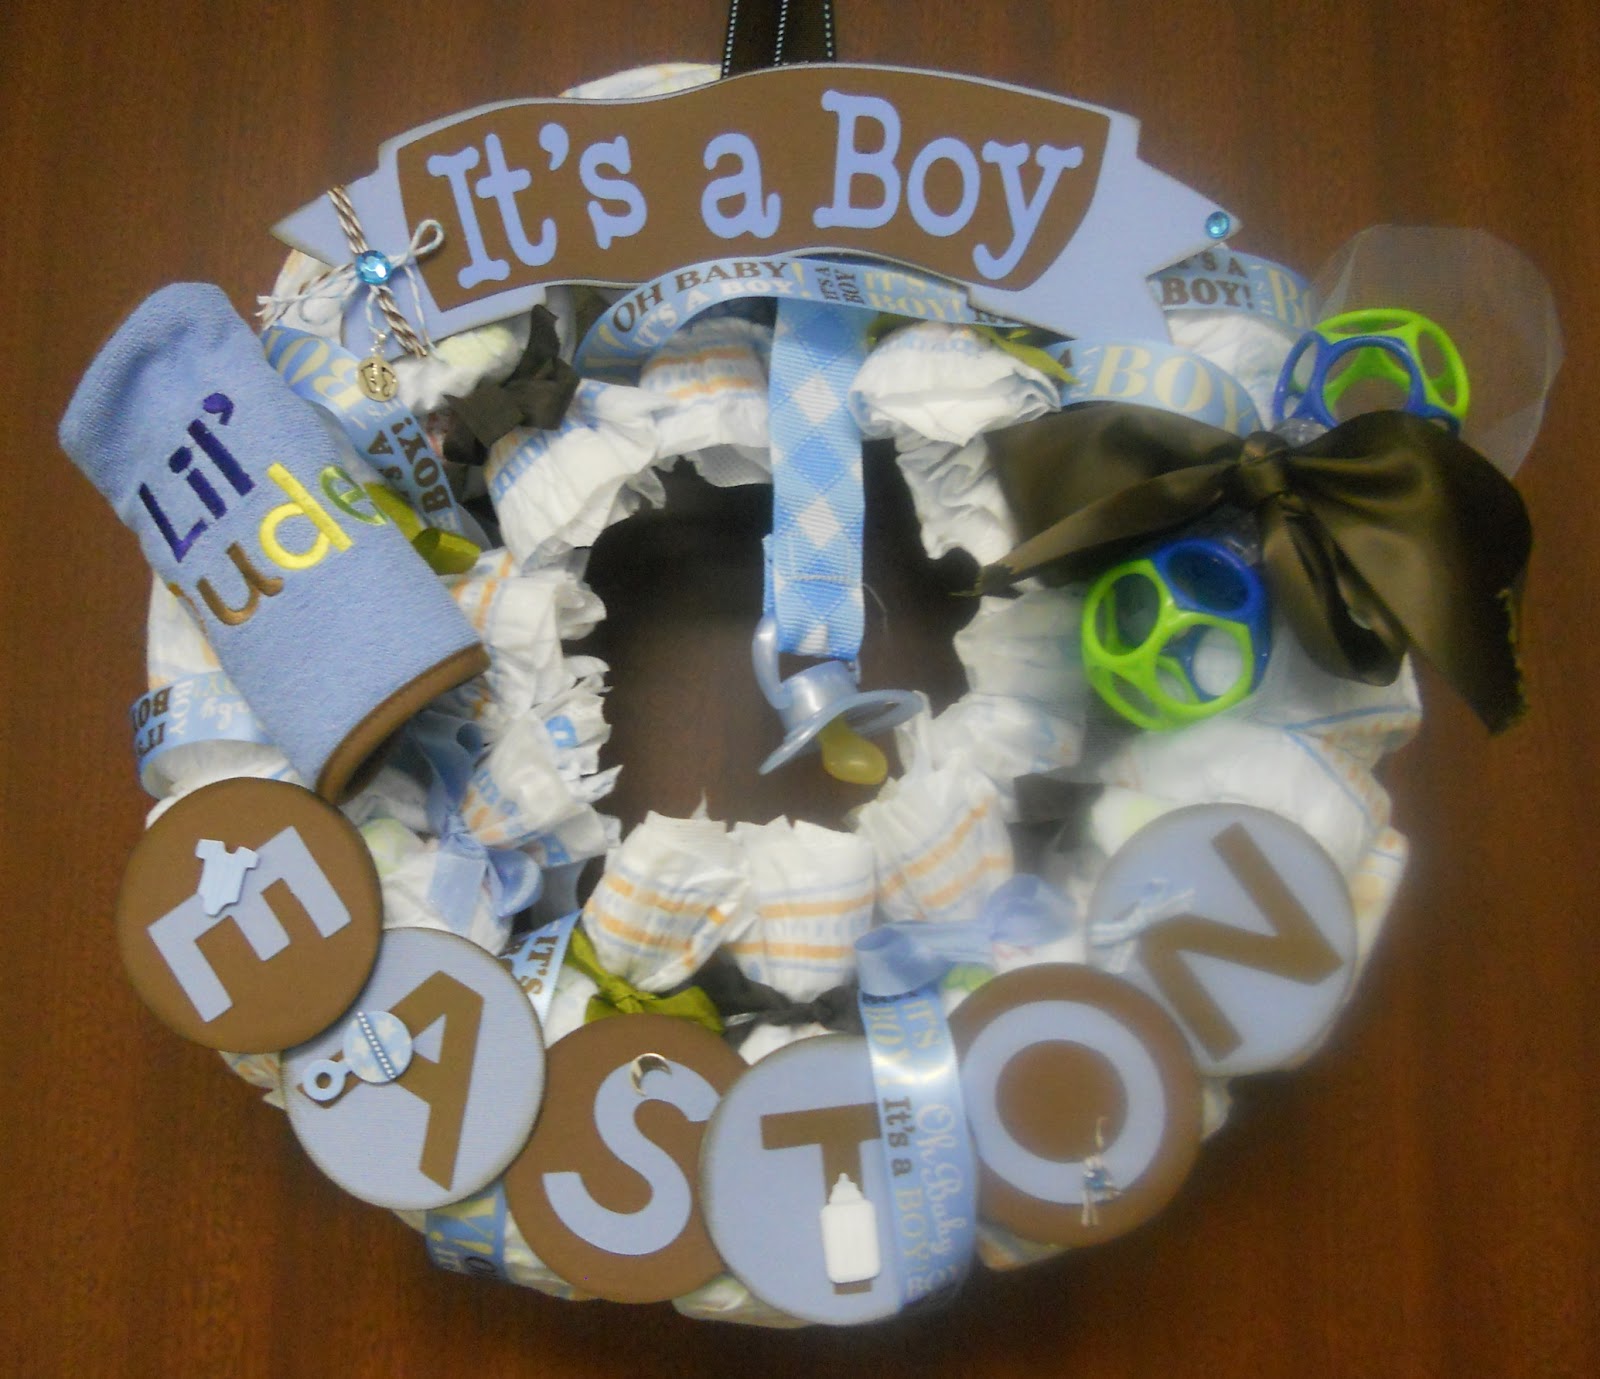
Today I'm sharing a banner and diaper wreath made for a co-worker's
baby shower.
The
Wreath is 9" and was purchased at Hobby Lobby. It's covered with
size 2 pampers. I cut the banner and layer from Something to
Celebrate at 3.5" in CCR. It's a boy is cut at 2" from
Cricut Alphabet Font 1 out of vinyl. Wrapped with twine and added
gems to each end. I used beacon 3-1 adhesive to adhere it to the
diapers.
Easton
(funny she's the 2nd co-worker to name her son Easton) was made using
3" circles from Cricut Craftroom Basics and the letters were cut
from the Cricut Craftroom Basics at 2". The elements added to
the name were taken from an OLD baby boy scrapbooking kit I had.
The
Banner was made using Pretty Pennants at 6". I used the Stork
(Banner 4).
I flipped the bottom banner. The Letter Banners were also
cut at 6" (scalloped Banner and top). Each Rosette was made from
six 4.25" rosettes (Ribbon & Rosettes Cartridge). I glued
them with Beacon 3n1 adhesive to 4" circles. The letters were
cut at 3.5" from Birthday Bash. I used Baby Steps at 2.5"
relative size for the remaining diecuts. Crinkle Ribbon was used to
hide the jump rings that connected the banners together.
Here are some close ups of each banner piece
Cricut Info and Supplies Used:
Designed by: Demita Dozier
Cricut Machines Used: Expression
Cricut Cartridges Used: Something to Celebrate, Cricut Alphabet Font, Cricut Craftroom Basics, Pretty Pennants, Ribbons & Rosettes
Other Supplies Used: 9" wreath, cardstock, patterened paper, ribbons, pampers, twine, gems
Thursday, September 13, 2012
Hoo Loves You - An Operation Write Home Card
It's Sis from Paper, Craft, and Scissors with an Operation Write Home (OWH) card to share. For those of you that may not be familiar with OWH, it is a wonderful way to share some crafty goodness with service members. Crafted cards are collected and forwarded overseas for members to use and send to celebrate the holidays and the every days with their families and friends.
The guidelines on OWH state that some dimension is okay (and loved) but not to go crazy with big buttons and embellishments. So, here is my first OWH card with a total of one pop dot and six Viva Decor pearl pen dots. I will be sharing the details with you and some insights into gaining dimension through color.
To start, cut an A2 card base (mine is khaki colored card stock) by cutting an 8.5" x 11" piece of card stock in half. I like to cut this size by placing the long edge along the top of my guillotine cutter and cutting at 5.5 inch mark. Fold the cut in half and while matching corners, crease with a bone folder. You get two card bases from one sheet of paper. In this card, I wanted the dimension on the inner layer, so I used Cricut Craft Room (CCR) to cut a scalloped heart shaped window in the front of my card base.
Before cutting the heart window with my Expression, I cut the patterned wood grain paper layer at 4" x 5.25". I put good quality adhesive (like ScorPal tape) on my patterned paper. As I planned to adhere the patterned paper to the card base and cut through both layers at the same time, I wanted to make sure to use a good quality adhesive to keep the papers together while cutting. I edged the patterned paper with Tim Holtz Wild Honey Distress Ink before adhering it to the card base.
Step 1 - Firmly adhere patterned paper layer to card base on the front right side of the A2 card base using the card crease line (on the left) as an alignment tool.
Step 2 - Cut the heart window in your card base with adhered patterned paper layer. Use CCR Basics and select the scalloped heart (2.5" wide x 2.75" tall). Carefully line up the long edge of the card stock across the top edge of the mat. The edge of your card should be flush at the 11" line. The left edge of the card should be aligned to the left edge of the mat. This screen shot shows the position for cutting on the right hand side (front) of a card that opens from the right. Unless you have a super sticky mat, use painter's tape on all the edges of your card. Remember, you are cutting through two layers (the card base and the patterned paper). I cut my card on the Expression using medium pressure and a blade depth of six. I selected 2 in the "number of times" drop down menu on the "Cut" menu. After cutting and WITHOUT unloading the mat, I determined that it needed additional cuts (another two), and the cut easily popped out after that. I added some dimension by shadowing the cut edge with Copic E55 Light Caramel. The dark patterned layer with the darker shadowed edge around the heart adds some visual dimension.
Step 3 - Cut the interior heart in bright rose patterned paper. Using a brighter interior color also builds visual dimension. I cut the interior heart slightly larger at 2.625" x 2.875" tall so that the interior heart would easily cover the window heart cut. Once cut, I used E55 to edge the heart. To attach the interior heart in the right location, I opened the card (so the cut window was face down to my left) and placed the interior heart right side down on top of the window. Holding the card and interior heart in place, I carefully picked up the card and looked at it from the front. After adjusting the interior heart location and carefully laying the open card back down on a flat surface, I added small drops of Glossy Accents on the backside of the interior heart cut and then closed the card by turning the interior card page onto the back side of the heart so now the back of the card was facing me. Press firmly adhere to adhere the back side of the heart to the interior page.
Step 4 - Cut nine leaf spray cuts from Mother's Day Corsage at 1.2" x 1.3" tall. Edge with Copic E55. Cut 20 "daisy2" flowers from Flower Shoppe at approximately .65" tall. Assemble 10 flowers by placing a small dot of Glossy Accents on top of the base layer and adding the second layer. Try to keep the petals fanned out rather than directly on top of each other.
Step 5 - Cut the owl at 2" tall and all its layers from Everyday Pop-Up Cards. Add shadows with Copic E55 and use Glossy Accents to add dimension to the eyes and beak.
Step 6 - Assemble the inner heart layer. Arrange leaf sprays as you wish and determine owl location. Add flowers. To add dimension, attach owl with one pop dot under the head and glue the feet down. Place one trimmed flower spray under the owl's feet. Here is an close-up of the interior heart. The leaf sprays extend past the heart's edge. I used five sprays; I always cut extra when dealing with smaller cuts and make sure to take down the pressure and blade depth. Multi-cut when necessary.
Step 7 - Print sentiment or stamp sentiment and attach. This sentiment uses Birch Std at 36 point. The edges were inked with Tim Holtz Wild Honey Distress Ink. Add one spray and two flowers.
Step 8 - Add ribbon or twine and tie a bow.
Step 9 - Add flower centers with a Viva Decor Pearl Pen in Icy White. Once dried, slightly curl flowers.
This card used paper from My Mind's Eye Stella and Rose and Echo Park's Hello Summer. Using 6" x 6" paper pad is a great way to keep scale and color in your card creations.
Step 4 - Cut nine leaf spray cuts from Mother's Day Corsage at 1.2" x 1.3" tall. Edge with Copic E55. Cut 20 "daisy2" flowers from Flower Shoppe at approximately .65" tall. Assemble 10 flowers by placing a small dot of Glossy Accents on top of the base layer and adding the second layer. Try to keep the petals fanned out rather than directly on top of each other.
Step 5 - Cut the owl at 2" tall and all its layers from Everyday Pop-Up Cards. Add shadows with Copic E55 and use Glossy Accents to add dimension to the eyes and beak.
Step 6 - Assemble the inner heart layer. Arrange leaf sprays as you wish and determine owl location. Add flowers. To add dimension, attach owl with one pop dot under the head and glue the feet down. Place one trimmed flower spray under the owl's feet. Here is an close-up of the interior heart. The leaf sprays extend past the heart's edge. I used five sprays; I always cut extra when dealing with smaller cuts and make sure to take down the pressure and blade depth. Multi-cut when necessary.
Step 7 - Print sentiment or stamp sentiment and attach. This sentiment uses Birch Std at 36 point. The edges were inked with Tim Holtz Wild Honey Distress Ink. Add one spray and two flowers.
Step 8 - Add ribbon or twine and tie a bow.
Step 9 - Add flower centers with a Viva Decor Pearl Pen in Icy White. Once dried, slightly curl flowers.
This card used paper from My Mind's Eye Stella and Rose and Echo Park's Hello Summer. Using 6" x 6" paper pad is a great way to keep scale and color in your card creations.
Cricut Info & Supplies
Used:
Designed By: Sis Patterson
Cricut
Machine Used: Expression (with Cricut Craft Room)
Cricut
Cartridges Used: Mother's Day Corsage, Flower Shoppe, and Everyday Pop-Up Cards
Other
Supplies Used: My Mind's Eye Stella and Rose and Echo Park's Hello Summer. Papertrey Ink Rustic Twine. Viva Decor Pearl Pen in Icy White. Copic E55 (Light Caramel). Tim Holtz Wild Honey Distress Ink.
Labels:
Cards,
Cricut Craftroom Basics,
Everyday Pop Up,
Expression,
Flower Shoppe,
Mother's Day Corsage
Wednesday, September 5, 2012
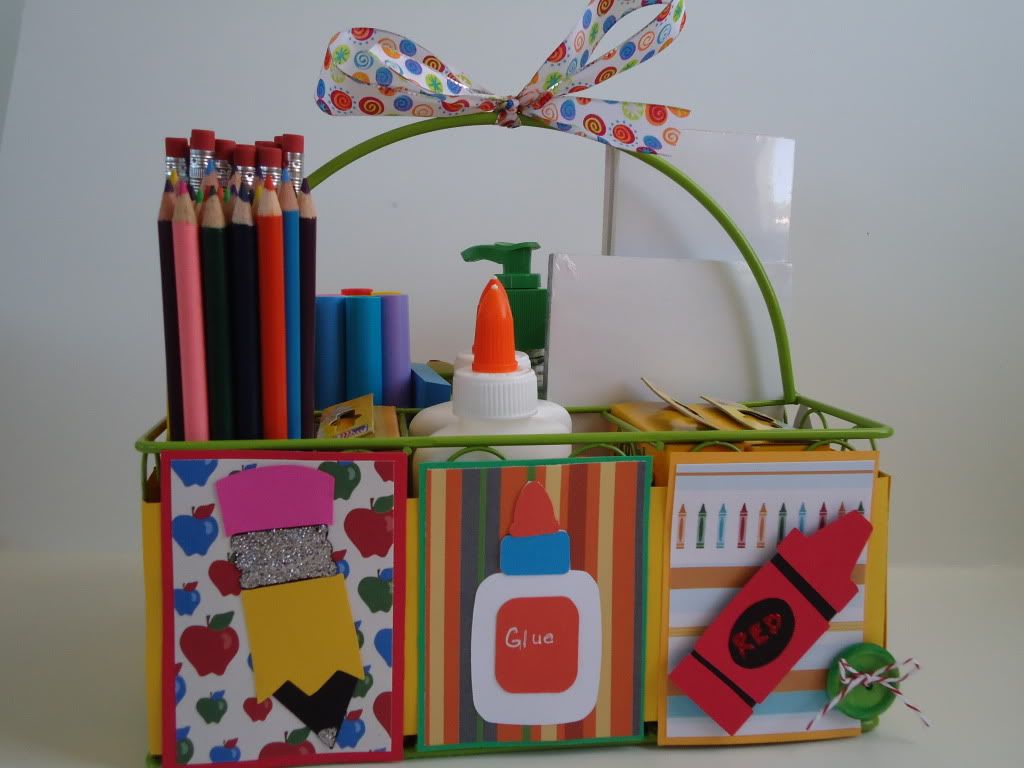
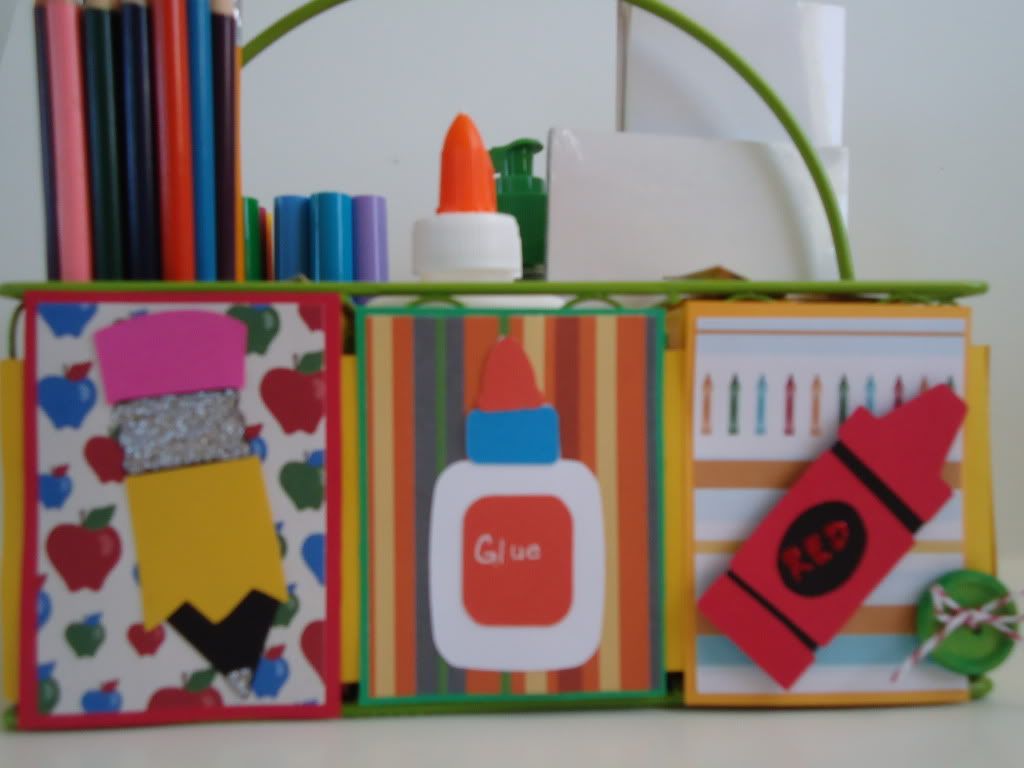
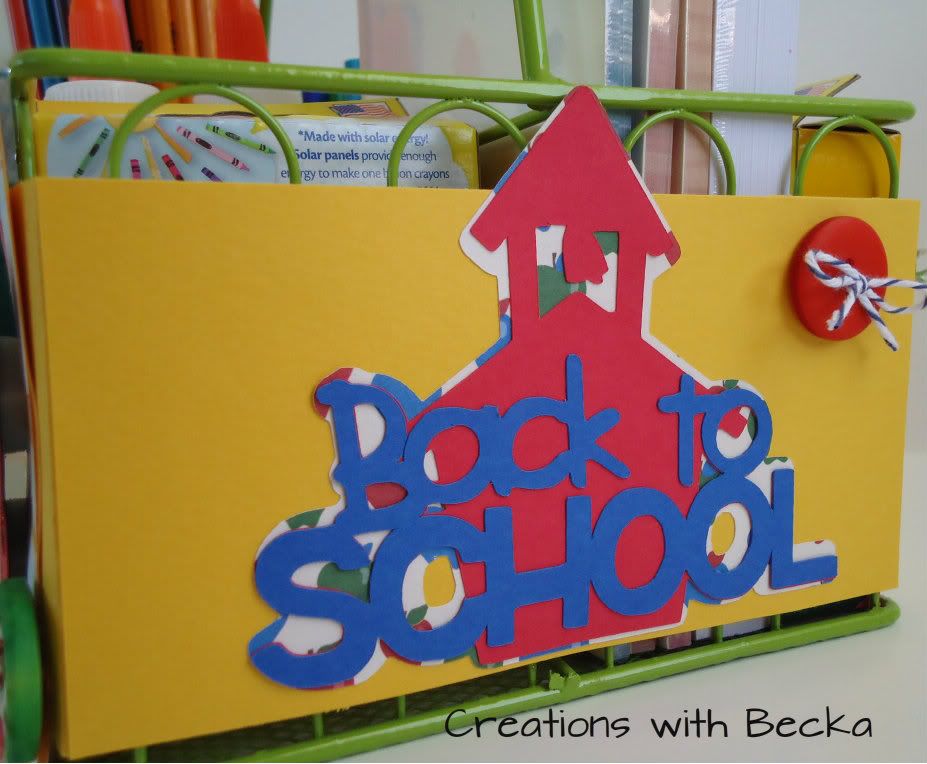
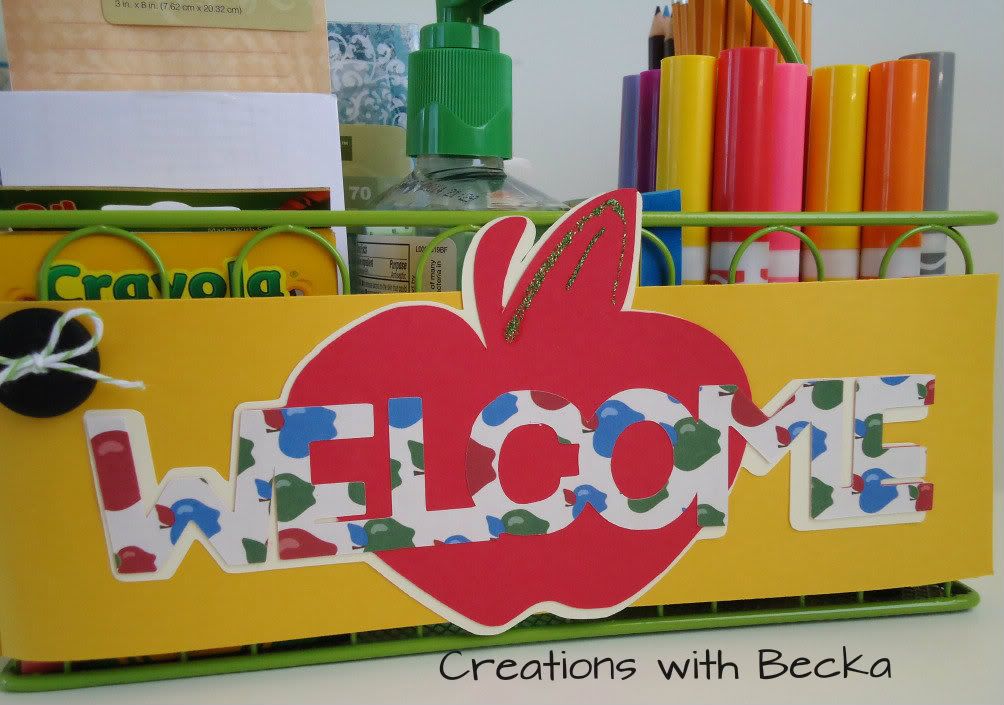
Cricut Crafty Challenge #1- Back to School
Cricut Info & Supplies Used:
Designed By: Rebecca Maddux
Cricut Machine Used: Expression 2, Gypsy, CCR
Cricut Cartridges Used: Simply Charmed, Create A Critter, Cursive 101, Classroom August & September
Other Supplies Used:Cardstock, DCWV patterned paper, stickles, ribbon, twine, buttons
Ok, so now it is your turn! The Cricut Crafty Challenge is to Make a Back to School project, this can be anything and if you don't have kids you can still play along, make a project that reminds you of school.
Here is what your project has to incorporate.
1. Must use at least 3 cricut cuts.
2. Must use ribbon and buttons.
3. Must be a new project for this challenge. Please link your project with the link below.
Now RUN don't walk you only have until the 26th to link up your project to eligible for this month's prize and you don't want to miss out! RockinRobin1 from www.robingoens.stampinup.net has generously donated a $35.00 gift certificate to her Stampin Up Store. So please stop by her site and give her some love.
Subscribe to:
Posts (Atom)