
Hi Everyone! This is Alex from www.cardsinthetree.blogspot.com with a Peter Pan inspired Birthday Card. I am also going to show how easy it was to make a custom embossing folder.
I started by finding a compass image that I wanted to use. It was a little too detailed for what I wanted the final image to be so I hid many of the smaller contours. I cut the image out of the sticky foam type paper that comes in the embossing folder kit. I then peeled the image onto the blank folder and put the opposite/negative image on the opposite side creating the impression/depression sides. I actually doubled the layers because I would be embossing grunge board and I needed more depth.


This is a standard sheet of paper with the new embossing design.

Once I ran a piece of grunge board through the cuttle bug I painted the entire front in the gold paint. I did this to seal the surface of the grunge board for the next step and give it a shine. I then used alcohol inks and covered the entire front of the gold painted piece, layering all the colors. Using the scratcher I went over the embossed compass and scraped into the grunge board pulling up the majority of the ink and paint. I also used the sanding tool to rough up the edges and flat areas. With the distress ink I inked the newly exposed grunge board several times to soak in the color.

I cut the shadow piece of the flying peter pan several times from brown paper and glued the images together to make a thicker embellishment. I covered him in the brown and copper alcohol ink and once that was dry I added the stickles.
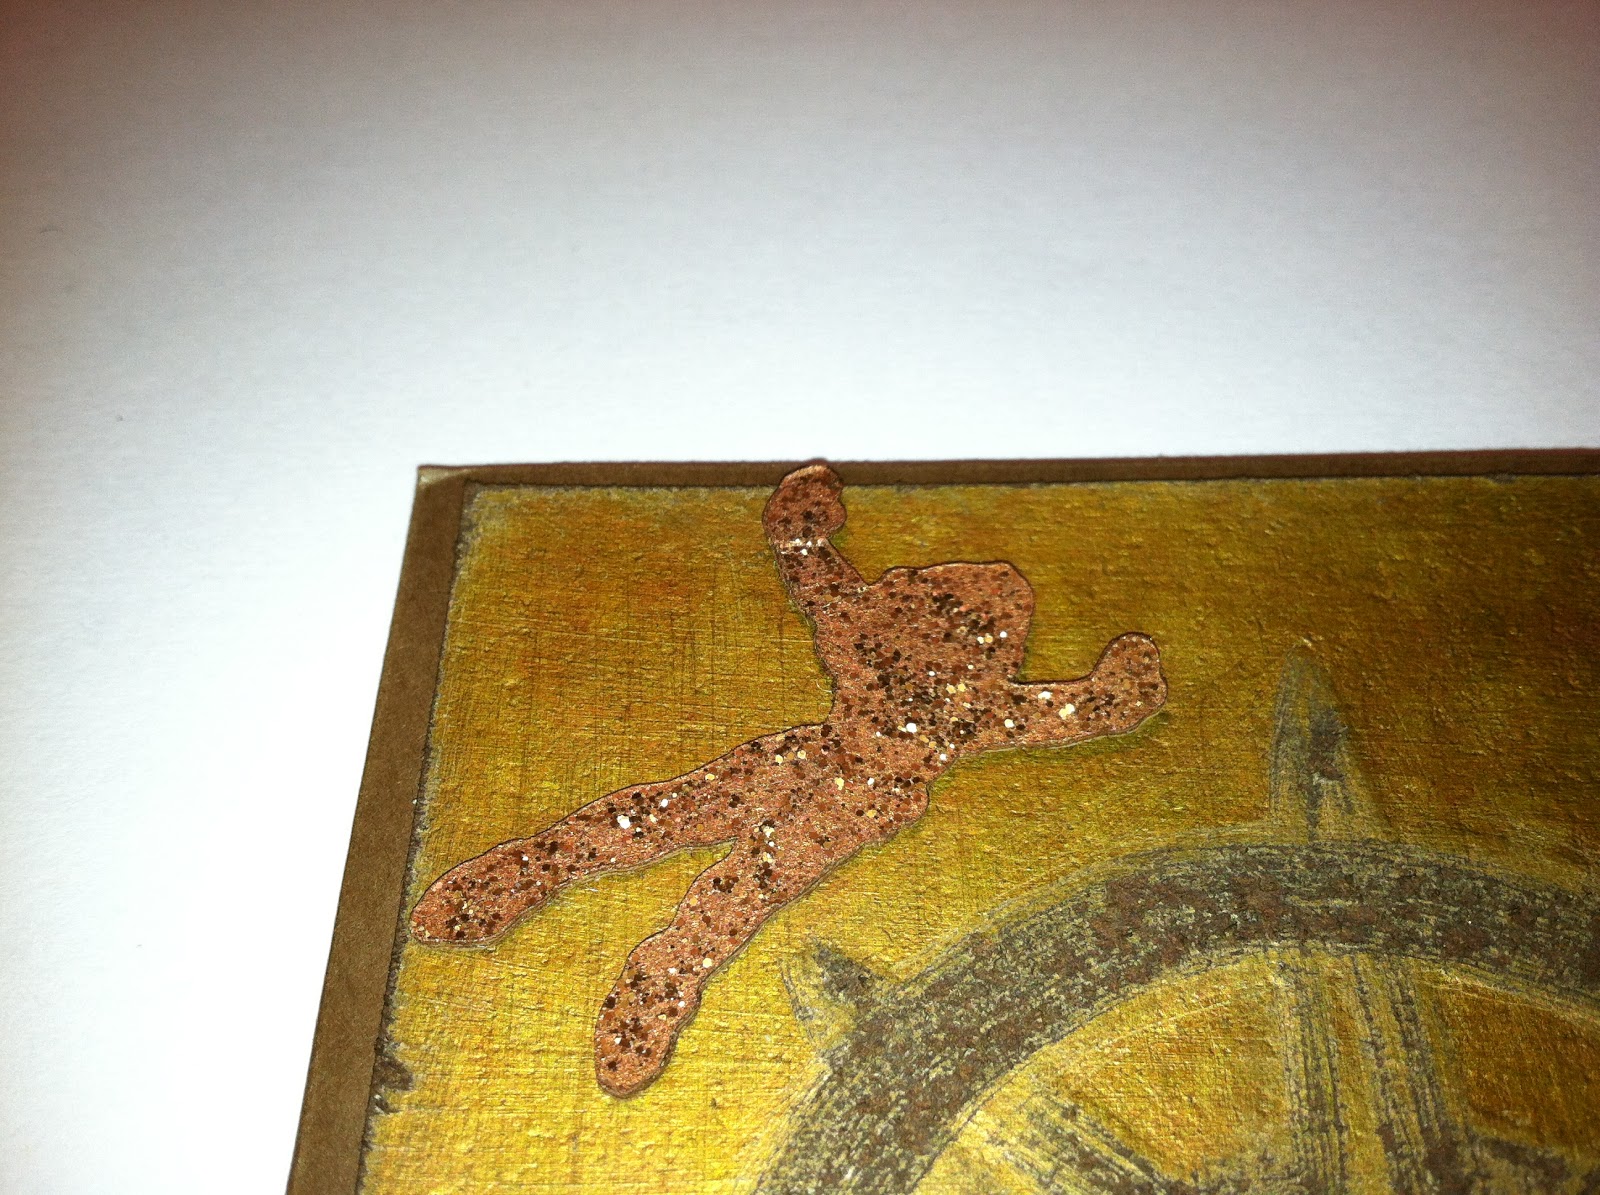
In the top right corner I added 2 stars. [Second star to the right!] I used a metallic sharpie and added two hot set gems to the center of each.

At the bottom under the compass I wrapped a piece of ribbon around the base of the grunge board only and used the ends to tie on the word band.

Finally, I mounted the decorated grunge board onto a brown card base and cut & glued a gold shimmer piece of paper on the inside for friends to sign on.

I hope you enjoyed this project. For my peter pan obsessed friend this card is perfect. Happy Halloween!
Cricut Info & Supplies Used:
Designed By: Alex B.
Cricut Machine Used: Cricut Mini, Gypsy, Cuttle Bug
Cricut Cartridges Used: Disney Classics
Other Supplies Used: Close to My Heart Paper in Cocoa; Tulip Hot Set Brown gems and setter; Tim Holtz distress ink in Gathered Twigs; Tim Holtz Grunge Board (plain); TIme Holtz Sanding Block and Scratcher Tool; Adirondack Metallic Acrylic Paint Dabber in Gold; Adirondack Alcohol Inks in Lettuce, Ginger, Gold, and Copper; Distress Stickles in Vintage Photo; Idea-ology Word Bands "dream as if you'll live forever."; Glimmer Ribbon in Aged Copper; Sharpie Marker in Bronze.

This is a great way to alter images and cuts! Your card turned out great.
ReplyDeleteLove your card!!
ReplyDeleteFabulous card! Thank you for all the details on the embossing - very cool! Christine
ReplyDeleteHow fun never tried the embossing papers I should try it after this. Great card love the colors too.
ReplyDeleteThanks for the inspiration to finally try making my own embossing folders...I've only had the supplies since they were released :P !
ReplyDeleteGreat card! Thanks for the details on how to make an embossing folder. I need to try this some time.
ReplyDeleteCool card!! Thank You!!
ReplyDeleteWow, what a great card! Love how you did the embossing, too!
ReplyDeleteLove what did with the embossing. I have actually been looking at doing that, too. So it great to see how others do it. Great minds think alike! ;)
ReplyDeleteTerrific card. I'm going to have to give making a custom embossing folder a try.
ReplyDeleteYour card is stunning! I love using the embossing on my cards... It adds a lot of dimension.
ReplyDeleteI really like that! I'll have to look into these embossing papers
ReplyDeleteThis is gorgeous. Your instructions are fantastic! Love the finishes!
ReplyDeleteThis is really interesting. My projects don't typically go this route so I LOVE seeing what other people do like this. Love it!
ReplyDeleteWhat an excellent masculine car!
ReplyDelete