Hello! This is Nadia from the my blog, With Glittering Eyes. Today, I have a boxed birthday card to share!
Sometimes the card we make is the gift we give. To make it more gift-like, I have been thinking about creating boxes for cards that are part of the design, where the card peeks through a window. With this idea in mind, I decided to make a boxed birthday card for my message board friend, Sherry (Octoberbeauty), who is having a milestone birthday this year (yesterday actually). We share a day as designers on this blog!

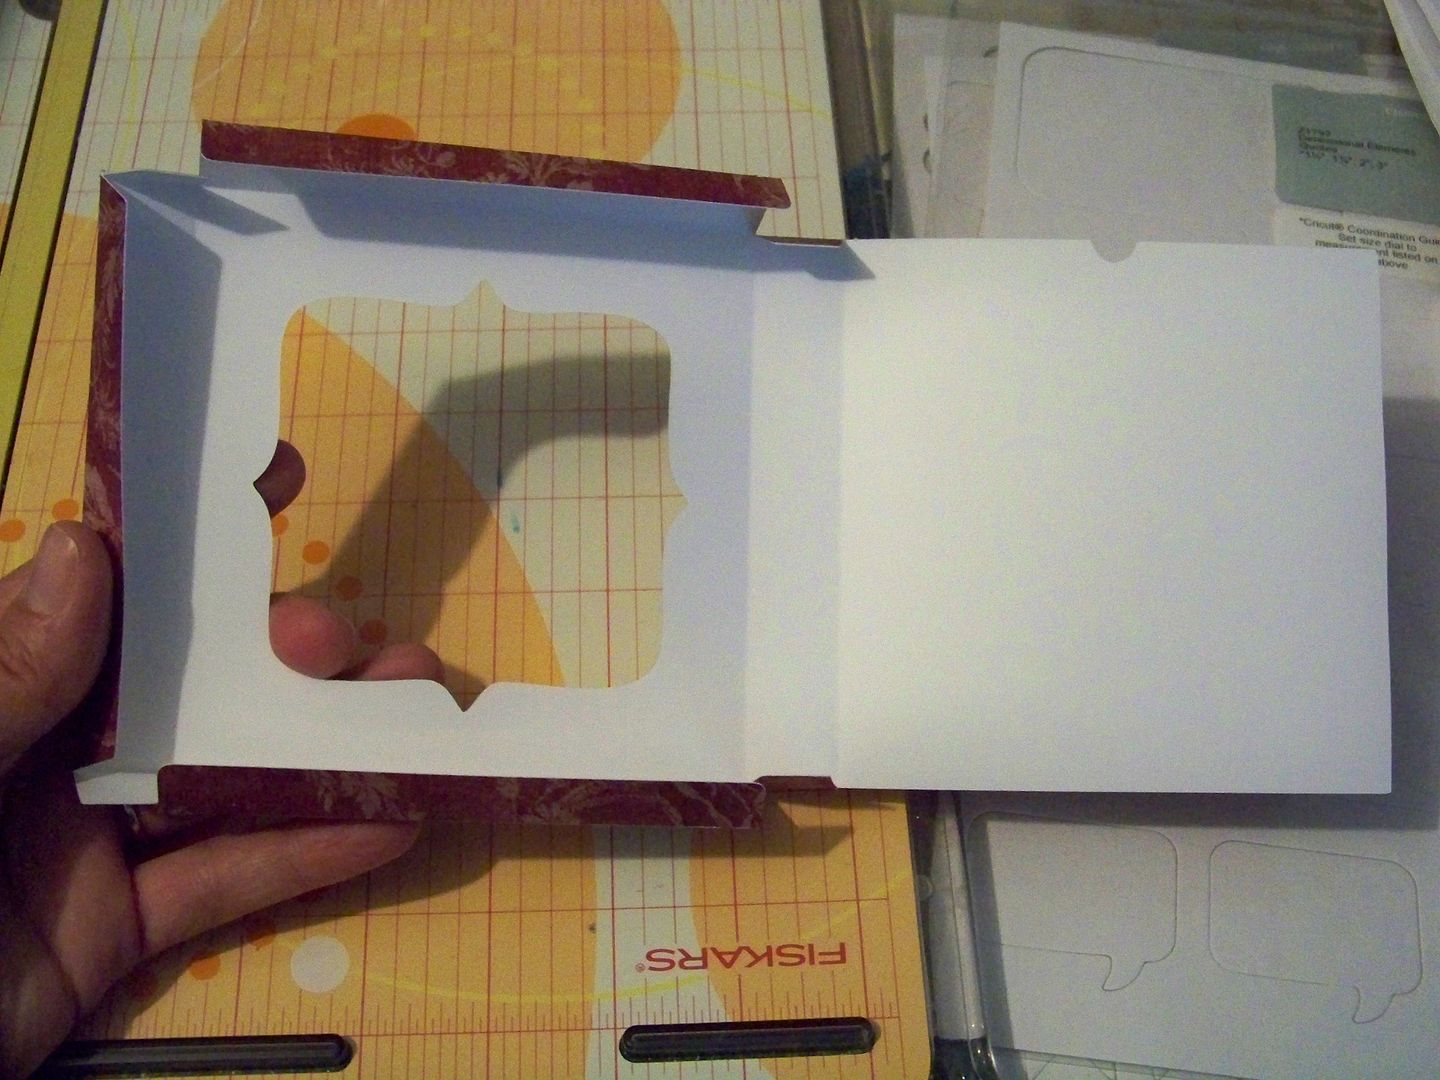
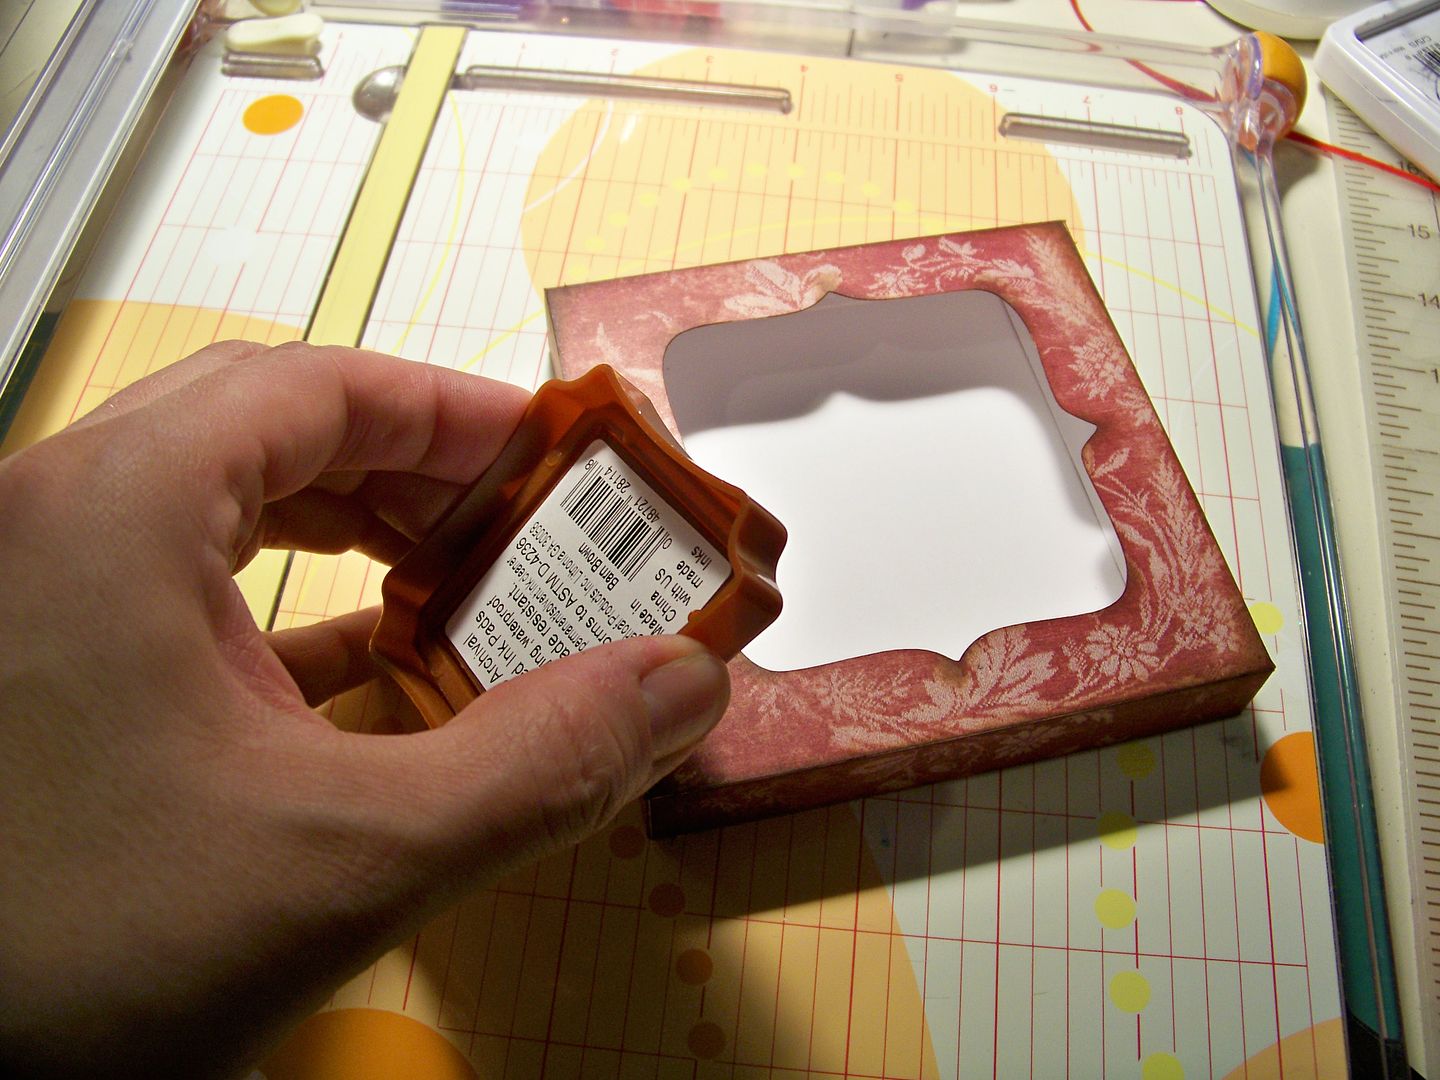
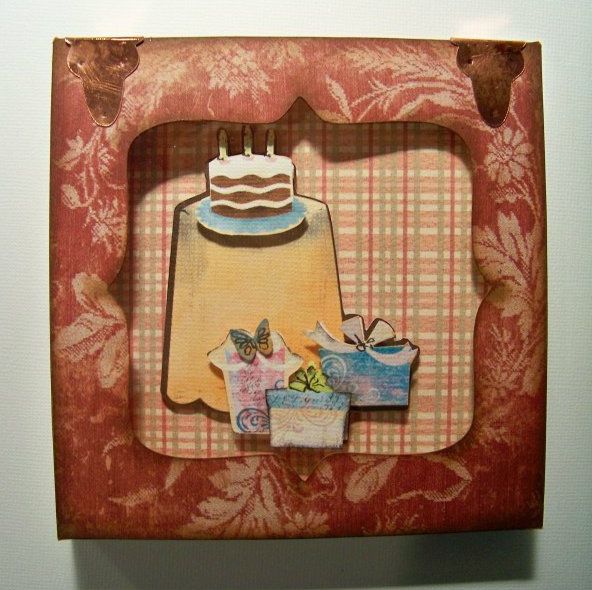
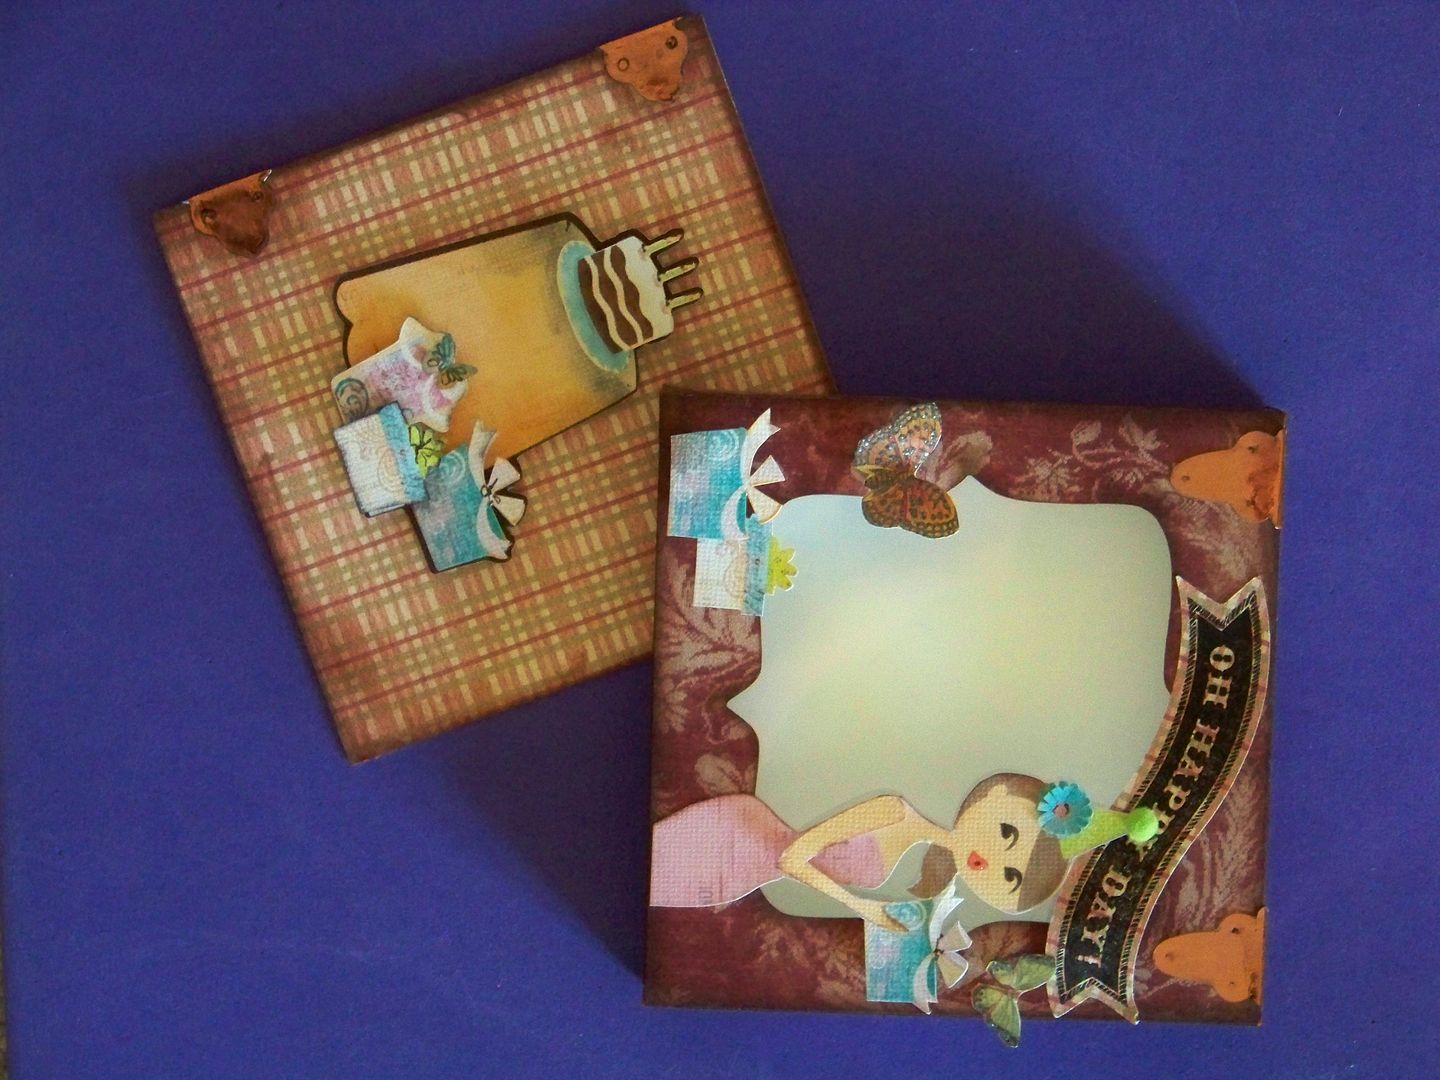
First, I created a box using Cricut Wild Card (page 80), cut at 7". I used a print and positioned the paper on my mat for cutting with the Expression by placing the top of the print on the right of the mat. I later cut a piece of recycled clamshell for a window at 4-7/16" square. (Packaging from Cuttlebug folders works great for this!)
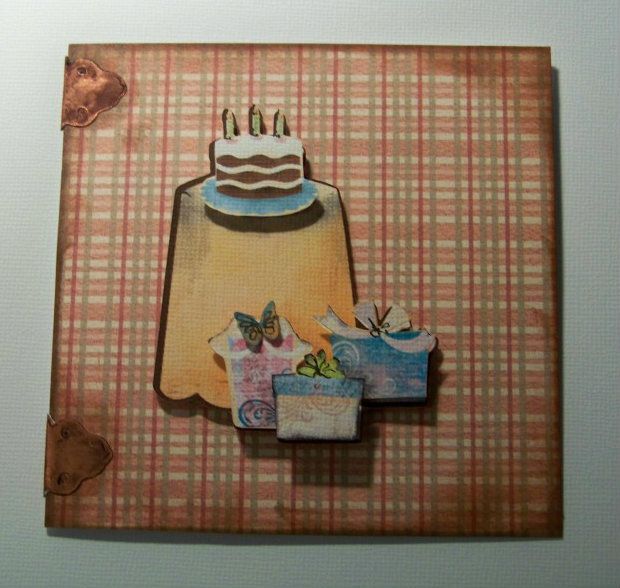
Next, I cut a card to insert by cutting an 8-7/8" x 4-7/16" rectangle on the paper trimmer. I scored at the middle with an Xacto knife to have a card that finishes at 4-7/16" square. I cut a decorative paper at 4-7/16" and applied to the top.
I used a brown ink pad and rubbed it over the edges of the box and card to give it a little character... you know, the way aging gives character. (Get used to the aging jabs, you whippersnapper, you! Just another service I provide as a person who is older than you, Sherry.)
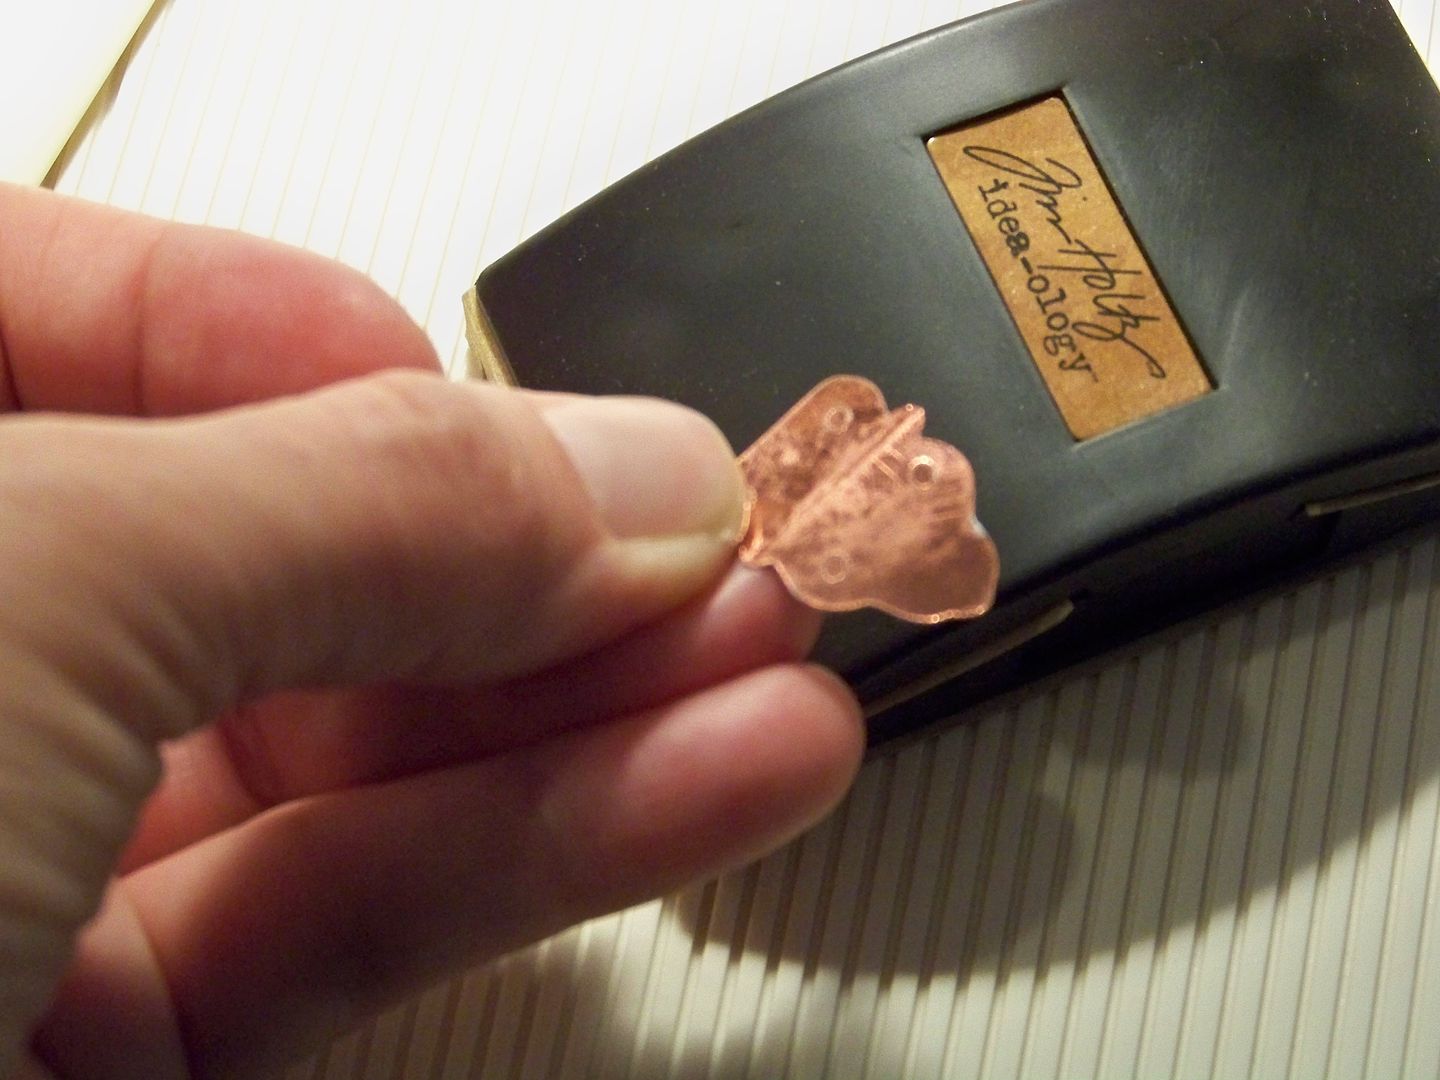
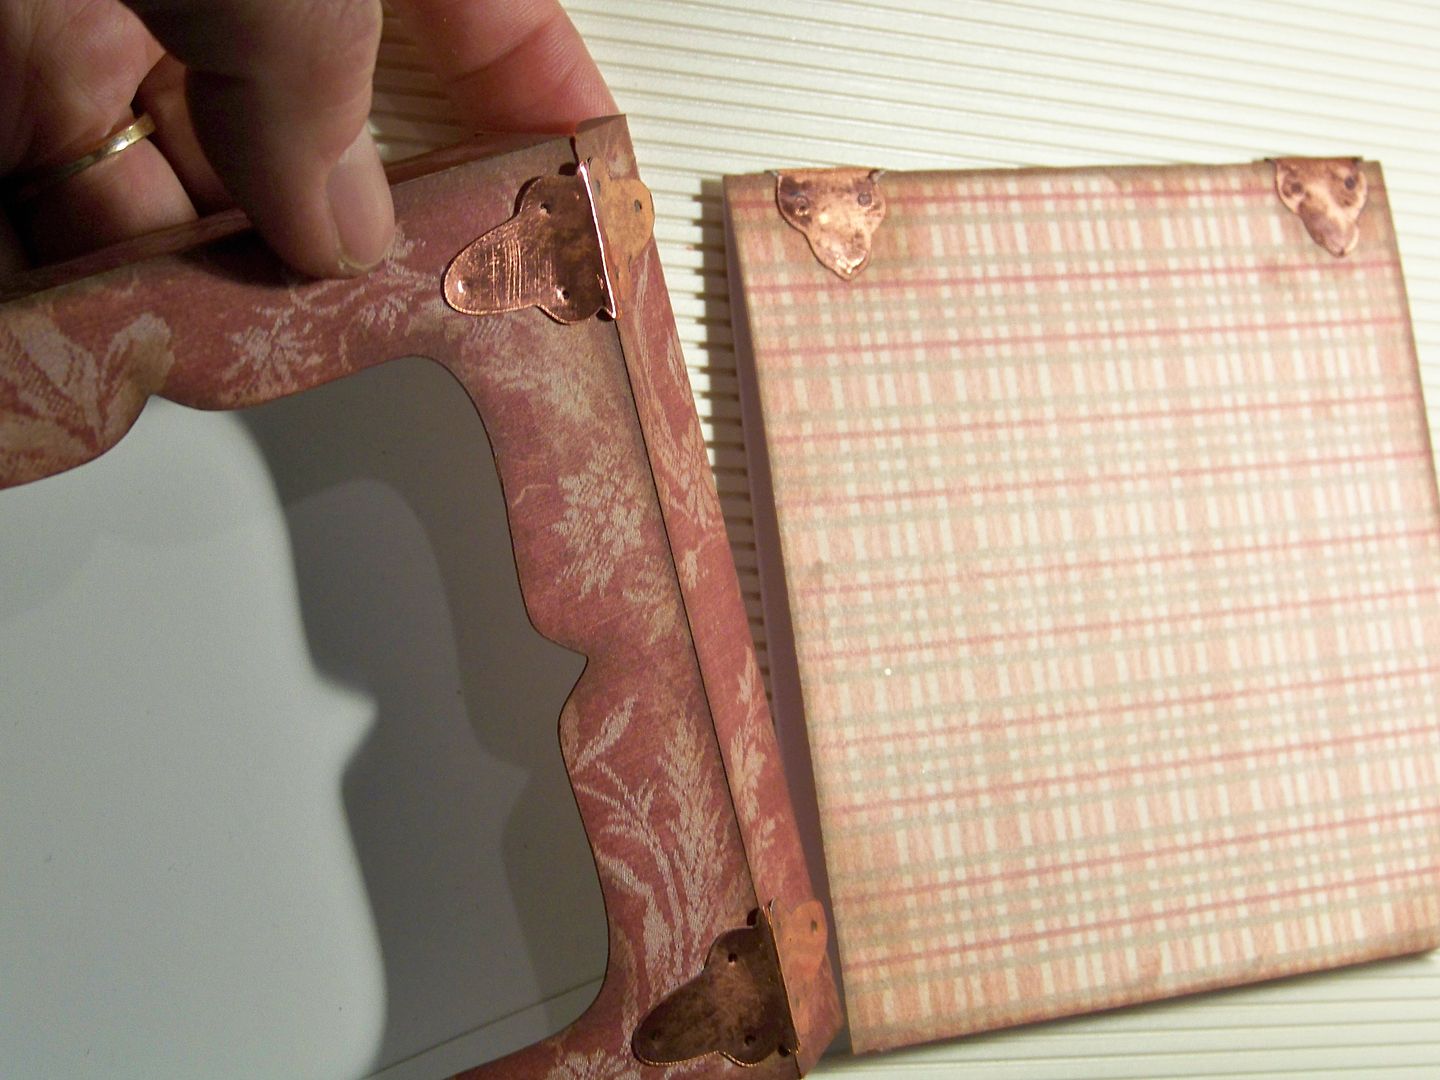
I created hinges-- more character-- by cutting them from Fabulous Finds (page 118) at 3/4". I sanded the metallic paper to scuff it up and make it more authentic-looking. I scored the centers with a bone folder to help them bend smoothly. I attached the hinges to the fold of the card and the top of the box at the opening with Scotch Quick Dry Glue and used a burnishing tool to indent them where screws would be inserted on a real hinge.
For the card insert, I added artwork from the Imagine Yummy cartridge, cutting extra layers to pop up for dimension. I kept it simple because the box design elements had to work with it. I added a tiny hand-colored butterfly. These elements were popped up 1/8" to 3/8".
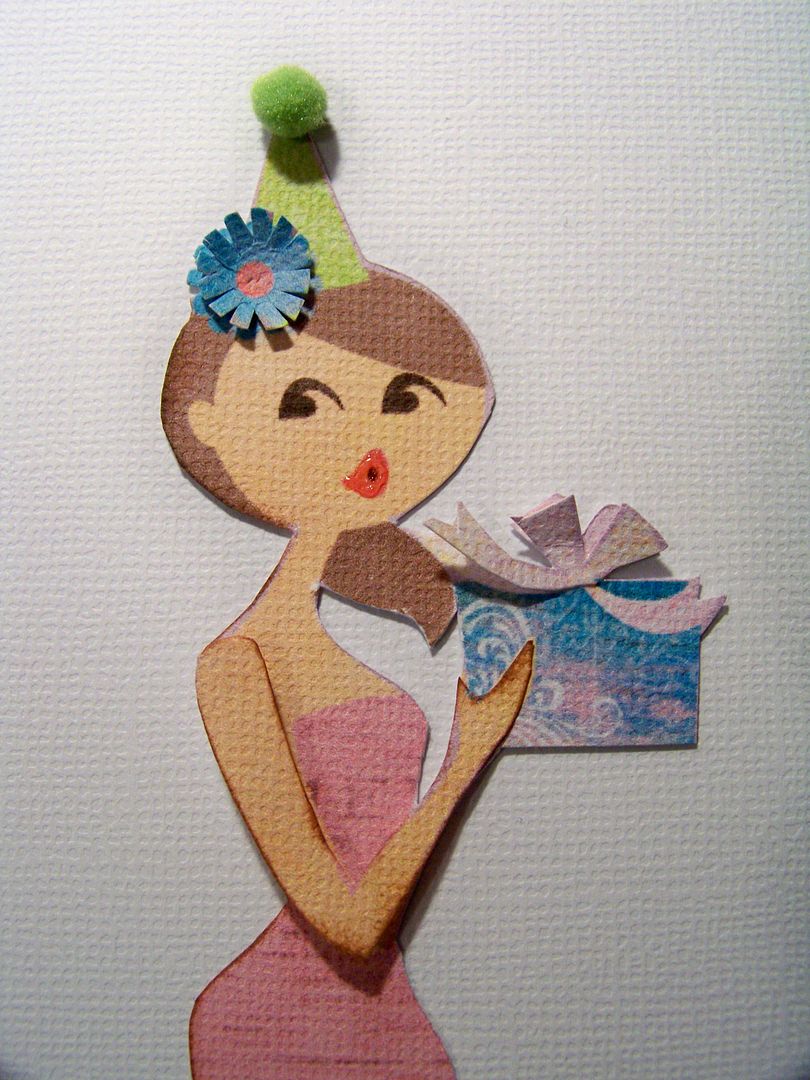
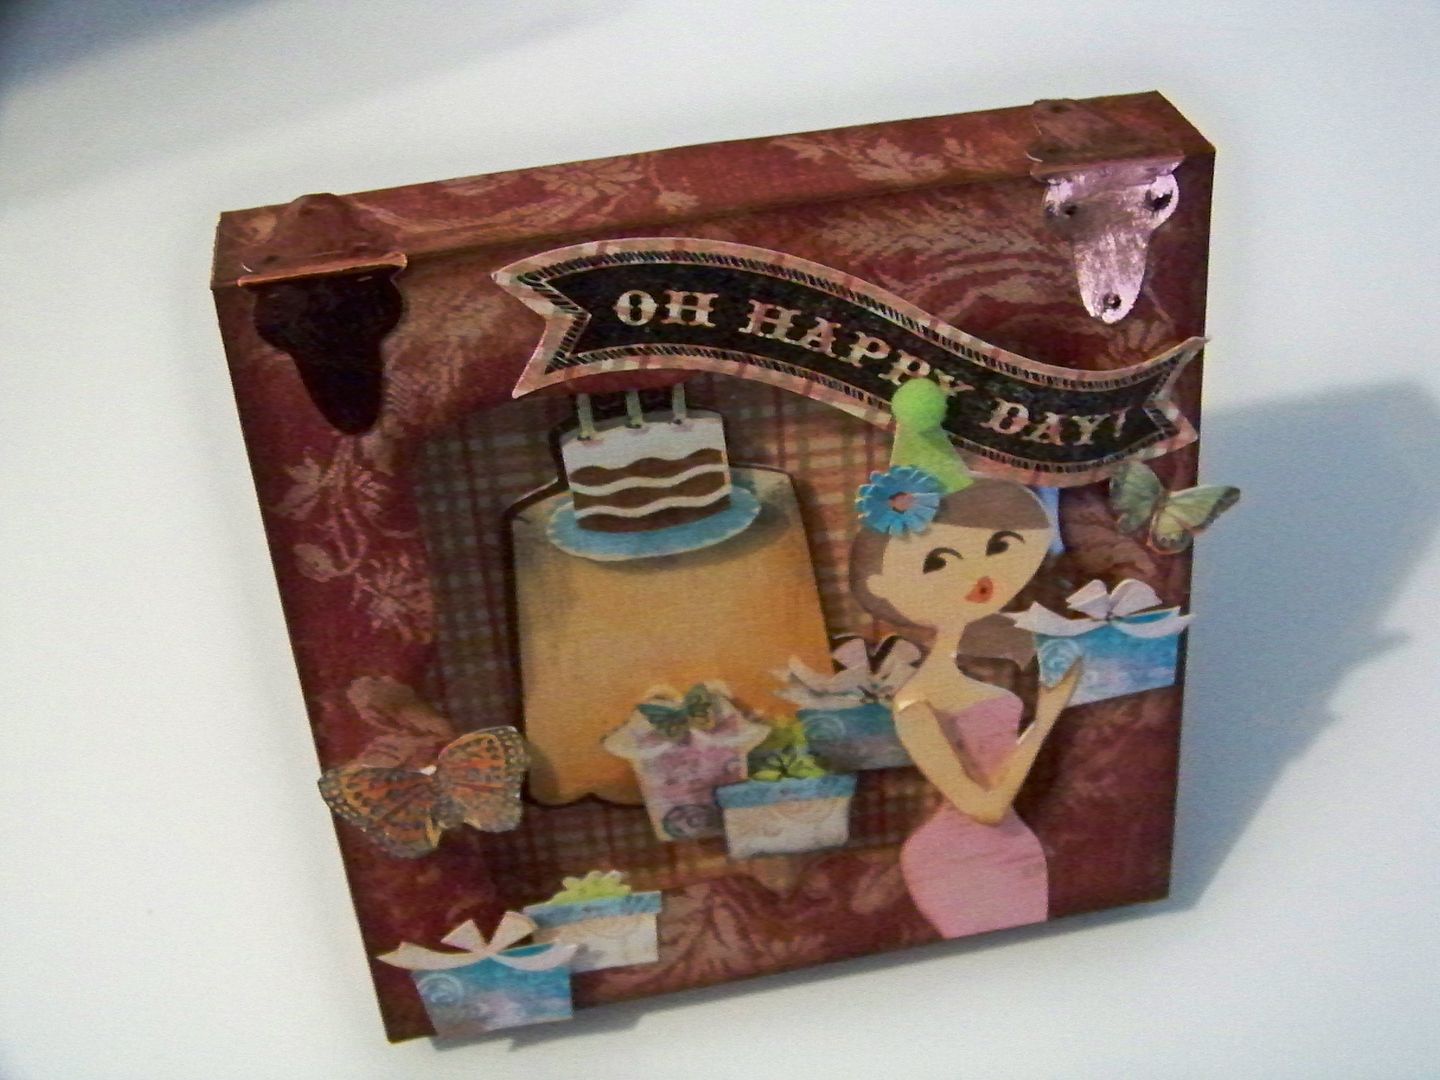
For the front of the box, I printed and cut a 6" figure from the Yummy cartridge twice. I cropped off her legs, hand-cut off one arm from the second figure and popped it up and inked it for dimension. I added an extra popped up bow and flower on her hat. I added a pompom for her party hat and Glossy Accents to her lips.
I applied her to the box with 1/8" pop dots on her upper body and box, but adhered her flush at the bottom.
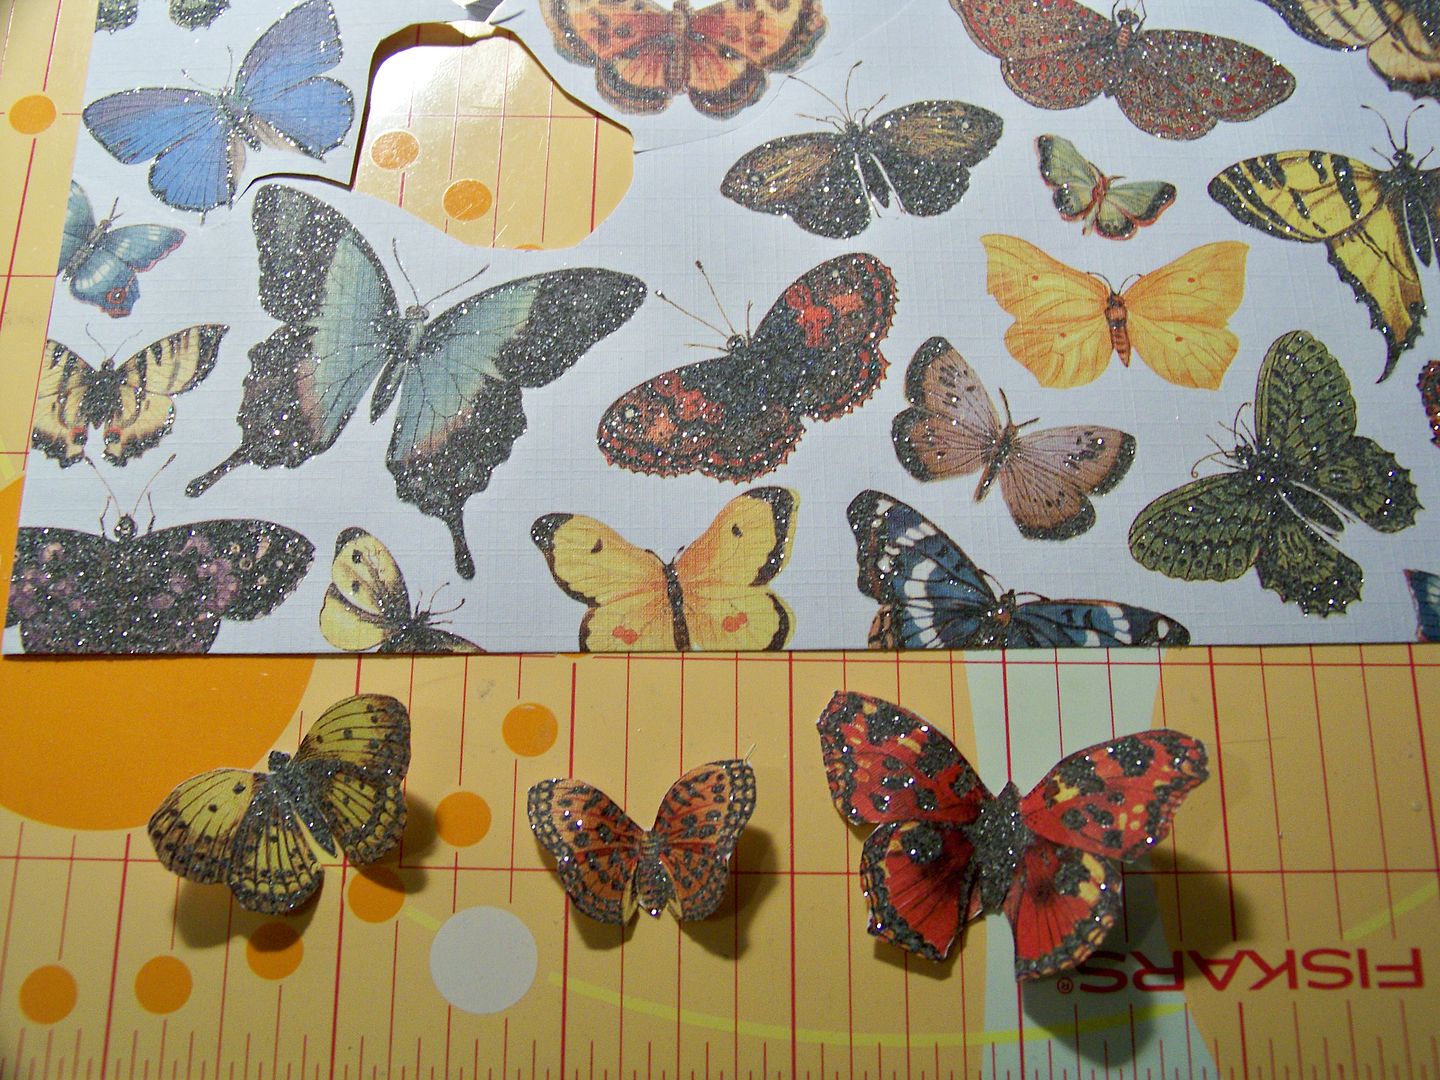
I hand-cut butterflies from a glittery printed paper for the box front embellishments.
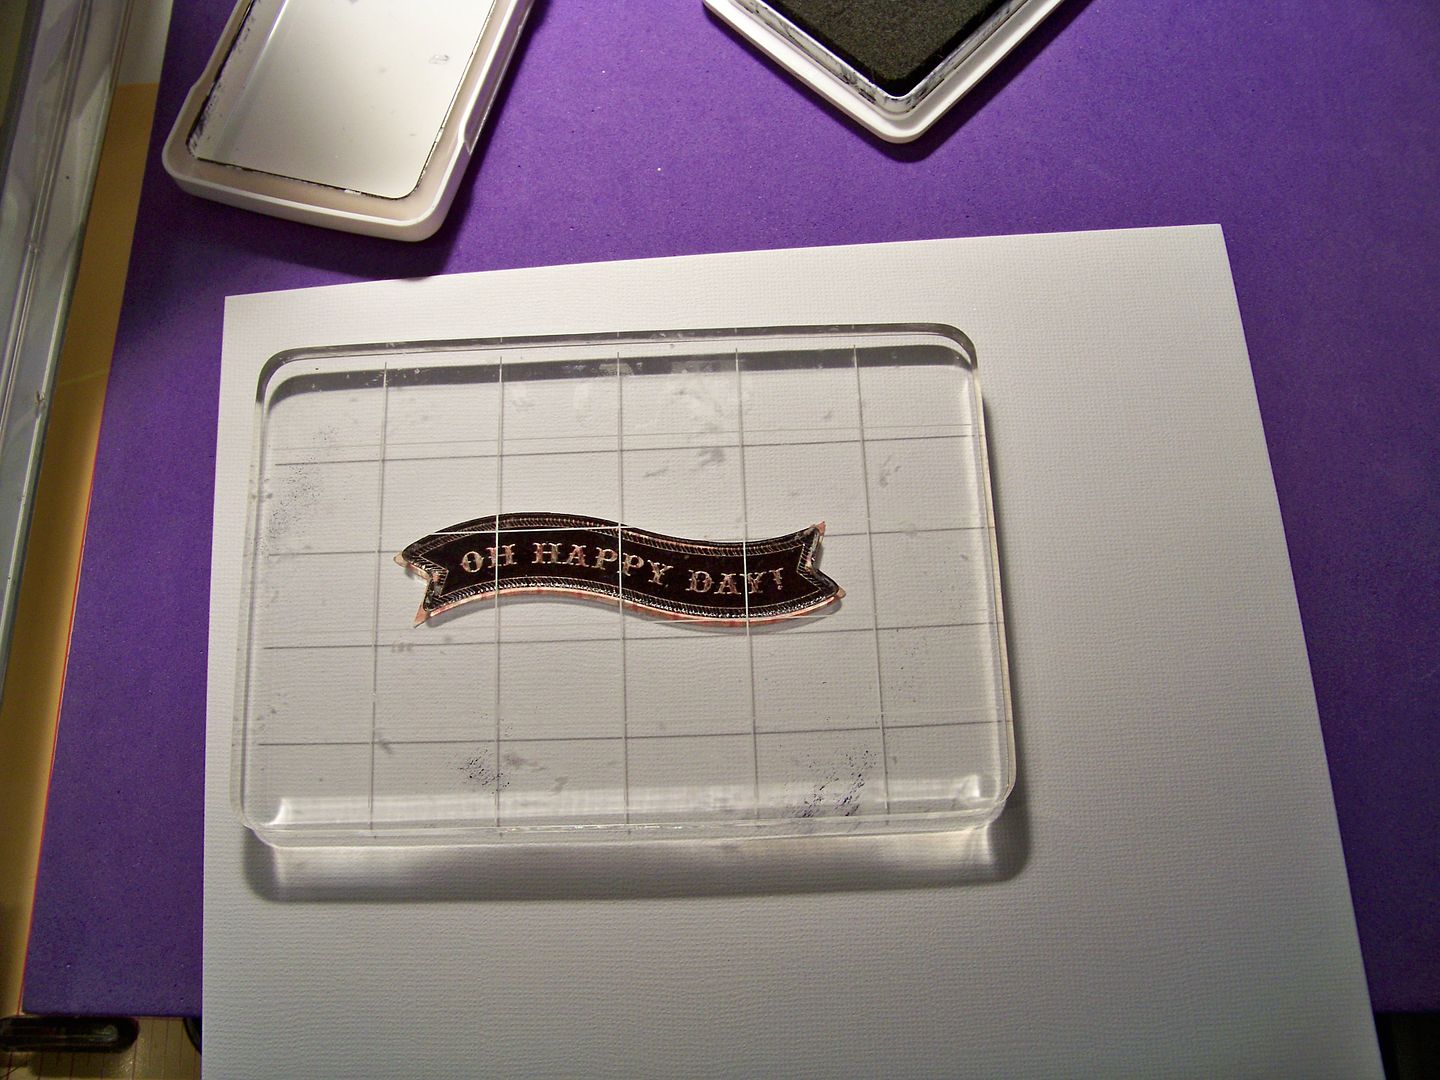
I cut a banner from Artiste (page 58) at 1" in the same plaid used on the card insert and stamped it with the coordinating CTMH stamp.
I adhered the banner after bowing it out. The butterflies were adhered with pop dots and Scotch Quick Dry Glue. I added extra packages, popping up one.
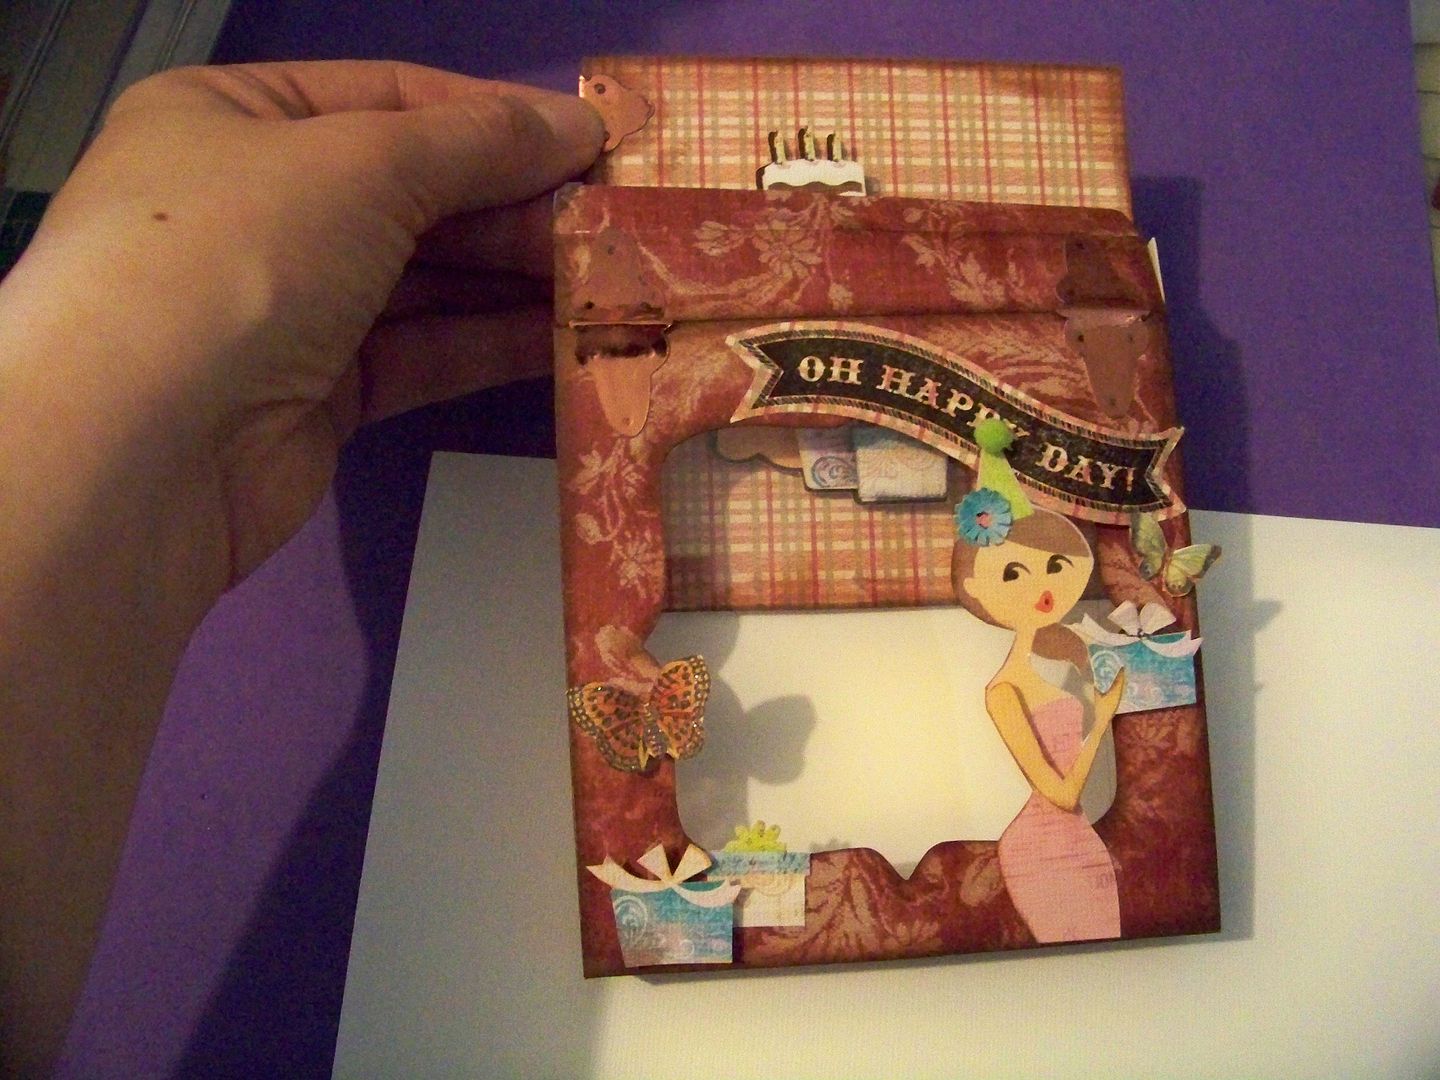
When the card is inserted...
It becomes a fun, boxed gift card!
To Sherry: I hope you had a Happy Birthday yesterday! (And I hope my card got to you before you saw this post... if not, well, surprises are over-rated anyway and hard on the aged... hahaha) And I am looking forward to your project later today on this blog!
For everyone else, thank you for checking out my project today! You can see many of my previous projects by visiting My Project Gallery on my blog.....And be sure you visit my blog November 10 when I will be part of the Holly Jolly Blog Hop!
Cricut Info & Supplies Used:
Designed By: Nadia Herbst-McConnell
Cricut Machines Used: Expression and Imagine
Project Type: card
Project Theme: Birthday
Cricut Cartridges Used: Wild Card, Fabulous Finds, Yummy, Artiste
Suppies Used: Card stock and metallic paper from my scrap bin, ATG tape, Scotch Scrapbookers glue, 1/8" foam squares (pop dots), white and black gel pens, brown and black ink pads, recycled clamshell plastic, Terrifically Tacky Tape, sanding block, Artiste Stamp from CTMH





Another wonderful project, Nadia! I love how you "transform" your cuts. I want to spend just one day in your creative mind......
ReplyDeleteThis card is over the top beautiful! Sherry is going to love it!! I can't wait to try this. Loved the colors and the whole package!!!
ReplyDeleteOh my birthday card goodness! This is an exceptional project, and I am so glad that you shared the fabulous details.
ReplyDeleteYour color choices, your focus figure, and all of the supporting details are 100% Nadia. I love how you added the hinges (and all of the details in your hinges) to support the "workings" - super clever. And the boxed birthday card - genius!
Sherry - Happy Birthday Weekend!
Nadia~ this is just delightful! I love each and every bit of it.
ReplyDeleteWow! Awesome as usual! You never cease to amaze me!
ReplyDeleteWow, such a stunning box card. All of the details are fabulous!
ReplyDeleteSo pretty!! Lee-Ann :)
ReplyDeleteNadia, your creations are always fun and unique. It's so cool that you turned the box for the card into part of the design. All your details are incredible, I also love the hinges. I know Sherry was oohing and aahing when she received your little piece of birthday art.
ReplyDeleteAn amazing gift of art! I always learn such a lot from your posts, Nadia. TFS Christine
ReplyDeleteCool card Nadia! Great idea.
ReplyDeleteAwesome!
ReplyDeleteAwesome!
ReplyDeleteWonderful! I just love it :) Such a fabulous idea and so creative. I love how you layer everything to give such dimension, Thanks for sharing :)
ReplyDeleteWow! Elegant indeed...totally cool!! I love this box/card!!
ReplyDeleteWow!! What a totally cool idea!! I love this box/card!!!
ReplyDeleteSo darling, as all of your projects are! I really enjoy seeing what you'll create next. I love how you make everything come to life!
ReplyDeleteThanks for sharing.
Merilee
WOW this is awesome! I really love all of your projects! So talented! TFS
ReplyDeleteNadia, this is Amazing! Your talent blows me away. I absolutely cannot wait to hold this in my hands and see all the little details in person! Thank you so much for making this for me. I'm seriously about to cry over all the Circle love shown me this year! Love you all. :)
ReplyDeleteAwwww... I sent it Priority Mail and you were supposed to get it Saturday. I am so bummed! I just tracked it and found this note: Your item departed our FAYETTEVILLE, AR 72701 sort facility on October 14, 2012. So... I guess that means you will get it Monday????? Well, anyway, that just means your b-day gets stretched out, right? :)
DeleteLove your people as always. Such a fun birthday box card!1 What a great idea.
ReplyDeleteWonderful idea, especially since your work is a gift all its own.
ReplyDeleteAmazing as always, Nadia!
ReplyDeleteAdorable cards that captivates the viewer and increases the worth of object packed in it..
ReplyDeleteNadia, you ALWAYS amaze me with your gorgeous work! I love this project and I will be 'lifting' this! I know that Sherry will love your gift from the heart. You are SO talented! TFS
ReplyDeleteNadia, you are so talented! Just when I think I cannot love another one of your creations more, you top yourself! I am always so inspired by your work. Thank you so much for sharing your awesome work with us! Oh--and please don't stop. ;)
ReplyDeleteNadia, you're so awesome. Love this :-) Sherry is going to love this, too!!
ReplyDeleteAmazing project! I love all the details you add to your creations:)
ReplyDeleteAnnette
My Mind's Dust Bunnies
What a great card/box. Love all the details and the instructions. The hinges are really cute. I need to remember to use those.
ReplyDeleteNadia, what a beautiful and unique card. Each detail shows all the love that went into it.
ReplyDeleteAnother wonderful creation! Love it!!
ReplyDeleteI did not even need to look at the name to know who made this! It was pretty darn obvious this was a Nadia creation!
ReplyDeleteAmazing, Love it!!
Love all the dimension this box card has, and of course all the wonderful detailsyou added! Super creative and fun!
ReplyDeleteDetailed to the nines! Lovely as usual!
ReplyDeleteBeautiful and amazing.
ReplyDeleteAwesome love love love it. It was funny the photos loaded before the writing and I just knew it was one of your pieces. Great job. Thanks for the cool tips/tricks.
ReplyDeletetotally cool idea...do you use plastic card printing for it or not?
ReplyDeleteYou ALWAYS amaze me with your gorgeous work! I love this project and I will be 'lifting' this!You are SO talented! TFS
ReplyDelete