
This is Rita from Rita's Paper Obsession. Today I have a very easy jewelry making project to share with you.
I have a friend that is battling ovarian cancer. To let her know we are thinking of her, we wear teal ribbons to work. I wanted a little something to dress up my ribbon so I made a glass pebble pin and pendant.

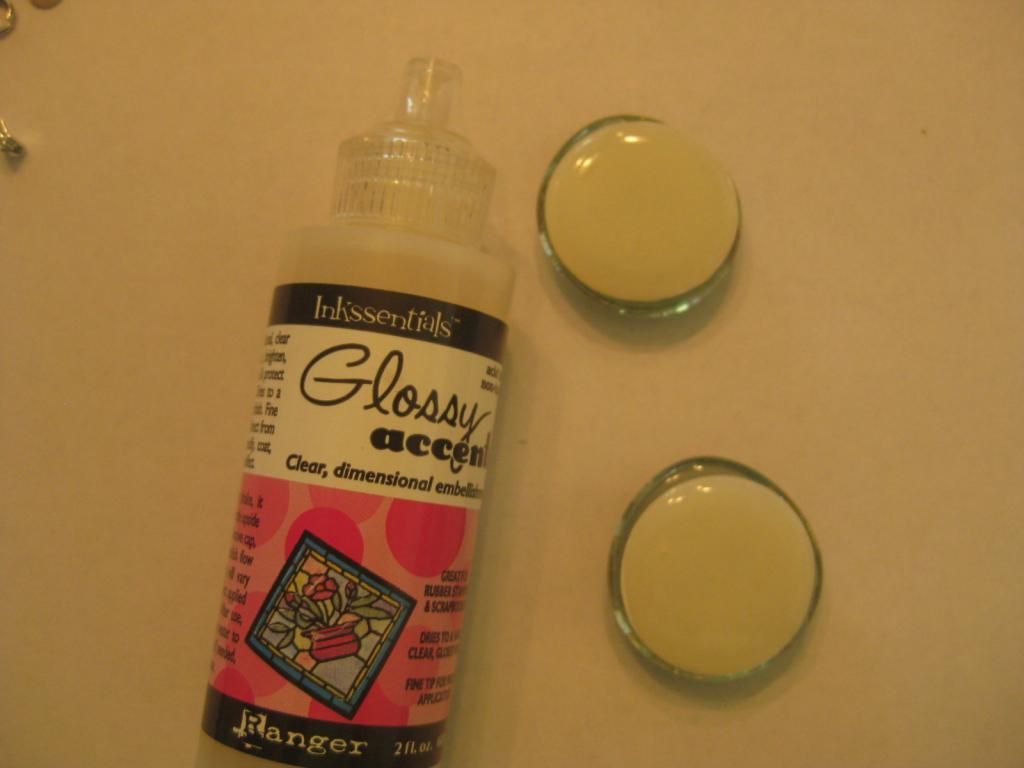
To create glass pebble jewelery, you will need a few basic supplies: glass pebbles (purchased from a dollar store); Glossy Accents; a jewelry bail, pin backing or even a magnet; and a slick surface adhesive (I used Aleene's Glass and Bead); paper of your choosing (I used scraps and found that the light weight paper is easier to work with).

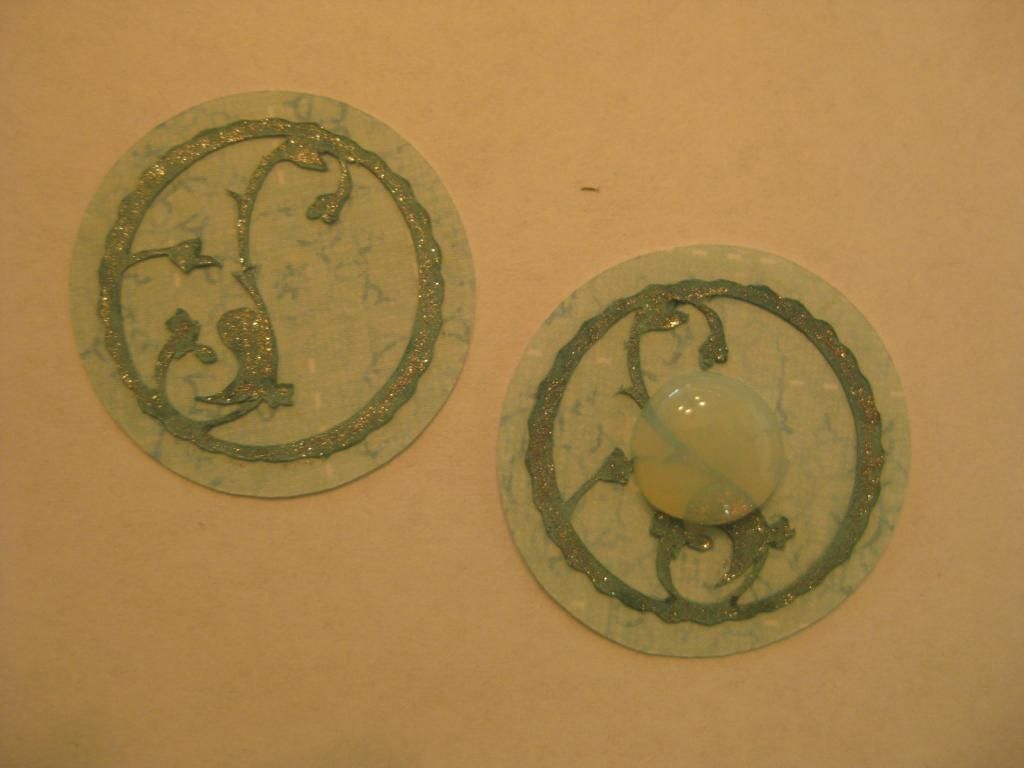
For this project I used my Sophie cartridge and selected the image found on page 50, Label9. The glass pebbles come in varying sizes. Cut a circle to cover the back of the pebble. My circles were cut at 1 1/4 inches. I cut the image smaller at 1 inch as I wanted to see the entire image on my piece.
Layer and embellish your images onto the background circle. Keep the artwork as flat as possible as this will be butted up to the backside of the glass pebble. As I mentioned, light weight patterned paper works best. I like adding some sparkle to the cuts with my Gelly Roll pen. Clear Star is my favorite as it gives the shimmer but lets the paper pattern and color through.

Next adhere the image to the back of the glass pebble with Glossy Accents. I found it easier to put the Glossy Accents in the center of the image and then place the glass pebble over it. Press down so the Glossy Accents covers the entire image.
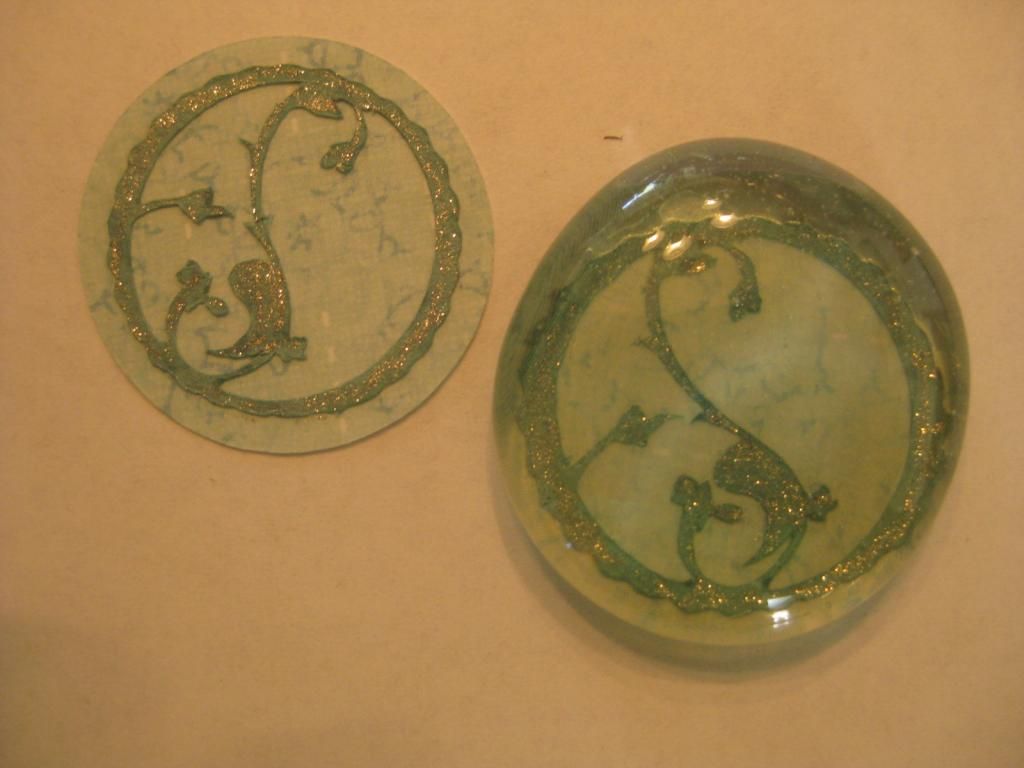
Flip the glass pebble over and cover back of pebble with Glossy Accents.
Once Glossy Accents has dried completely (I waited 24 hours), adhere pin back or jewelry bail.
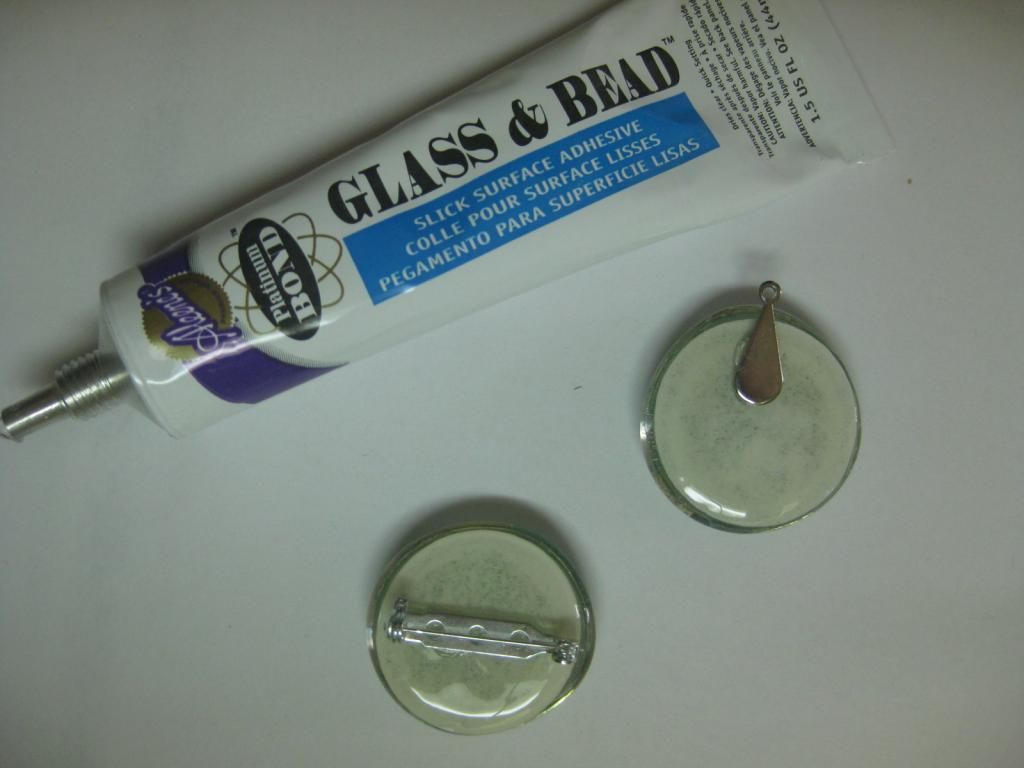
Jewelry is ready to wear as soon as the adhesive dries. I glued the teal ribbon to the back of the pin.

Thank you for stopping by today. Enjoy the rest of your day.
Designed by: Rita Poteat
Cricut Cartridges Used: Sophie
Cricut Machines Used: Cricut Expression
Project type: Jewelry

Wowzers, these would make great personalized magnets for my whiteboard...thanks for sharing...
ReplyDeleteThanks for sharing about this Rita. Reminded me that I had purchased some of these at the Christmas Show last fall and never got around to making them. Yours came out lovely!
ReplyDeleteRita, I love this! Such a clever use of those glass pebbles!!! I want to try it!
ReplyDeleteThanks for sharing. My friend lost his mother to Cervical Cancer the weekend of Mother's Day and I honored her by wearing and making teal/Turquoise items. I love this. May have to make for my next American Cancer Society Relay for Life Team. Your friend is blessed to have you. Prayer to you, her, your families.
ReplyDeleteThat is a great crafty idea for the glass pebble. I have a bag full of these..must give it a shot. Thanks!
ReplyDeleteThis is a wonderful idea Rita! They turned out so pretty!
ReplyDeleteWhat a creative idea!! I can see lots of possibilities for this -- thanks for the inspiration!!
ReplyDelete